How to Use HubSpot Sequences to Automate Outreach as a Solopreneur
If you’ve been using HubSpot’s free CRM to track leads and manage your pipeline, you’ve probably noticed a feature called Sequences sitting behind a paywall and wondered whether it’s worth unlocking. Most solopreneurs either don’t know it exists or assume it’s built for sales teams with SDRs and managers and quota dashboards. It’s not. Knowing how to use HubSpot Sequences to automate outreach as a solopreneur is one of the most impactful things you can do inside HubSpot — and you don’t need a team to make it work.
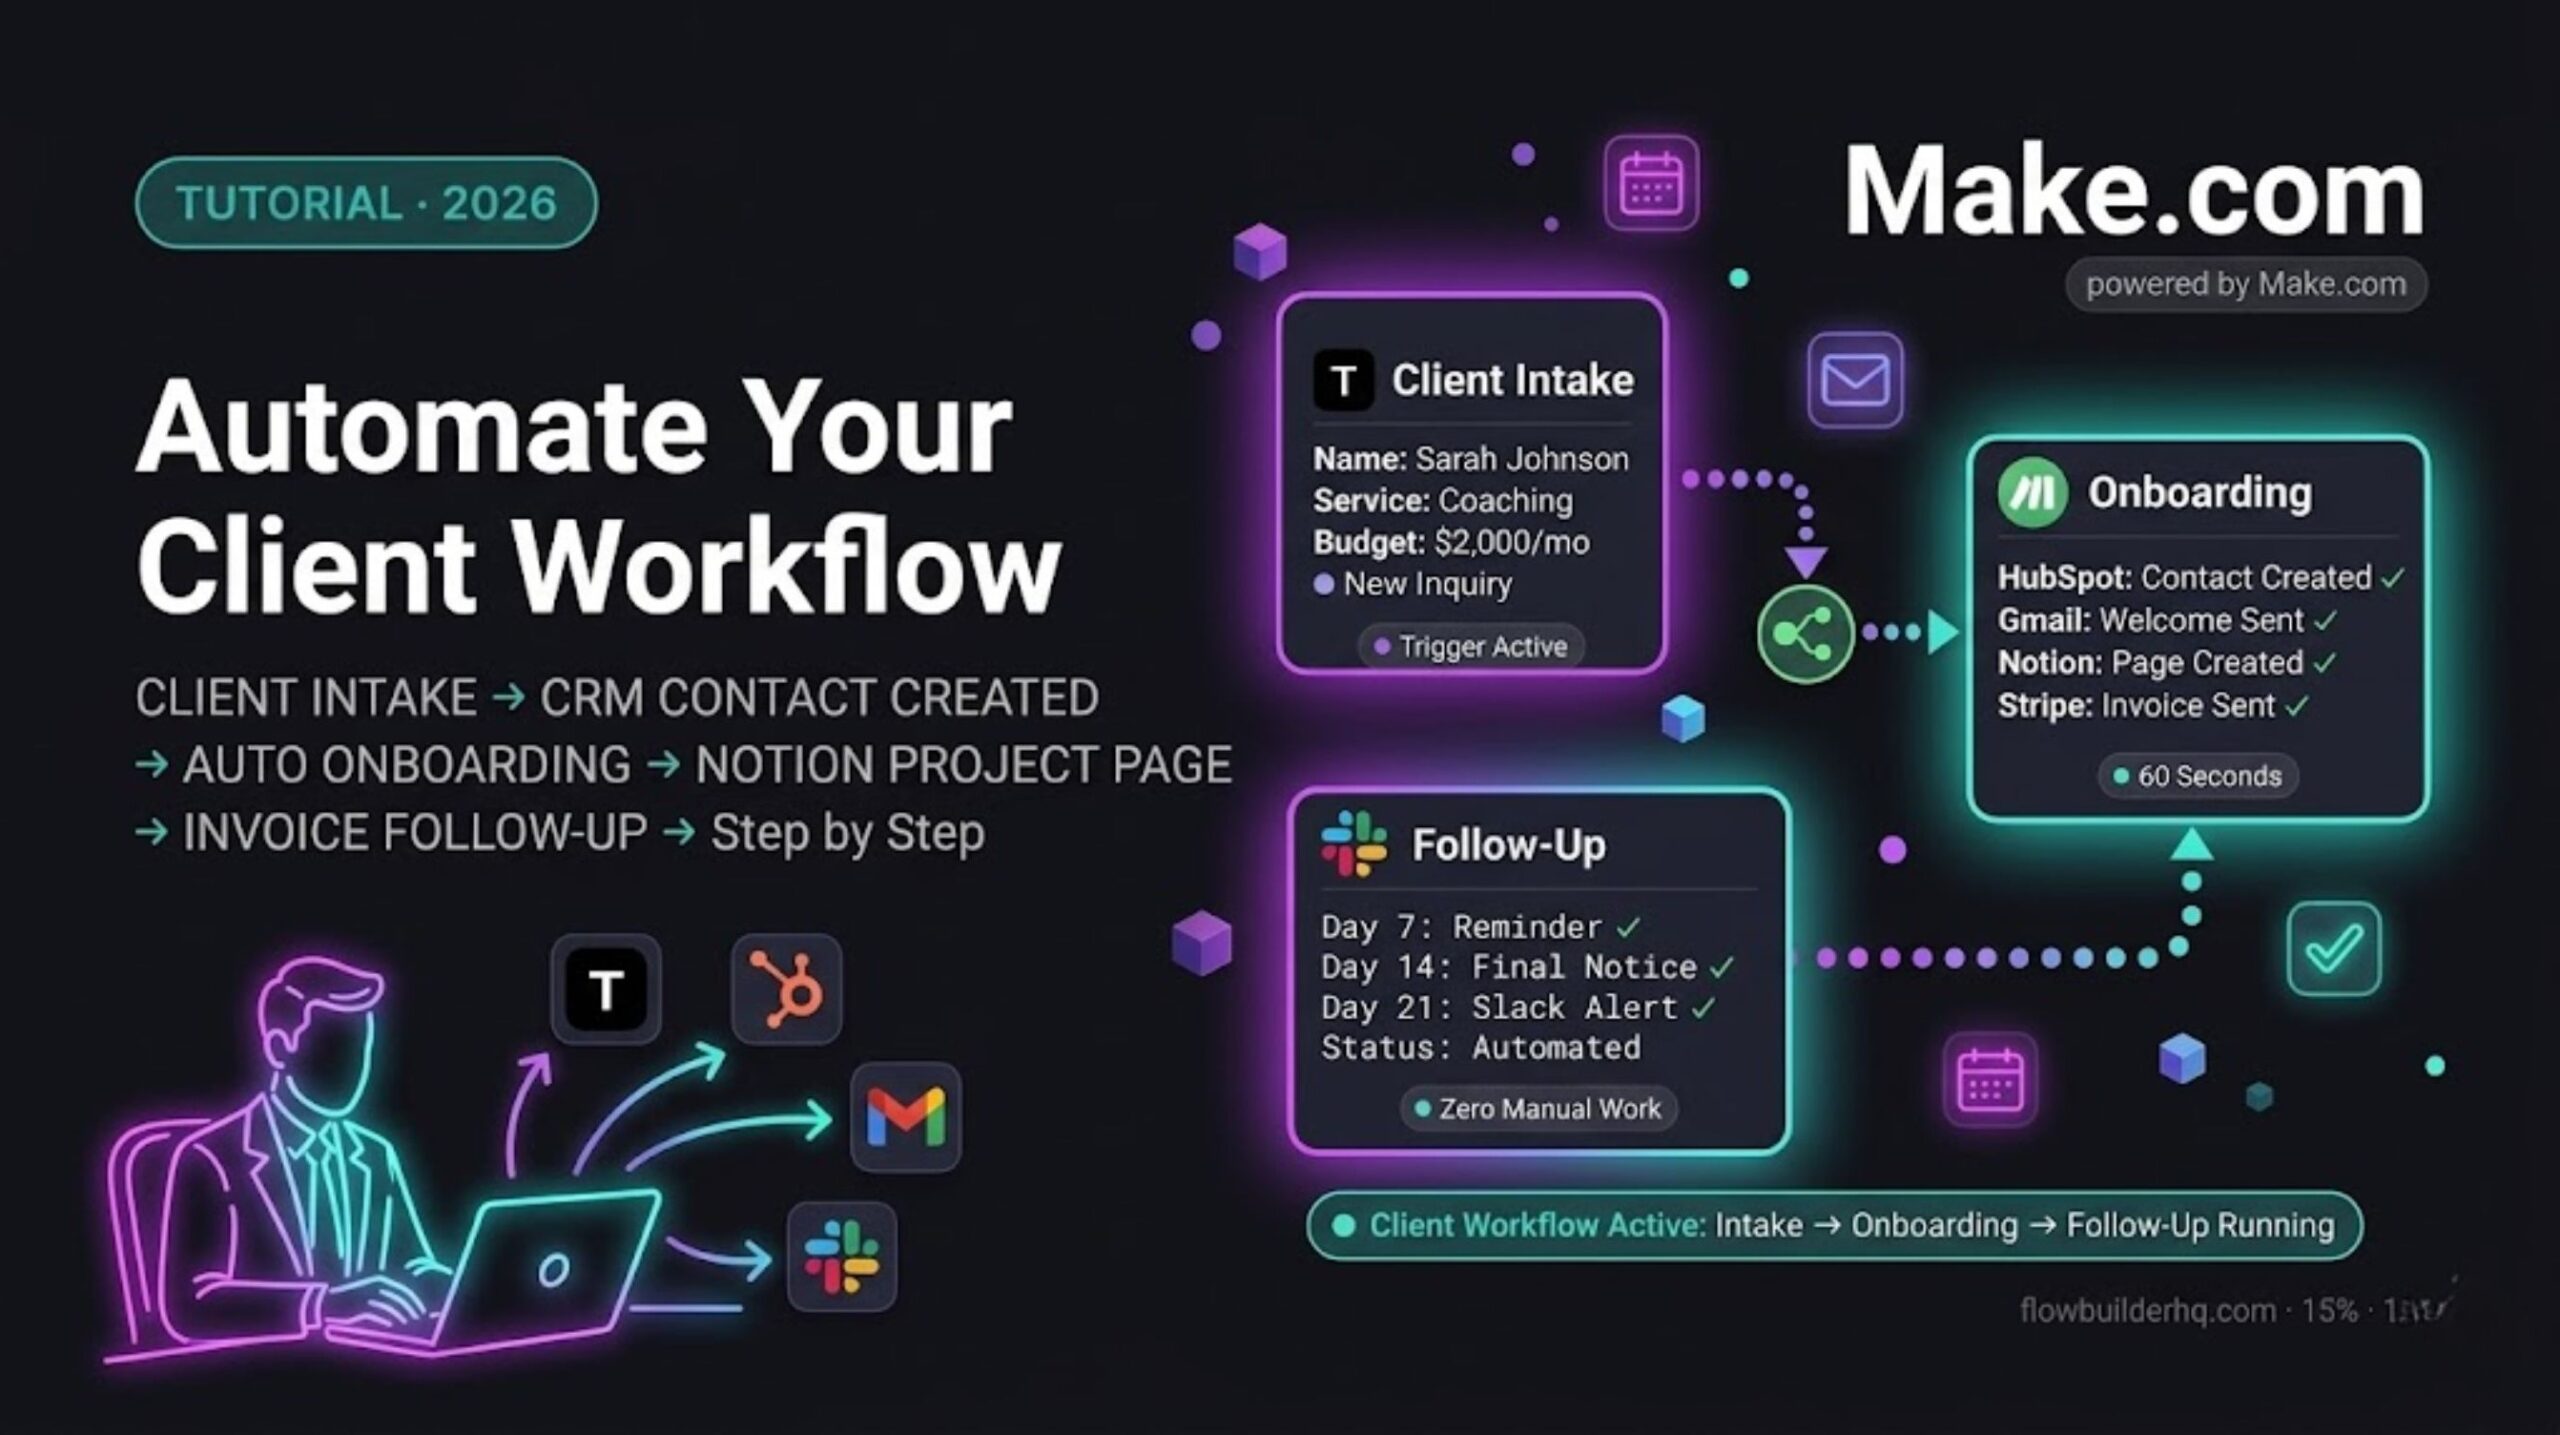
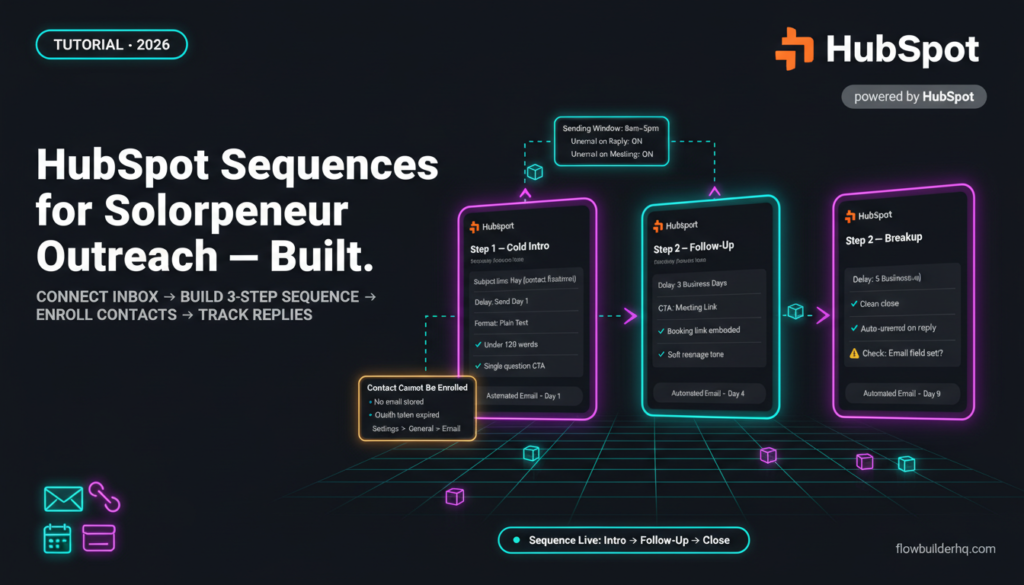
This tutorial walks through building a 3-step outreach sequence from scratch: a cold intro email, a follow-up with a soft call-to-action, and a final breakup message. Real steps, real settings, one common error you’ll hit and how to fix it.
What HubSpot Sequences Actually Is (And Isn’t)
Sequences is a sales engagement tool, not a marketing automation tool. That distinction matters. HubSpot’s marketing email tools (available on the free and Marketing Hub tiers) send one-to-many broadcasts. Sequences sends one-to-one emails that come directly from your connected inbox — Gmail or Outlook — and feel personally written, because they are personally templated.
Each contact enrolled in a sequence receives timed, personalized emails and task reminders. When a contact replies or books a meeting, HubSpot automatically unenrolls them. No embarrassing follow-up after someone already said yes.
Sequences is available on HubSpot’s Sales Hub Starter tier and above ($15/mo at current pricing). It is not available on the free CRM. If you’re still deciding whether a paid HubSpot plan makes sense for your operation, the HubSpot Free vs Paid breakdown covers what you actually get at each tier.
Before You Build: Three Things to Set Up First
Jumping into the sequence builder before your account is configured will create friction. Get these three things in order first.
1. Connect Your Sending Inbox
Go to Settings → General → Email and connect your Gmail or Outlook account. Sequences sends from your actual inbox, not from HubSpot’s servers. This is why deliverability is better than bulk marketing email — but it also means your daily send limits are governed by Gmail or Outlook, not HubSpot. Gmail allows roughly 500 emails per day through this integration. For a solopreneur running targeted outreach, that’s more than enough.
2. Set Up Your Meeting Link
If your sequence includes a CTA to book a call, go to Sales → Meetings and create a meeting link before writing your templates. You’ll embed this link in step 2 of the sequence. Having it ready before you write the templates saves you from going back and editing later.
3. Make Sure Your Contacts Have an Email Address
This sounds obvious, but HubSpot will block enrollment for any contact without a stored email address. If you’re pulling contacts from a spreadsheet import, run a filter first. Contacts with missing email fields will silently fail to enroll. This is the most common error new users hit and the fix is to check Contacts → All Contacts → filter by “Email is unknown” before enrolling.
If your contact list is still being built out in HubSpot, check out how to track leads in HubSpot’s free CRM to get your contact records clean before moving into paid features.
How to Use HubSpot Sequences to Automate Outreach: The 3-Step Build
Navigate to Sales → Sequences. Click Create Sequence. You’ll be given a choice between starting from scratch or using a template. Start from scratch — HubSpot’s default templates are written for enterprise sales cycles and won’t fit a solopreneur outreach style.
Step 1 — The Cold Intro Email
Click Add Step → Automated Email. This opens the template editor. Write your intro email here. A few rules that affect deliverability and reply rates:
- Subject line under 50 characters. Personalization tokens like
{{contact.firstname}}count toward this. - No images or heavy HTML. Plain text or near-plain text emails from Sequences perform better because they look like they came from a real person — because they did.
- Keep it under 120 words. Introduce yourself, name a specific reason you’re reaching out (use a personalization token or plan to manually edit before enrolling), and end with a single low-friction question.
Example structure:
Hey {{contact.firstname}},
I came across [specific trigger — their podcast, a post, a job listing]. I work with [specific type of business] to [specific outcome]. Curious if that’s something you’re working on right now — worth a quick conversation?
Set the delay to Send immediately or Day 1. The sequence won’t send until you manually enroll a contact, so “immediately” means immediately after enrollment.
Save the template. Give it a name you’ll recognize later — something like “Cold Intro — [Niche]”.
Step 2 — The Follow-Up With a CTA
Click Add Step → Automated Email again. Set the delay to 3 business days after Step 1. This is the most important timing decision in a short sequence. Too fast (next day) feels automated. Too slow (7+ days) loses momentum.
This email does one thing: reference the first email briefly and make a specific ask. If you have a booking link, this is where it goes.
Hey {{contact.firstname}},
Just circling back on my last note. If timing is off, no worries — but if you’d like to find 20 minutes to talk through [problem], you can grab a time here: [meeting link].
No long pitch. No new information. The goal is to give them a frictionless path to respond.
If you’re still figuring out your broader CRM workflow and when to move contacts through pipeline stages, the HubSpot Deals Pipeline guide is worth reading alongside this tutorial.
Step 3 — The Breakup Email
Add a third automated email step. Set the delay to 5 business days after Step 2. The breakup email serves two purposes: it gives genuinely interested contacts one final chance to respond, and it closes the loop cleanly so you’re not leaving threads hanging in your head.
Hey {{contact.firstname}},
I’ll stop reaching out after this — I don’t want to clog your inbox. If timing changes and [the problem] becomes a priority, you know where to find me. Either way, best of luck with [something specific to them].
The tone matters here. “Best of luck” with a genuine specific detail reads differently than a generic closer. When you enroll contacts, you can edit any email in the sequence before it sends — use that to add real specifics.
Naming, Settings, and Sequence-Level Configuration
Before saving the sequence, click the Settings tab at the top of the sequence editor. Key settings to configure:
- Sending window: Set emails to send only on business days, between 8am–5pm in the contact’s time zone (or yours if time zone data is sparse). Sending at 3am doesn’t help.
- Automatic unenrollment: Keep “Unenroll when contact replies” and “Unenroll when contact books a meeting” both toggled on. These are on by default — do not turn them off.
- Sender: Confirm the from address is your connected inbox, not a generic HubSpot address.
Name the sequence something that will make sense in 6 months: “3-Step Cold Outreach — Consultants” is better than “Sequence 1.”
Enrolling Contacts Into Your Sequence
Go to Contacts and open any contact record. In the right-hand panel under Sales, you’ll see an Enroll in Sequence button. Click it, select your sequence, choose the step to start from (always Step 1 unless you have a reason), and review the first email before confirming enrollment.
That review screen is your last chance to personalize anything. You can edit the email directly in that modal — add the specific trigger you mentioned, swap out a placeholder, tighten the subject line. Do this. The extra 90 seconds per contact is what separates a sequence that gets replies from one that gets ignored.
You can also enroll multiple contacts at once from the Contacts list view — filter to a segment, select all, and click Enroll in Sequence from the bulk actions menu. Use this carefully. Bulk enrollment without reviewing individual emails is how you send an email with “[their podcast]” as literal text to 40 people.
The Error You’ll Hit: “Contact Cannot Be Enrolled”
HubSpot will block enrollment with this error message in several scenarios:
- The contact has no email address stored.
- The contact is already enrolled in another active sequence.
- The contact has opted out of sales emails (the
Sales email opt-outproperty is set to true). - Your sending inbox is disconnected or has a broken OAuth token.
The fastest way to diagnose: open the contact record, scroll to Communication Subscriptions in the left panel, and check the opt-out status. If the inbox is the issue, go back to Settings → General → Email and reconnect. OAuth tokens occasionally expire, especially if you changed your Google account password.
For solopreneurs running lean outreach operations, understanding how CRM automation and follow-up systems work together matters more than any single feature. The broader picture is covered well in CRM automation for freelancers who want to follow up without thinking about it.
Tracking Performance After Sending
Go to Sales → Sequences and click into your sequence. The Manage tab shows you enrolled contacts, their current step, and enrollment status. The Performance tab shows open rate, reply rate, and meeting booked rate aggregated across all enrollments.
For a cold outreach sequence, realistic benchmarks (based on HubSpot’s published sales benchmarks) are:
- Open rate: 40–60% (sequences have high deliverability since they come from your real inbox)
- Reply rate: 5–15% for cold contacts
- Meeting booked rate: 2–5%
If your open rate is under 30%, the subject line is the problem. If open rate is fine but reply rate is under 3%, the body copy or CTA is the problem. Run one change at a time — change the subject line for a batch, measure, then move to the body copy.
Pausing or Editing a Live Sequence
If you need to edit a template mid-sequence (you spotted a typo, the meeting link changed, your offer shifted), go to the sequence editor and make the change. Updates apply to future sends only — emails already queued for today will send with the old version. To pause all sends: go to the Manage tab, select all enrolled contacts, and unenroll them. Re-enroll after the edit is live.
There’s no “pause sequence” button at the sequence level. This is a known friction point in HubSpot’s Sequences UX that hasn’t been addressed. It’s annoying but manageable.
Connecting Sequences to Your Broader HubSpot Setup
Once a contact replies or books a meeting, they’re unenrolled from the sequence and show up as needing manual follow-up. This is where having a proper deal pipeline matters — move them into an open deal, set a follow-up task, and work them through your stages.
If you haven’t built that pipeline yet, setting up a sales pipeline in HubSpot is the right next step after this tutorial.
For more complex setups — say, triggering a sequence enrollment automatically when a lead fills out a form — you’d need to connect HubSpot to an external automation tool. The Make.com to HubSpot integration tutorial covers exactly that. Sequences itself doesn’t offer trigger-based auto-enrollment; that requires the Workflows feature (available on Pro tiers) or an external tool like Make.com.
You can also build a more complete client-facing setup by pairing Sequences with a contact portal — the solopreneur client portal with HubSpot and Make.com guide shows how to extend HubSpot beyond outreach into the full client lifecycle.
Is Sequences Worth the Paid Plan Upgrade?
If you’re doing any volume of cold or warm outreach — even 10–20 contacts a week — the answer is yes, with one caveat: you need to be doing outreach that requires multiple follow-up touches. If you send one email and forget it, Sequences won’t save you from yourself.
At $15/mo for Sales Hub Starter, you’re getting Sequences, email tracking, meeting scheduling, and deal pipeline tools. Compared to a standalone sales engagement tool, that’s a reasonable price for the ecosystem you already have. The best CRM for solopreneurs in 2026 comparison puts HubSpot’s paid tiers in context against alternatives if you’re still weighing options.
The tool does exactly what it says. The friction is in setup and in the manual enrollment step — but for a solopreneur doing targeted outreach (not mass spam), manual enrollment with individual review is actually the right workflow. It keeps your sends intentional.
If you want to understand the full HubSpot CRM setup before adding paid features, the HubSpot CRM tutorial for solopreneurs covers the foundation without the enterprise noise. Start there, get your contacts clean, then come back to this and build the sequence. That order makes everything easier.
For the official documentation on Sequences configuration options, the HubSpot Knowledge Base on creating and editing sequences is the most current reference — especially useful when HubSpot updates the UI between tutorials like this one.
Building this yourself? Get the workflow pack.
5 ready-to-import n8n workflows — lead capture, invoicing, content repurposing, onboarding, social posting. Free.