n8n for Beginners: First Workflow Tutorial (Build One That Actually Works)
Most n8n tutorials spend the first 800 words explaining what n8n is. With n8n for beginners: first workflow tutorial. You’re going to build a complete, working workflow from scratch — a form submission that saves data to a Google Sheet and sends a confirmation email. By the end, you’ll understand how n8n’s core mechanics work, and you’ll have something real running.
If you’re still deciding whether n8n is worth your time at all, check out our full n8n review for 2026 first. If you’ve already committed, let’s build.
What You’re Building
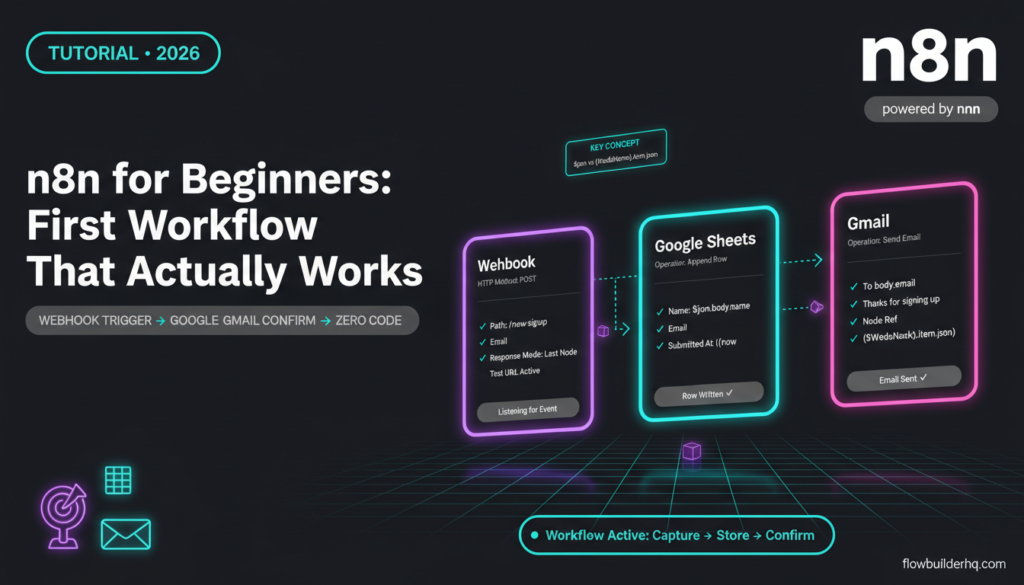
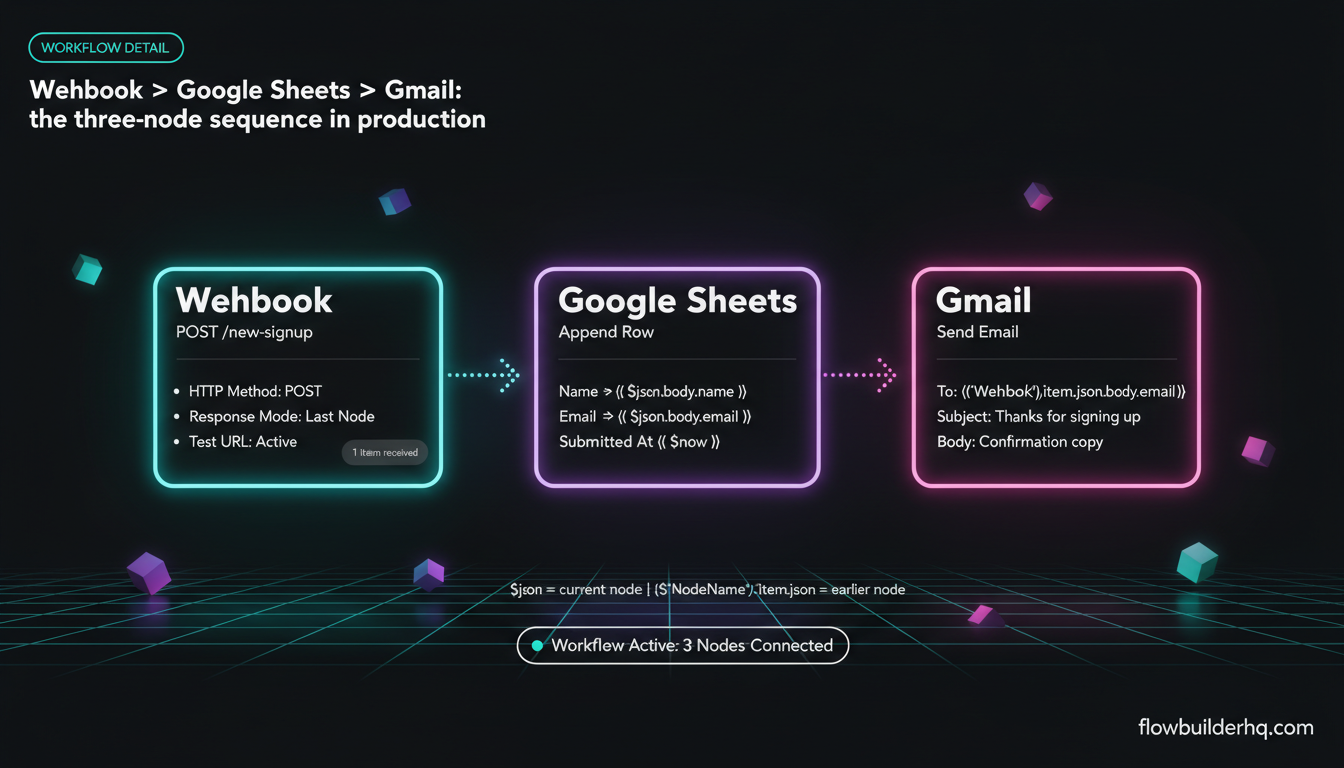
The workflow: A webhook receives a form submission (name + email), appends a row to a Google Sheet, then sends a confirmation email via Gmail. Three nodes. No code required. This exact pattern — trigger → data store → notification — is the foundation of n8n for beginners and covers 80% of real automation use cases.
The same pattern scales up. Once this works, you can swap the Google Sheet for Airtable, the Gmail node for a dedicated email service, or add an AI processing step in the middle. But first, get the basics solid.
Step 1: Set Up Your n8n Instance
You need a running n8n instance before anything else. Two options:
- n8n Cloud — Fastest way to start. Sign up at n8n.io, and you’re in the editor within minutes. Cloud Starter costs $8/mo. No server setup, no Docker, no config files.
- Self-hosted — Free, but you’re managing the infrastructure. Worth it at scale; overkill when you’re learning.
The interface is identical between both. The only difference that affects this tutorial: webhooks on self-hosted need a publicly accessible URL (use a tunnel like ngrok if you’re running locally). Cloud handles this automatically.
Not sure which to pick? The tradeoffs are covered in detail in our n8n self-hosted vs Cloud comparison. For this tutorial, Cloud is the path of least resistance.
Step 2: Create a New Workflow and Add the Webhook Trigger
In your n8n editor, click + New Workflow. You’ll land on an empty canvas with a single prompt to add your first node.
Click the + button (or the canvas center prompt), search for Webhook, and select it. This is your trigger — the starting point of every execution.
In the Webhook node settings:
- Set HTTP Method to
POST - Leave the path as auto-generated (e.g.,
/webhook/abc123) or rename it to something readable like/new-signup - Set Response Mode to
Last Node— this returns the response from the final node in the chain, which is useful for debugging
You’ll see two URLs in the node panel: a Test URL and a Production URL. Use the Test URL during development. It only activates when the workflow is in “listening” mode inside the editor. The Production URL activates when the workflow is saved and toggled on.
Click Listen for Test Event to put the node in waiting mode.
Step 3: Send a Test Payload
Open a terminal, Postman, or any HTTP client. Send a POST request to your Test URL with this body:
{
  "name": "Alex Chen",
  "email": "alex@example.com"
}
In n8n, you should see the Webhook node light up green with “1 item” received. Click the node to inspect the output — your data will be nested under body in the JSON output, so the full path to name is {{ $json.body.name }} and email is {{ $json.body.email }}.
Common error here: If you get a 404 response, the workflow isn’t in listening mode. Click the Webhook node, hit “Listen for Test Event” again, then resend the POST. The Test URL only catches requests when the node is actively waiting.
Step 4: Connect a Google Sheets Node
Click the + on the right side of the Webhook node to add the next step. Search for Google Sheets and select the Append Row operation.
You’ll need to authenticate. Click Create New Credential and follow the OAuth2 flow — n8n walks you through it. You’ll need a Google account and about 60 seconds. Once connected, select your Google Sheet and the specific sheet tab you want to write to.
Under Columns, map your fields:
- Column
Name→{{ $json.body.name }} - Column
Email→{{ $json.body.email }} - Column
Submitted At→{{ $now }}
The expression syntax is where first-time users trip. n8n uses double curly braces for expressions: {{ }}. Inside them, $json refers to the current node’s output. If you’re pulling data from a previous node by name, you’d use $('Webhook').item.json.body.name. For linear workflows like this one, $json always refers to the output of the immediately previous node.
Common error here: You map a column and get a blank cell in Sheets. This almost always means the path is wrong. Go back to the Webhook node’s output panel, click through the JSON tree, and confirm the exact nesting. If n8n received the payload under body, the path is $json.body.name. If your form posts data differently and puts it at the root level, it might just be $json.name. Always verify against the actual node output, not assumptions.
Run a test execution. In your Google Sheet, you should see a new row with Alex Chen’s data.
Step 5: Add a Gmail Confirmation Email
Add one more node after Google Sheets. Search for Gmail and select Send Email.
Authenticate the same way — OAuth2, same Google account or a different one. Then configure:
- To:
{{ $('Webhook').item.json.body.email }} - Subject:
Thanks for signing up, {{ $('Webhook').item.json.body.name }} - Message: Write whatever confirmation copy fits your use case
Notice the path syntax here uses $('Webhook').item.json instead of $json. That’s because by the time you’re in the Gmail node, the “current” data is the output of the Google Sheets node — which is sheet metadata, not your form data. To pull data from an earlier node, reference it by name with $('NodeName').
This is the single most common confusion point for n8n beginners. $json = current node’s output. $('NodeName').item.json = output from any specific node. Once you internalize that distinction, expression errors mostly disappear.
Run the full test. You should get an email in the inbox tied to your test payload’s email address.
Step 6: Activate the Workflow
Testing is done with the Test URL. For production, toggle the workflow Active in the top-right corner of the editor. This switches the Webhook to its Production URL and keeps the workflow running 24/7 without needing the editor open.
Update whatever form or system sends data to use the Production URL instead of the Test URL. On n8n Cloud, that URL stays live as long as your subscription is active. On self-hosted, it stays live as long as your server is running.
Your workflow is now live. Any POST to that webhook fires the full sequence: Sheets append + email confirmation.
Where to Take This Next
Three nodes is a solid foundation. Here’s where most people go from here:
Add an AI processing step. Drop a Claude or OpenAI node between the Webhook and Sheets nodes to analyze, score, or enrich the incoming data before it hits your spreadsheet. The guide to connecting Claude AI to n8n walks through exactly how that node setup works.
Build a full client onboarding flow. This three-node pattern is the skeleton of a real onboarding workflow — add a CRM write, a Slack notification, and a task creation step and you have something genuinely production-ready. See the full client onboarding workflow with n8n for a more complete build.
Automate lead capture and CRM routing. The same webhook + write pattern works for routing leads from different sources into different CRM pipelines. Automating lead generation with n8n shows a practical version of this.
Build an AI agent. Once you’re comfortable with multi-node workflows, n8n’s agent nodes are genuinely powerful for autonomous task execution. The n8n AI agent tutorial covers that territory.
n8n vs. Other Tools for This Type of Workflow
The same form → Sheets → email workflow is buildable in Make.com and Zapier. The mechanics differ:
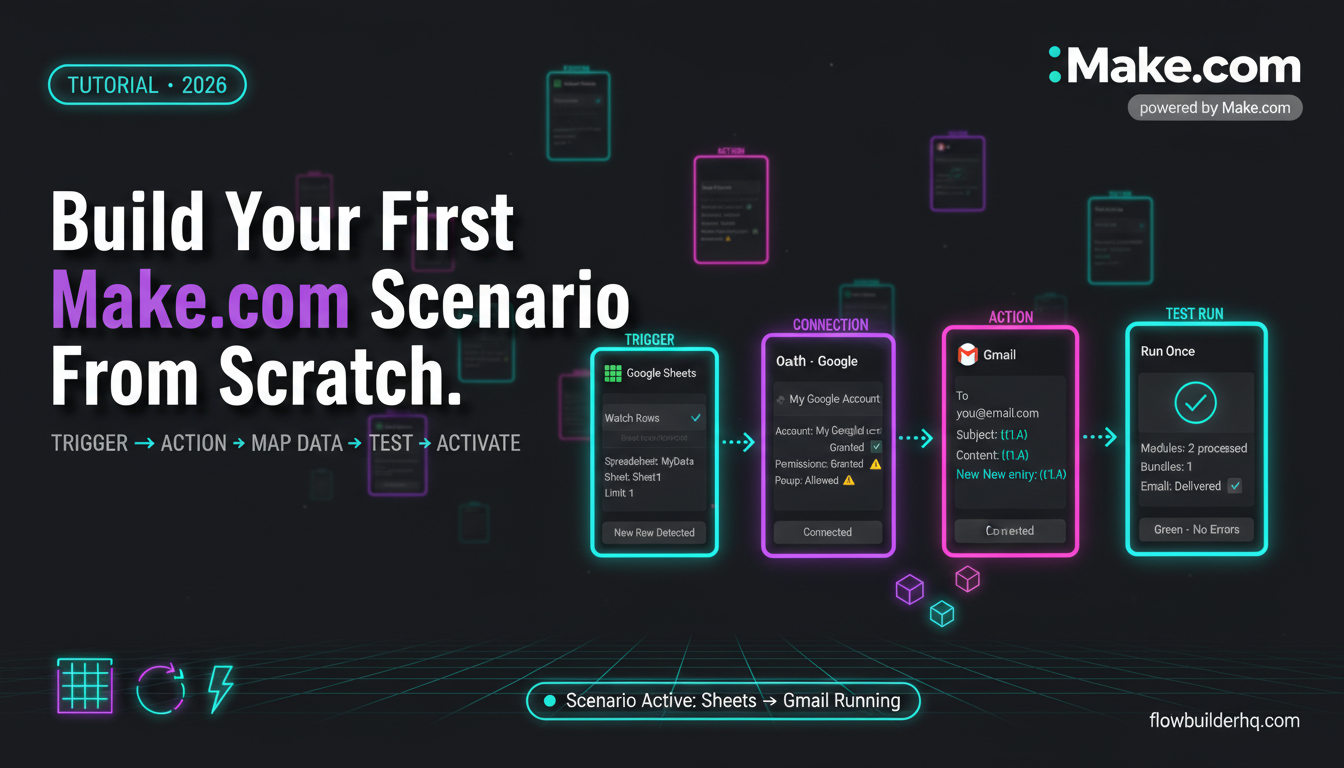
- Make.com has a more visual interface that’s slightly easier for absolute beginners. If you want to try it as a comparison, the Make.com review covers who it fits best. You can start on their free tier at Make.com.
- Zapier is simpler but more expensive at scale and less flexible. The detailed cost comparison is in the pricing breakdown between Make.com and Zapier.
- n8n requires slightly more initial setup but gives you far more control — especially once you’re referencing data across nodes, looping, or adding conditional logic.
For a direct side-by-side, the Zapier vs n8n comparison breaks down which tool fits which type of operator.
If you’re building anything more complex than a two-step zap, n8n’s expression system and node architecture handle it more cleanly than Zapier’s point-and-click approach. The learning curve referenced in that comparison is real — this tutorial is specifically designed to get you through the steep part without wasting time on theory.
The One Thing That Trips Up n8n Beginners
It’s not the nodes. It’s data references. Specifically, knowing when to use $json versus $('NodeName').item.json.
The rule: In any node, $json is always the output of the immediately preceding node. The moment you need data from two or more steps back, use the named reference. n8n’s expression editor (the formula icon next to any field) lets you browse all available data from all upstream nodes — use it liberally when you’re learning.
The n8n vs Make.com comparison notes that Make’s variable system is more visual and arguably more forgiving for first-timers. That’s fair. But n8n’s expression syntax is also more powerful once it clicks, and the practical guide to Claude AI in business automation shows how that expressiveness pays off when you’re wiring up AI models to do real work inside your workflows.
Build the three-node workflow above until it runs cleanly. Break it on purpose — send malformed data, reference a field that doesn’t exist, delete a node mid-chain. Understanding how n8n fails is as useful as understanding how it succeeds. Then add a fourth node. That’s the loop that turns you from someone who read an n8n tutorial into someone who actually uses it.
For a full platform walkthrough and honest assessment of where n8n excels and where it frustrates, the n8n 2026 review covers it without the marketing gloss. And if you want to see how n8n compares across the broader no-code automation landscape, the ranked guide to no-code automation tools in 2026 puts it in context with the full field.
Building this yourself? Get the workflow pack.
5 ready-to-import n8n workflows — lead capture, invoicing, content repurposing, onboarding, social posting. Free.