How to Automate Client Feedback Collection with Make.com and Tally
If you’re still manually checking a form dashboard, copy-pasting responses into a spreadsheet, and writing thank-you emails one by one, this post will end that. Here’s a complete workflow that shows you how to automate client feedback collection with Make.com and Tally — from form submission to Google Sheets log to personalized follow-up email — with zero manual steps in between.
Tally has become the go-to free Typeform alternative for solopreneurs who want clean, logic-capable forms without paying $25/month for the privilege. It has a native Make.com trigger, which makes this integration clean and reliable. This isn’t a toy workflow — it’s a real feedback loop you can use for NPS-style surveys, post-project reviews, or ongoing testimonial collection.
If you’ve already built out a client intake workflow using a different form tool, this is a distinct use case. Where intake is about capturing new clients, feedback automation is about closing the loop with existing ones — and that loop is where testimonials, referrals, and repeat business actually come from. For a comparison of how this differs from form-based intake, see our post on automating Typeform responses with Make.com.
What You’re Building
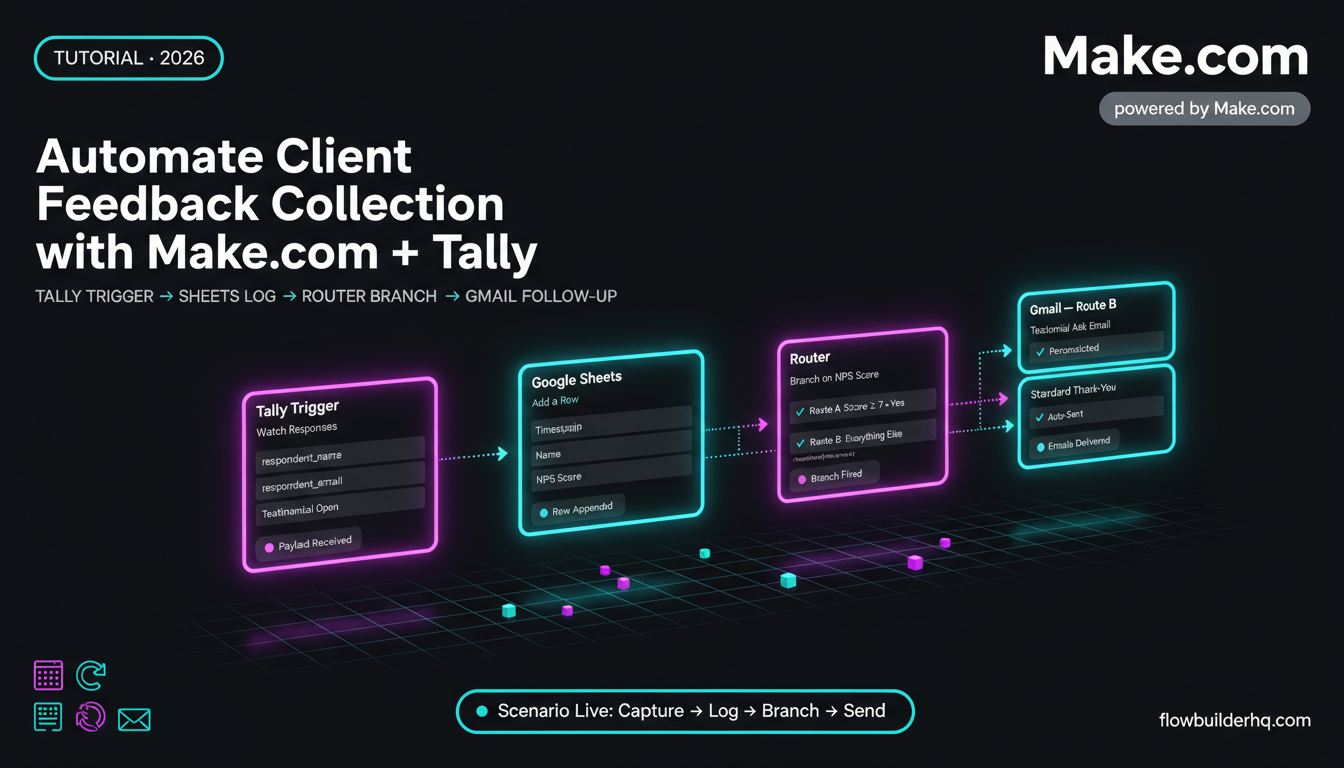
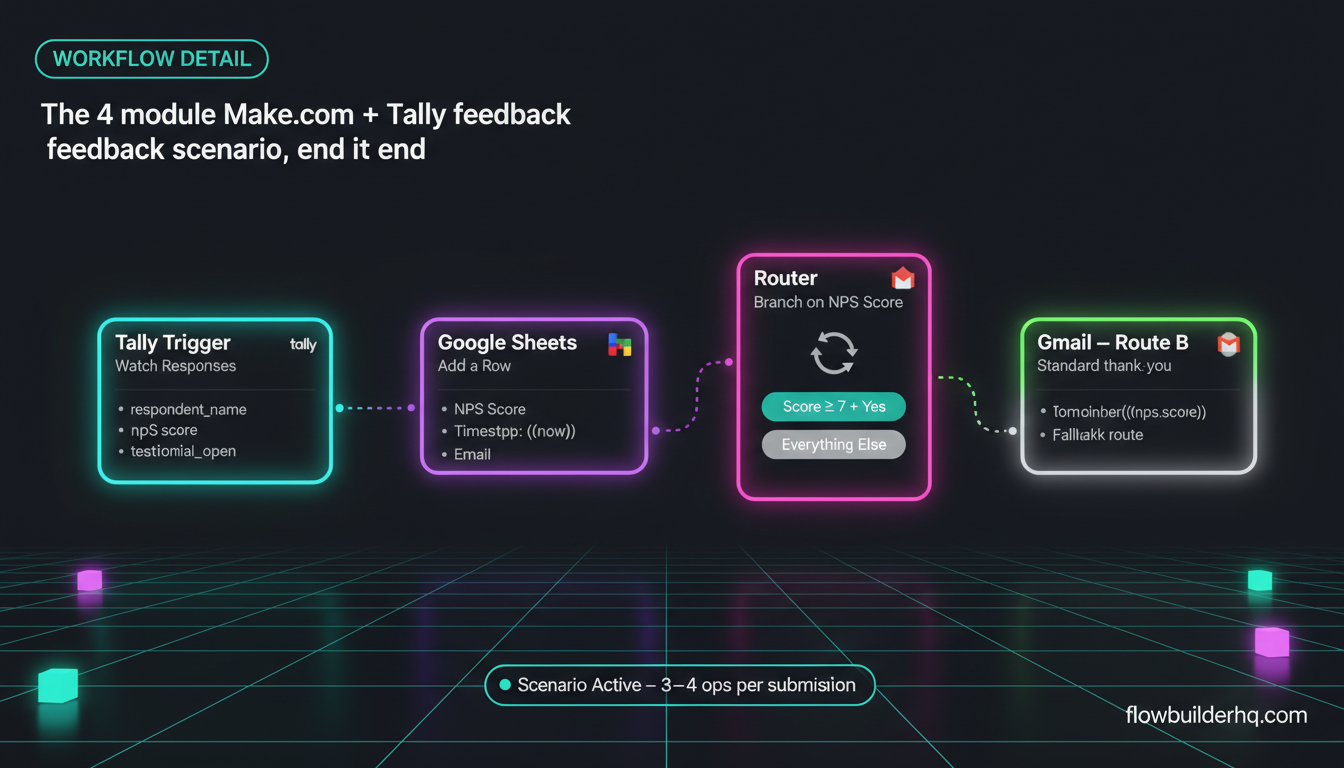
The scenario has four modules:
- Tally trigger — watches for new form submissions
- Google Sheets module — appends feedback data to a tracker
- Router — branches logic based on NPS score or sentiment
- Gmail module — sends a personalized thank-you (or follow-up) email
Total operations per submission: 3–4, depending on router branches. On Make.com’s free plan (1,000 ops/month), this handles up to ~250 feedback submissions per month for free. The Core plan at $9/month gets you 10,000 ops — more than enough for most solopreneur feedback volumes. Check Make.com’s current pricing structure before you pick a plan.
Before You Start: What You’ll Need
- A Make.com account (free tier works)
- A Tally account (free — no credit card required)
- A Google Sheet set up as your feedback tracker
- A Gmail account connected to Make.com
Make.com connects to Gmail via OAuth — you’ll authorize it once and it persists. Same for Google Sheets. Tally connects via webhook or the native Make trigger. Use the native trigger; it’s more stable than a raw webhook for beginners.
Step 1: Build Your Tally Feedback Form
Log into Tally and create a new form. For a post-project feedback or NPS-style workflow, keep the form short — response rates drop fast past 5 questions. A solid structure:
- Name (short text)
- Email (email field — required, this is what drives your follow-up)
- Overall satisfaction (rating scale 1–10, this becomes your NPS proxy)
- What worked well? (long text)
- What could be improved? (long text)
- Would you be open to leaving a testimonial? (yes/no or single select)
The testimonial question at the end is optional but valuable — it triggers a separate branch in the router later. Name your form fields clearly (e.g., respondent_name, respondent_email, nps_score) because Tally passes field labels as keys in the webhook payload, and readable keys make your Make.com mapping much easier.
Once the form is live, submit one test response. You’ll need that payload when you set up the Make.com trigger.
Step 2: Set Up the Tally Trigger in Make.com
Open Make.com and create a new scenario. For your first module, search for Tally. Select Watch Responses as the trigger. If you’re new to building scenarios, the Make.com scenario from scratch beginner guide walks through the interface before you add any integrations.
Make.com will ask you to connect your Tally account — this uses an API key. In Tally, go to Account Settings → API and copy your key. Paste it into Make.com’s connection dialog.
After connecting, select your form from the dropdown. Make.com will ask you to run the trigger to pull sample data — click Run once, then submit a test response in your Tally form. Within a few seconds, Make.com will show you the parsed payload.
You’ll see something like this in the bundle output:
{
  "respondent_name": "Alex Torres",
  "respondent_email": "alex@example.com",
  "nps_score": "8",
  "what_worked_well": "Fast turnaround and clear communication.",
  "what_could_be_improved": "More proactive updates mid-project.",
  "testimonial_open": "Yes"
}
If field names look like question_1, question_2 — go back to Tally and rename your fields. It saves real pain in the mapping steps. For a deeper look at how Make.com parses structured data from triggers, the multi-step workflow guide with filters and routers covers this pattern in detail.
Step 3: Append to Google Sheets
Add a second module: Google Sheets → Add a Row.
Connect your Google account if you haven’t already. Select the spreadsheet and the sheet tab you want to write to. Your Google Sheet should have these column headers pre-created:
| Timestamp | Name | NPS Score | What Worked | Improve | Testimonial Open | |
|---|---|---|---|---|---|---|
| — | — | — | — | — | — | — |
Map each column to the corresponding Tally output field. For the Timestamp column, use Make.com’s built-in {{now}} function — this logs the exact time the scenario ran, which is close enough to submission time for tracking purposes.
One error you’ll likely hit: “Unable to load sheets” when selecting your spreadsheet. This usually means the Google Sheets connection authenticated under a different Google account than where the sheet lives. Fix it by disconnecting and re-authorizing with the correct account. Make.com sometimes defaults to the first Google account it finds in your browser session.
For more patterns on using Google Sheets as a lightweight database with Make.com, see the Make.com with Google Sheets free ops setup post.
Step 4: Add a Router for Score-Based Branching
After the Sheets module, add a Router. Routers let you split the flow based on conditions — here, you’ll branch on NPS score and on the testimonial question.
Create two routes:
Route A: Promoters (Score 8–10) + Testimonial Open
Set the filter condition: NPS Score is greater than or equal to 7 AND Testimonial Open equals Yes. This route gets the “thank you + testimonial ask” email.
Route B: Everything Else
No filter needed on the second route — Make.com treats an unfiltered route as the fallback. This sends a standard thank-you email without the testimonial ask.
You can add a third route if you want to flag detractors (score 1–6) for a manual follow-up task — for example, creating a card in Trello or a note in your CRM. If you’re running HubSpot as your CRM, the Make.com to HubSpot integration tutorial covers exactly how to push data from a scenario into a contact record.
Router filters in Make.com use text comparison by default. Because the NPS score from Tally comes in as a string ("8"), you need to wrap it in the toNumber() function before comparing numerically. In the filter field, set the left operand to toNumber({{nps_score}}), operator to Greater than or equal to, right operand to 7. Skip this and your filter will never match correctly — text “8” is not numerically greater than “7” in a string comparison context.
Step 5: Send Personalized Emails via Gmail
At the end of each router branch, add a Gmail → Send an Email module.
Route A email (promoters, testimonial ask):
To: {{respondent_email}}
Subject: Thank you for your feedback, {{respondent_name}}

Hi {{respondent_name}},

Thank you for taking the time to share your experience — I really appreciate it.

I'm glad [specific positive element] worked well for you. Since you mentioned being open to it, would you be willing to leave a short testimonial? Even two or three sentences about your experience would mean a lot.

You can submit it here: [your testimonial form or Google Form link]

Thanks again,
[Your name]
Route B email (standard thank-you):
To: {{respondent_email}}
Subject: Thanks for the feedback, {{respondent_name}}

Hi {{respondent_name}},

Thank you for filling out the feedback form. I read every response and use them to keep improving.

If you ever have questions or want to work together again, just reply to this email.

[Your name]
Use Make.com’s text fields for the email body — not the HTML option unless you have a template. Plain text emails get better deliverability and look less automated, which matters when you’re a solopreneur building real relationships.
If you want to run a more sophisticated follow-up sequence rather than a single email, the automated email follow-up workflow post shows how to chain time-delayed emails inside Make.com without a separate email marketing tool.
Step 6: Activate and Test the Full Scenario
Before going live, run the full scenario manually using your test submission data. Click Run once in Make.com and watch each module’s output bubble. Every module should show a green checkmark.
Check:
- Google Sheet has a new row with correct data in every column
- The correct router branch fired based on your test score
- The email landed in your inbox (check spam too — Gmail sometimes flags emails sent via OAuth app during first runs)
Once everything passes, toggle the scenario to On and set the scheduling interval. For feedback forms, every 15 minutes is fine — Tally submissions aren’t time-critical enough to warrant polling every 1 minute, and lower frequency conserves ops on the free plan.
Common error at this stage: “The connection used in ‘Gmail – Send an Email’ module is invalid.” This happens when you set up the Gmail connection but your Google account has 2FA and the OAuth token expired. Re-authorize the connection in Make.com’s Connections tab — you don’t need to rebuild the scenario, just refresh the auth.
If you hit other scenario errors after launch, the Make.com error handling tutorial covers the most common failure modes and how to set up fallback routes so a broken module doesn’t silently kill your workflow.
Extending the Workflow: Testimonial Collection Triggers
Once the base workflow is running, the most valuable extension is an automated testimonial pipeline. Here’s how to add it without rebuilding anything:
In Route A, after the Gmail module, add a second action: Google Sheets → Add a Row to a separate Testimonials Pipeline sheet. Columns: Name, Email, NPS Score, Date Submitted, Status (default to “Email Sent”).
Now you have a living list of clients who said yes to a testimonial. You can review it weekly and manually follow up, or add another Make.com scenario that watches that sheet and sends a reminder after 7 days if the Status column is still “Email Sent.” This is the kind of lightweight CRM behavior you can build without paying for a full CRM tool — for more on that approach, see our take on solopreneur client management without a CRM.
For coaches and consultants who send feedback forms after every engagement, this workflow also integrates naturally into a broader client delivery system. The Make.com for coaches and consultants post covers the full client workflow automation picture if you want to see how feedback collection fits into the larger ops stack.
Why Tally Over Other Form Tools Here
Tally’s free plan has no submission limits and no Tally branding on forms — which is unusual. Most free form tools cap at 100 responses/month or slap a logo on your form. Tally doesn’t. For solopreneurs running feedback forms to 50–200 clients, that means $0/month for the form layer.
The Make.com native trigger also means you don’t need to manage webhook URLs manually or worry about payload format changes breaking your scenario. It’s the most maintainable setup for a solo operator who doesn’t want to babysit infrastructure. For a broader look at how Tally stacks up against other tools in a full automation stack, the solopreneur tech stack 2026 post covers where different form tools fit.
If you’re considering whether Make.com is the right automation layer for this kind of workflow versus alternatives, the Make.com vs Zapier honest comparison breaks down the real pricing math — particularly relevant if you’re already paying for Zapier and wondering whether to switch.
The Full Workflow at a Glance
| Module | App | Action |
|---|---|---|
| 1 | Tally | Watch Responses (trigger) |
| 2 | Google Sheets | Add a Row (feedback tracker) |
| 3 | Router | Branch on NPS score + testimonial |
| 4a | Gmail | Send testimonial ask email (Route A) |
| 4b | Gmail | Send standard thank-you (Route B) |
| 5 (optional) | Google Sheets | Add to testimonial pipeline sheet |
This runs fully unattended. Once a client submits feedback, the scenario fires within 15 minutes, logs the response, and sends the right email — no manual intervention. For a solopreneur sending feedback forms after every project, that’s hours back per quarter and a testimonial pipeline that actually produces results instead of sitting as a reminder in your task manager.
Ready to build it? Start with a free Make.com account — the free plan covers this entire workflow for most solopreneurs without spending anything.