Anthropic Claude API for Solopreneurs: What You Can Actually Build Without a Developer
The Anthropic Claude API for solopreneurs sounds intimidating. API access, authentication headers, JSON payloads — on the surface it reads like a developer’s playground. It isn’t. With Make.com as the middleman, you can call Claude’s API without writing a single line of code and build workflows that would have cost you a freelance developer and a week of back-and-forth six months ago.
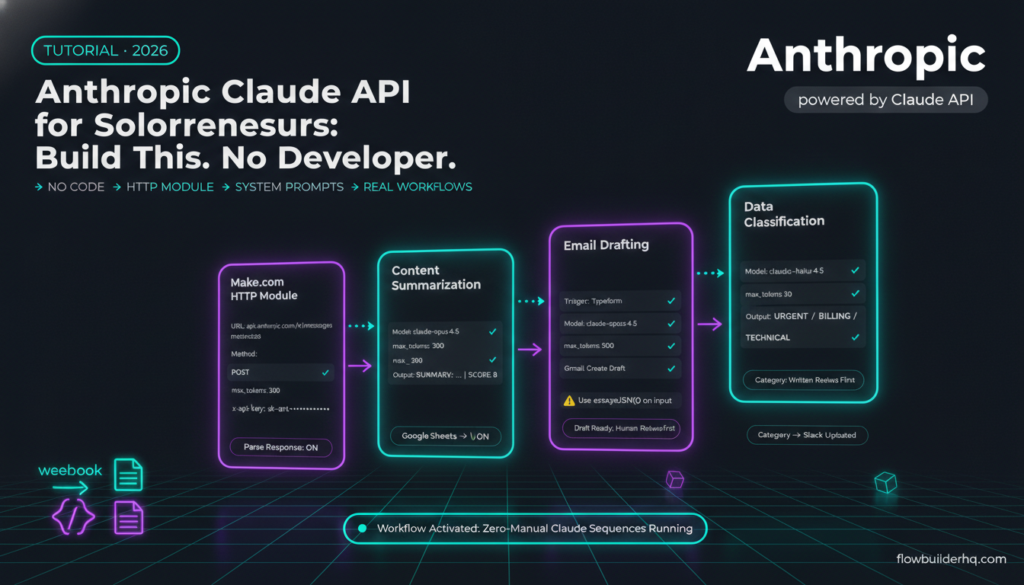
This tutorial shows you exactly how to do that. Three real use cases — content summarization, email drafting, and data classification — built entirely in Make.com using Claude’s API. No code. No developer. Just a Make.com account, an Anthropic API key, and a clear picture of what you want the workflow to do.
Why Bother With the API at All?
Claude.ai (the chat interface) is great for one-off tasks. The API is for repeatable tasks at volume. If you’re manually pasting content into Claude’s chat window more than a few times a week, you’re doing a job a workflow could do for you while you sleep.
The API also gives you control the chat interface doesn’t. You control the system prompt (the instructions Claude runs on), the model version, the temperature, and the output format. That means consistent, structured outputs — not responses that vary depending on how you worded the question that morning.
If you want to understand how Claude stacks up against OpenAI’s API before committing, our Claude API vs OpenAI API comparison for solopreneur projects covers the practical tradeoffs without the developer jargon.
What You Need Before You Start
- An Anthropic account with API access. Go to anthropic.com and create an account. API access requires a credit card and a small prepaid credit top-up. You won’t spend much — the use cases in this tutorial cost fractions of a cent per run.
- Your Anthropic API key. Found in your Anthropic Console under API Keys. Copy it and store it somewhere safe — you only see it once.
- A Make.com account. Free tier works for testing. The Core plan at $9/mo is enough for production use. Start with Make.com here if you don’t have an account yet.
That’s it. No local environment, no terminal, no package installs.
How the Anthropic Claude API Actually Works (the 30-Second Version)
The Claude API accepts an HTTP POST request. You send it a JSON body containing your model choice, a system prompt (optional but recommended), and a user message. Claude returns a JSON response containing the generated text.
In Make.com, the HTTP module handles all of this. You configure the URL, the headers (where your API key lives), and the request body (your prompt). Make.com sends the request, Claude responds, and Make.com hands the output to the next module in your scenario.
The endpoint you’ll use for all three workflows below is:
https://api.anthropic.com/v1/messagesThe full structure of the API — including available models, token limits, and response schema — is documented in the official Anthropic API documentation. Skim the Messages endpoint section before building. It takes five minutes and saves you from guessing at field names.
Setting Up the HTTP Module in Make.com
Every Claude API call in Make.com follows the same pattern. Set this up once and replicate it across all three workflows.
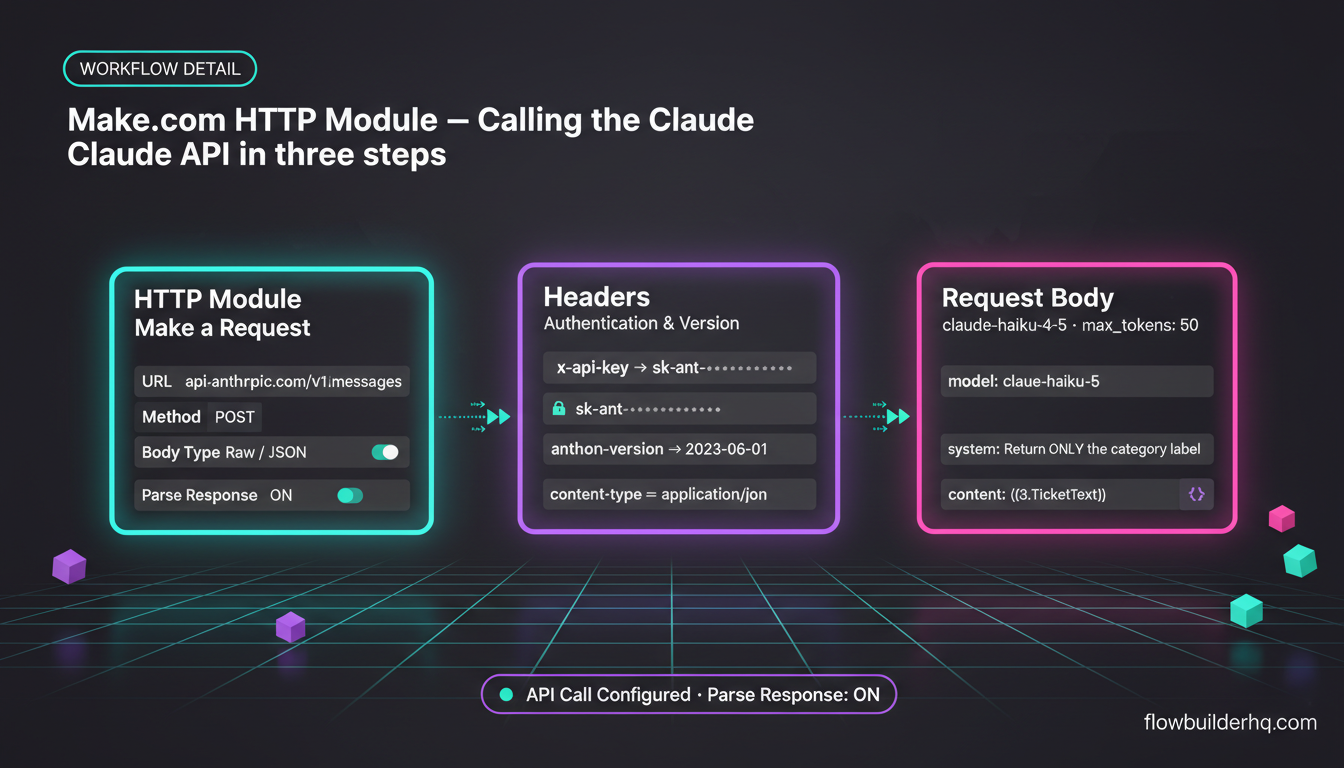
- Add an HTTP module. In your Make.com scenario, add the module HTTP > Make a Request.
- Set the URL. Enter
https://api.anthropic.com/v1/messages - Set the method. POST.
- Add headers. You need two:
x-api-key→ your Anthropic API keyanthropic-version→2023-06-01content-type→application/json
- Set the body type. Raw / JSON.
- Paste your request body. (Covered per use case below.)
One thing that catches people here: Make.com’s HTTP module has a toggle for “Parse response.” Turn it ON. This tells Make.com to parse the JSON Claude returns so you can map individual fields (like the text content) in downstream modules instead of working with a raw string.
If you’re new to Make.com’s scenario builder, this beginner walkthrough of building a Make.com scenario from scratch covers the interface basics so you’re not guessing which panel to click.
Use Case 1: Content Summarization
The Problem
You’re pulling articles, newsletters, or RSS feed content into a Google Sheet or Notion database as part of a research or curation workflow. Reading every piece before deciding if it’s useful is slow. Claude can summarize each item in two to three sentences and tag it with a relevance score.
The Workflow
- Trigger: Google Sheets — Watch Rows (new row added with a URL or pasted article text)
- HTTP Module — POST to Claude API
- Google Sheets — Update Row (write the summary back to the same row)
The Request Body
{
  "model": "claude-opus-4-5",
  "max_tokens": 300,
  "system": "You summarize content for a solopreneur. Return a 2-3 sentence summary followed by a relevance score from 1-10 for someone running a solo consulting business. Format: SUMMARY: [text] | SCORE: [number]",
  "messages": [
    {
      "role": "user",
      "content": "{{1.ArticleText}}"
    }
  ]
}
Replace {{1.ArticleText}} with the Make.com mapped variable from your trigger module — whatever field holds the raw article text.
Parsing the Output
Claude returns a JSON object. The text content lives at content[0].text in the response. In Make.com, after enabling “Parse response,” you’ll map this as {{HTTP_module_number.content[].text}}. Write that mapped value back to a “Summary” column in your Google Sheet.
Because the system prompt specifies a consistent output format (SUMMARY: ... | SCORE: ...), you can use Make.com’s text parsing tools to split that string and write the score to a separate column — useful for filtering or sorting later.
For more on using Google Sheets as a lightweight data layer in Make.com workflows, see how to use Make.com with Google Sheets as a free database.
Use Case 2: Automated Email Drafting
The Problem
You receive inquiry forms, support requests, or lead notifications and spend time drafting responses that follow a predictable pattern. The first draft is always 80% the same — Claude can write that 80% and leave a placeholder for the personalized detail.
The Workflow
- Trigger: Typeform / Google Forms / Webhook — new form submission
- HTTP Module — POST to Claude API
- Gmail — Create Draft (not Send — review before it goes out)
Using “Create Draft” instead of “Send” is deliberate. Claude drafts the email; you review and send. This keeps a human in the loop on outbound communication without doing the writing from scratch every time. Once you trust the output for a specific form type, you can switch to Send.
The Request Body
{
  "model": "claude-opus-4-5",
  "max_tokens": 500,
  "system": "You write professional but warm email responses on behalf of a solo consultant. Keep responses under 150 words. End with a clear next step. Never use filler phrases like 'I hope this email finds you well.' Sign off as [Your Name].",
  "messages": [
    {
      "role": "user",
      "content": "Write a reply to this inquiry: {{2.FormResponse}}"
    }
  ]
}
The system prompt is doing the heavy lifting here. It defines the tone, length constraint, and structural requirement (clear next step). The form response text gets injected as the user message via the Make.com variable.
Common Error and Fix
Error: The HTTP module returns a 400 status with "error": {"type": "invalid_request_error"}.
Cause: The injected form text contains special characters (quotation marks, line breaks) that break the JSON structure.
Fix: In Make.com, wrap the mapped variable with the escapeJSON() function before it’s inserted into the request body. In the body field, change {{2.FormResponse}} to {{escapeJSON(2.FormResponse)}}. This escapes quotes and newlines automatically.
If you want to see the full Typeform-to-workflow pattern, this Make.com Typeform automation walkthrough covers the trigger setup in detail.
Use Case 3: Data Classification
The Problem
You have a spreadsheet — leads, support tickets, content ideas, expense entries — and each row needs to be categorized. You’ve been doing it manually or ignoring it because it’s tedious. This is exactly the kind of task Claude excels at when given a strict classification schema.
The Workflow
- Trigger: Google Sheets — Search Rows (rows where “Category” column is blank)
- HTTP Module — POST to Claude API
- Google Sheets — Update Row (write the category back)
- Optional: Router module to branch behavior based on category (e.g., high-priority leads go to a Slack notification)
The Request Body
{
  "model": "claude-haiku-4-5",
  "max_tokens": 50,
  "system": "You classify customer support tickets into exactly one of these categories: BILLING, TECHNICAL, GENERAL, FEATURE_REQUEST, URGENT. Return ONLY the category label. No explanation. No punctuation.",
  "messages": [
    {
      "role": "user",
      "content": "{{3.TicketText}}"
    }
  ]
}
Notice the model switch: claude-haiku-4-5 instead of Opus. For classification tasks where you just need a label, Haiku is faster and costs significantly less. Save Opus for tasks requiring nuanced writing or reasoning. This is one of the most important cost decisions you’ll make when building Claude-powered workflows.
The system prompt is deliberately restrictive: “Return ONLY the category label.” Without that constraint, Claude will sometimes add context like “Based on the ticket, I would categorize this as…” — which breaks your downstream mapping because the Google Sheets update expects a clean string, not a sentence.
Adding a Router for Branching Logic
After the HTTP module writes the classification back to Google Sheets, add a Make.com Router module. Create branches based on the returned category value:
- If output =
URGENT→ Send Slack notification - If output =
BILLING→ Add to a billing follow-up Google Sheet tab - All other → no action (workflow ends)
For the Slack notification branch, this guide on automating Slack notifications with Make.com covers filters and message formatting so your alert actually looks useful.
Controlling Costs: What the API Actually Charges
Claude’s API is priced per token (roughly 4 characters = 1 token). For the workflows above:
- Summarization (Opus, 300 max output tokens): A few cents per 100 articles — well under $1 for most weekly volumes.
- Email drafting (Opus, 500 max output tokens): Similar cost profile. 200 emails/month costs roughly $2-4 at current Opus pricing.
- Classification (Haiku, 50 max output tokens): Haiku is dramatically cheaper. 1,000 classifications will cost you a fraction of what Opus would charge for the same task.
Current pricing is published on Anthropic’s pricing page. Check it before scaling — model pricing does change. The key habit: always set max_tokens to the minimum your use case needs. Leaving it at 4096 for a classification task that needs 10 tokens wastes nothing if Claude returns short text, but it’s sloppy configuration that will bite you if your prompt ever causes a verbose response.
On the Make.com side, each scenario run consumes operations. An HTTP call = 1 operation. A Google Sheets update = 1 operation. For the summarization workflow above, one article processed = 3 operations. At Make.com’s free tier (1,000 ops/month) you can process ~333 articles/month before hitting limits. The Core plan at $9/mo gives you 10,000 ops — more than enough for most solo workflows.
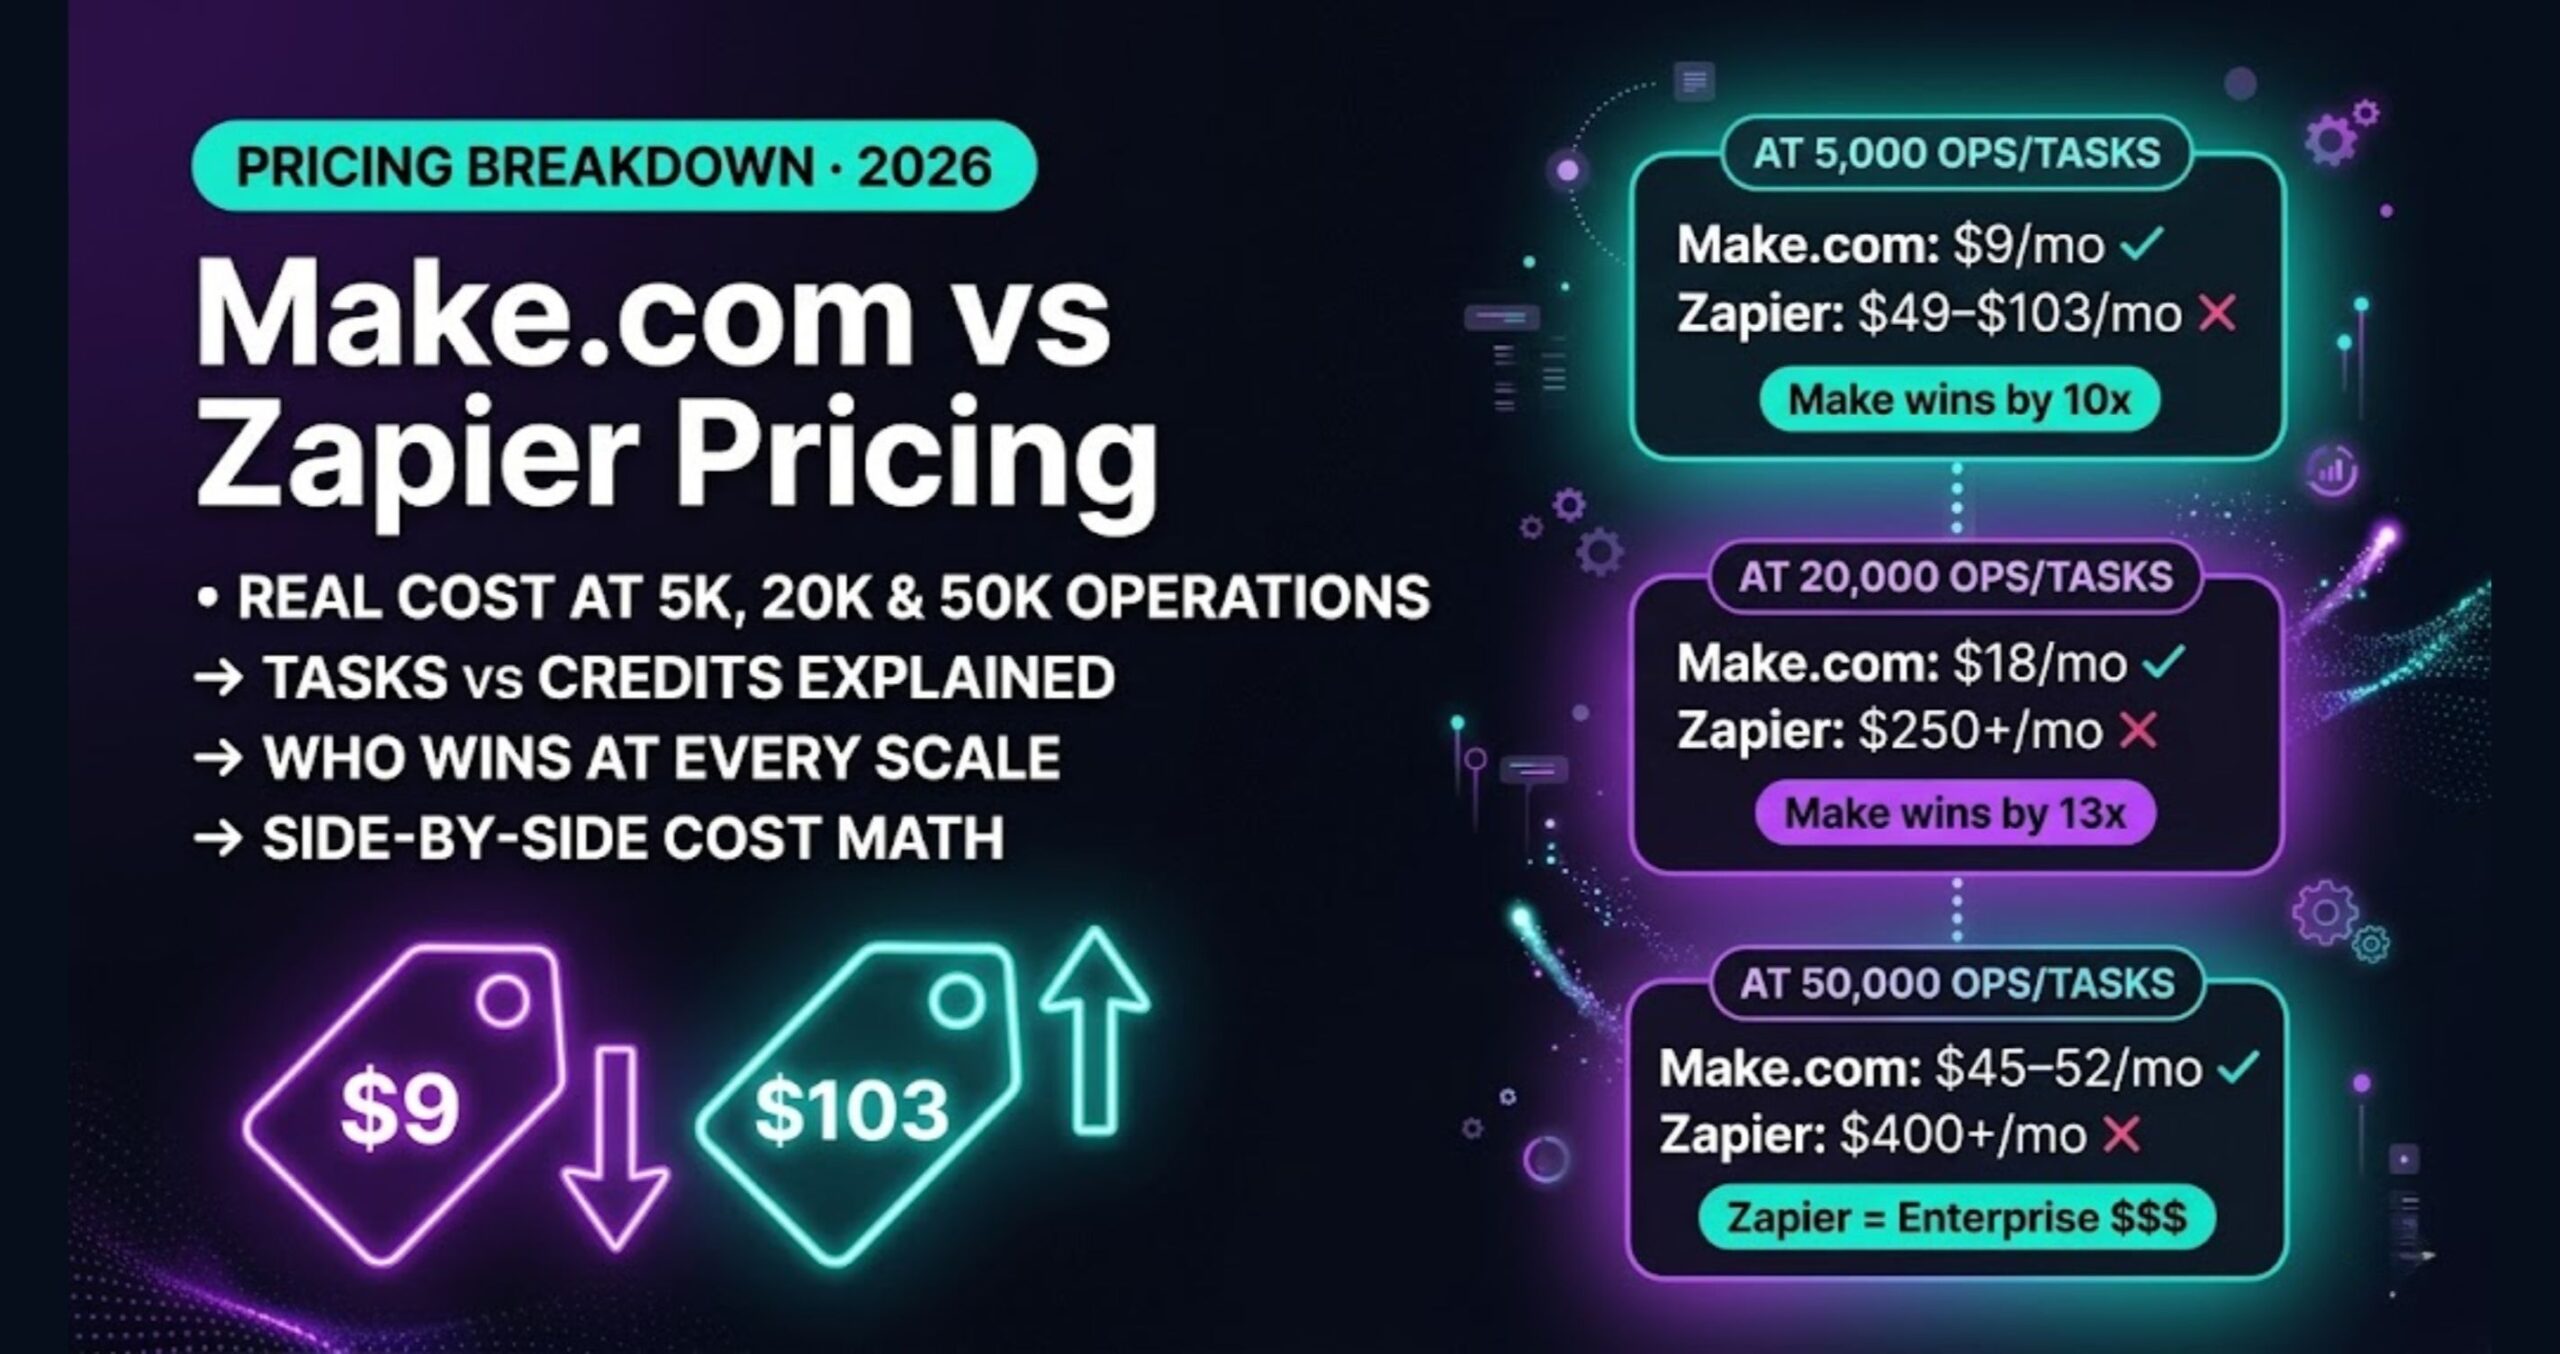
If you’re tracking operations across multiple workflows and want to understand where your ops budget actually goes, this breakdown of Make.com’s 2026 pricing explains how credits and operations interact across plans.
Structuring Your System Prompts for Consistent Output
The single biggest factor in whether these workflows run reliably is your system prompt. Bad prompts produce variable output. Variable output breaks your downstream modules. Here’s the pattern that works:
- State the role. “You are a [specific function] assistant.”
- Define the output format explicitly. “Return ONLY [X]. No explanation.”
- Set length constraints. “Under 150 words” or “2-3 sentences.”
- Anticipate edge cases. “If the input contains no classifiable content, return UNKNOWN.”
That last point matters. Make.com workflows don’t handle ambiguity well. If Claude returns “I’m not sure how to classify this” and your update module expects one of five category strings, the workflow either errors or writes junk data. Build the edge case into the prompt — tell Claude what to return when it doesn’t know.
If you want to go deeper on how Claude specifically handles different task types versus other AI tools, this overview of what Claude actually does well for small businesses is a useful reference alongside this tutorial.
Debugging When the Workflow Breaks
Three failure points show up repeatedly in Claude API workflows built in Make.com:
1. 401 Unauthorized. Your API key is wrong or has expired. Check the Anthropic Console. Make sure there are no trailing spaces when you paste the key into Make.com’s header field.
2. 400 Invalid Request. Almost always a JSON formatting issue caused by special characters in the injected text. Use escapeJSON() on any user-supplied input. Also check that your JSON body is valid — paste it into a JSON validator if you’re hand-editing the body field.
3. Unexpected output format. Claude returned something other than what your system prompt specified. Add a text parser module between the HTTP module and the update module to extract the expected pattern using regex. This makes the workflow resilient to minor Claude verbosity without having to re-run the whole scenario.
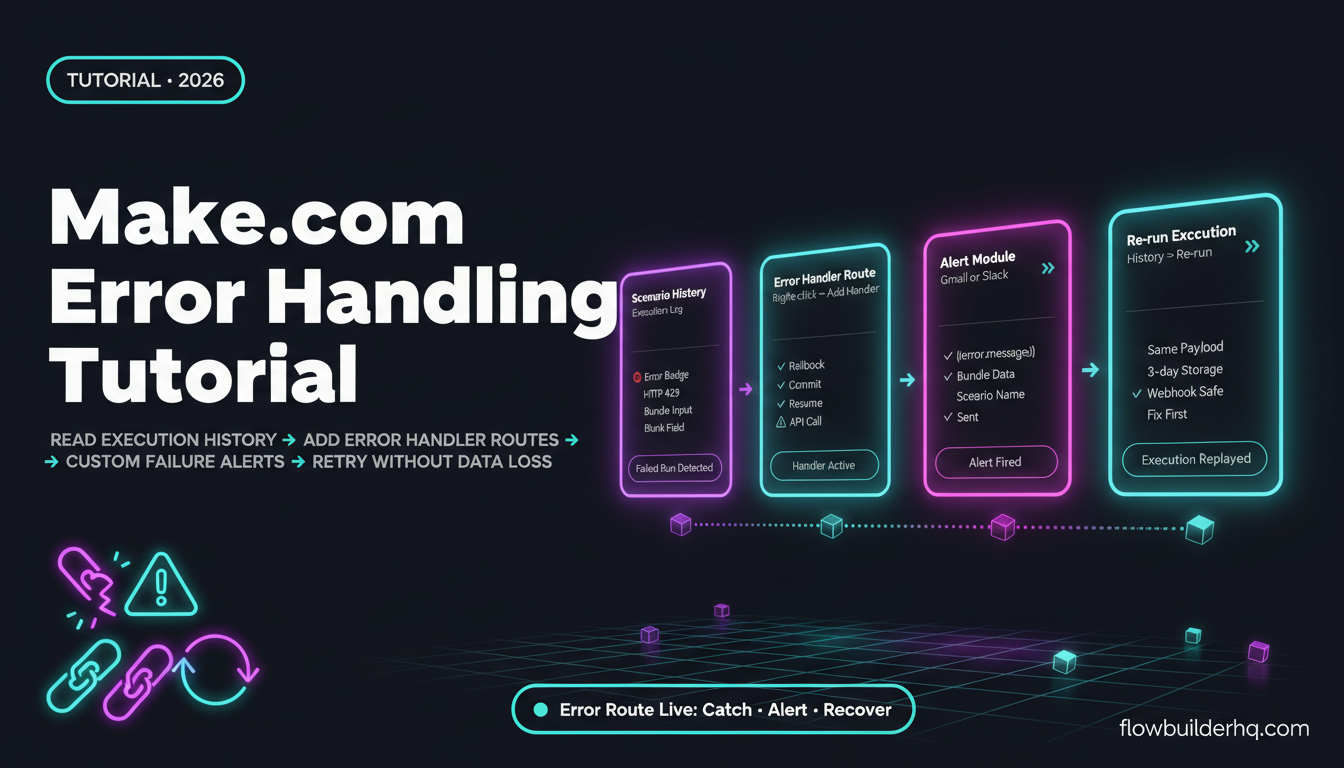
Make.com’s built-in error handling tools — retry logic, error handlers, fallback routes — are worth setting up on any production workflow. This Make.com error handling tutorial walks through the exact setup for each failure type.
What to Build Next
The three workflows above are starting points. Once you’re comfortable with the HTTP module pattern and system prompt structure, the same framework handles:
- Content brief generation — feed a keyword from a sheet, get a structured brief back
- Lead scoring — pass CRM lead data, get a priority score and reasoning
- Meeting note processing — paste transcript text, get action items extracted in a specific format
- Invoice line item categorization — classify expenses automatically as they hit a sheet
Every one of these is the same pattern: trigger → HTTP POST to Claude → parse response → write output somewhere useful. The variables change. The structure doesn’t.
If you’re looking at expanding into a broader AI-powered automation stack beyond Claude alone, this breakdown of no-code automation tools for service-based solopreneurs covers how the pieces fit together without overcomplicating the stack.
And if you want to see how Claude API compares directly to OpenAI’s API for the kinds of tasks covered here, this technical comparison of the Anthropic and OpenAI APIs for solopreneur automation gives you a clean side-by-side.
The Real Barrier Isn’t Technical
The Claude API is not gated behind developer skills. The barrier is knowing what you want the workflow to do clearly enough to write a system prompt that specifies it. That’s a writing problem, not a coding problem. If you can write a standard operating procedure, you can write a system prompt.
Start with the classification workflow — it’s the simplest output to validate. Once you see a clean category label written back to your sheet automatically, the rest becomes obvious.
Set up your Make.com account here and build the first workflow today. The HTTP module, a free Anthropic API credit, and thirty minutes is all it takes.
Building this yourself? Get the workflow pack.
5 ready-to-import n8n workflows — lead capture, invoicing, content repurposing, onboarding, social posting. Free.