How to Build a Make.com Scenario From Scratch for Beginners (Your First Automation in Under 30 Minutes)
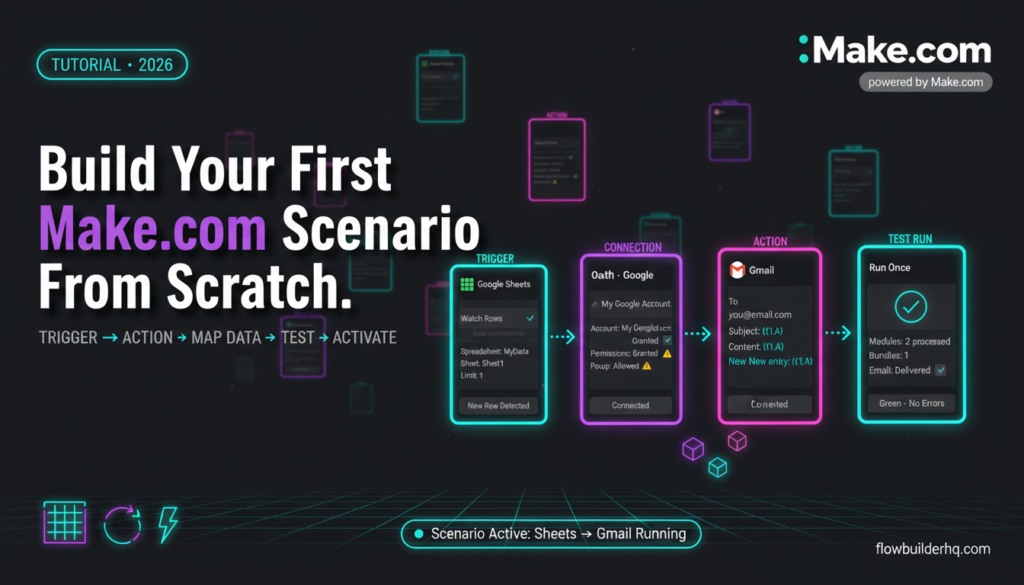
If you’ve been staring at Make.com’s canvas wondering where to start, this tutorial is for you. Knowing how to build a Make.com scenario from scratch for beginners is the single skill that unlocks every automation you’ll ever run — and it takes less than 30 minutes the first time. This guide walks through every click, explains the three core building blocks, and ends with a fully working scenario you can switch on today.
The scenario you’ll build: when a new row is added to a Google Sheet, Make.com automatically sends a Gmail notification. It’s simple enough to finish in one sitting, but real enough to show you exactly how every other scenario works. Once you understand the pattern here, you can build anything.
If you want context on what Make.com can do before committing time to it, read our full Make.com review first. Otherwise, open a browser tab and follow along.
What Make.com Actually Is (The 60-Second Version)
Make.com is a visual automation platform. You connect apps together by placing modules on a canvas and linking them. When an event happens in one app, Make.com runs a sequence of actions in other apps. No code required — but you do need to understand its logic, which is what this tutorial covers.
The free plan gives you 1,000 operations per month, which is more than enough to learn and run a handful of real automations. If you want to compare costs against other tools before going further, check the full Make.com pricing breakdown.
The Three Building Blocks Every Scenario Uses
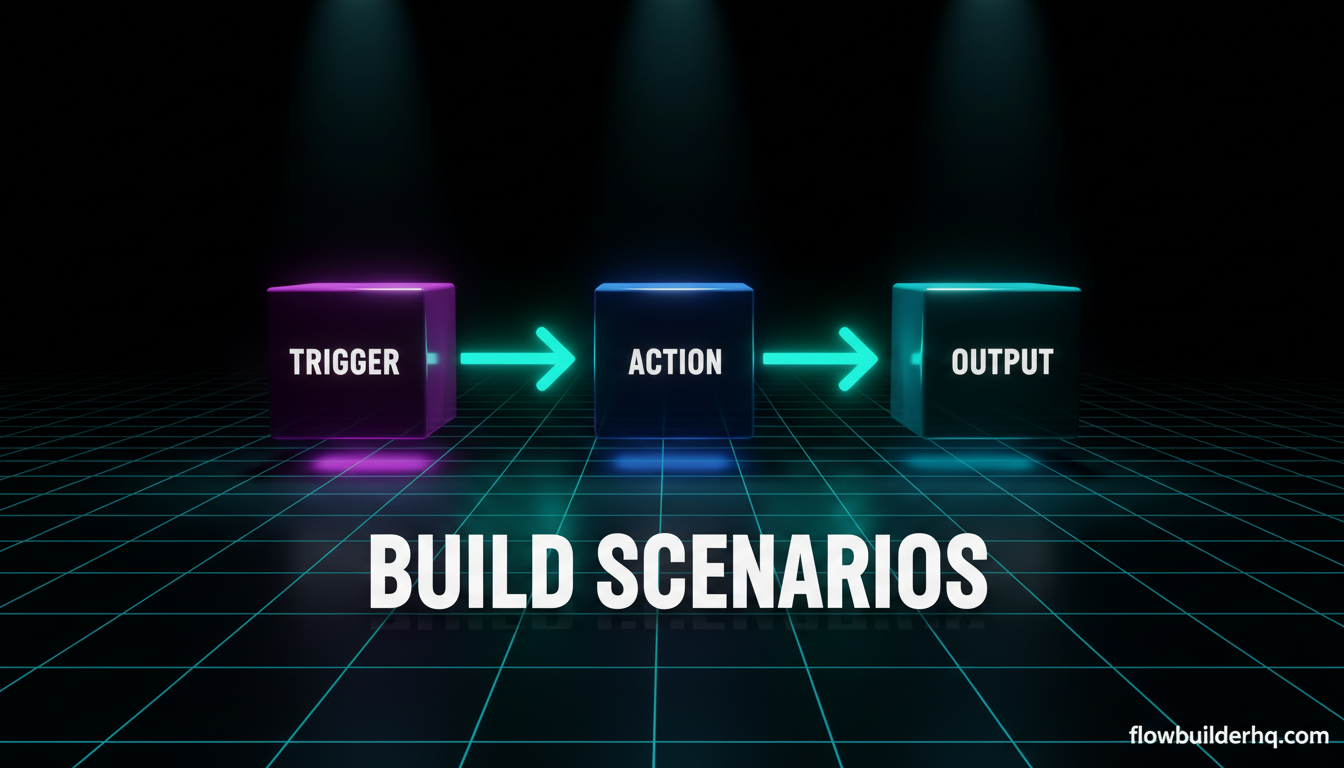
Before touching the canvas, understand these three concepts. They appear in every scenario you’ll ever build.
Trigger
A trigger is what starts the scenario. It watches an app for a specific event. Examples: a new row added to Google Sheets, a form submitted in Typeform, a new email arriving in Gmail. Every scenario has exactly one trigger — it’s always the first module on the canvas.
Action
An action is what Make.com does after the trigger fires. Send an email, create a record in a CRM, post to Slack, update a spreadsheet. You can chain as many actions as you want — each one runs in sequence.
Router
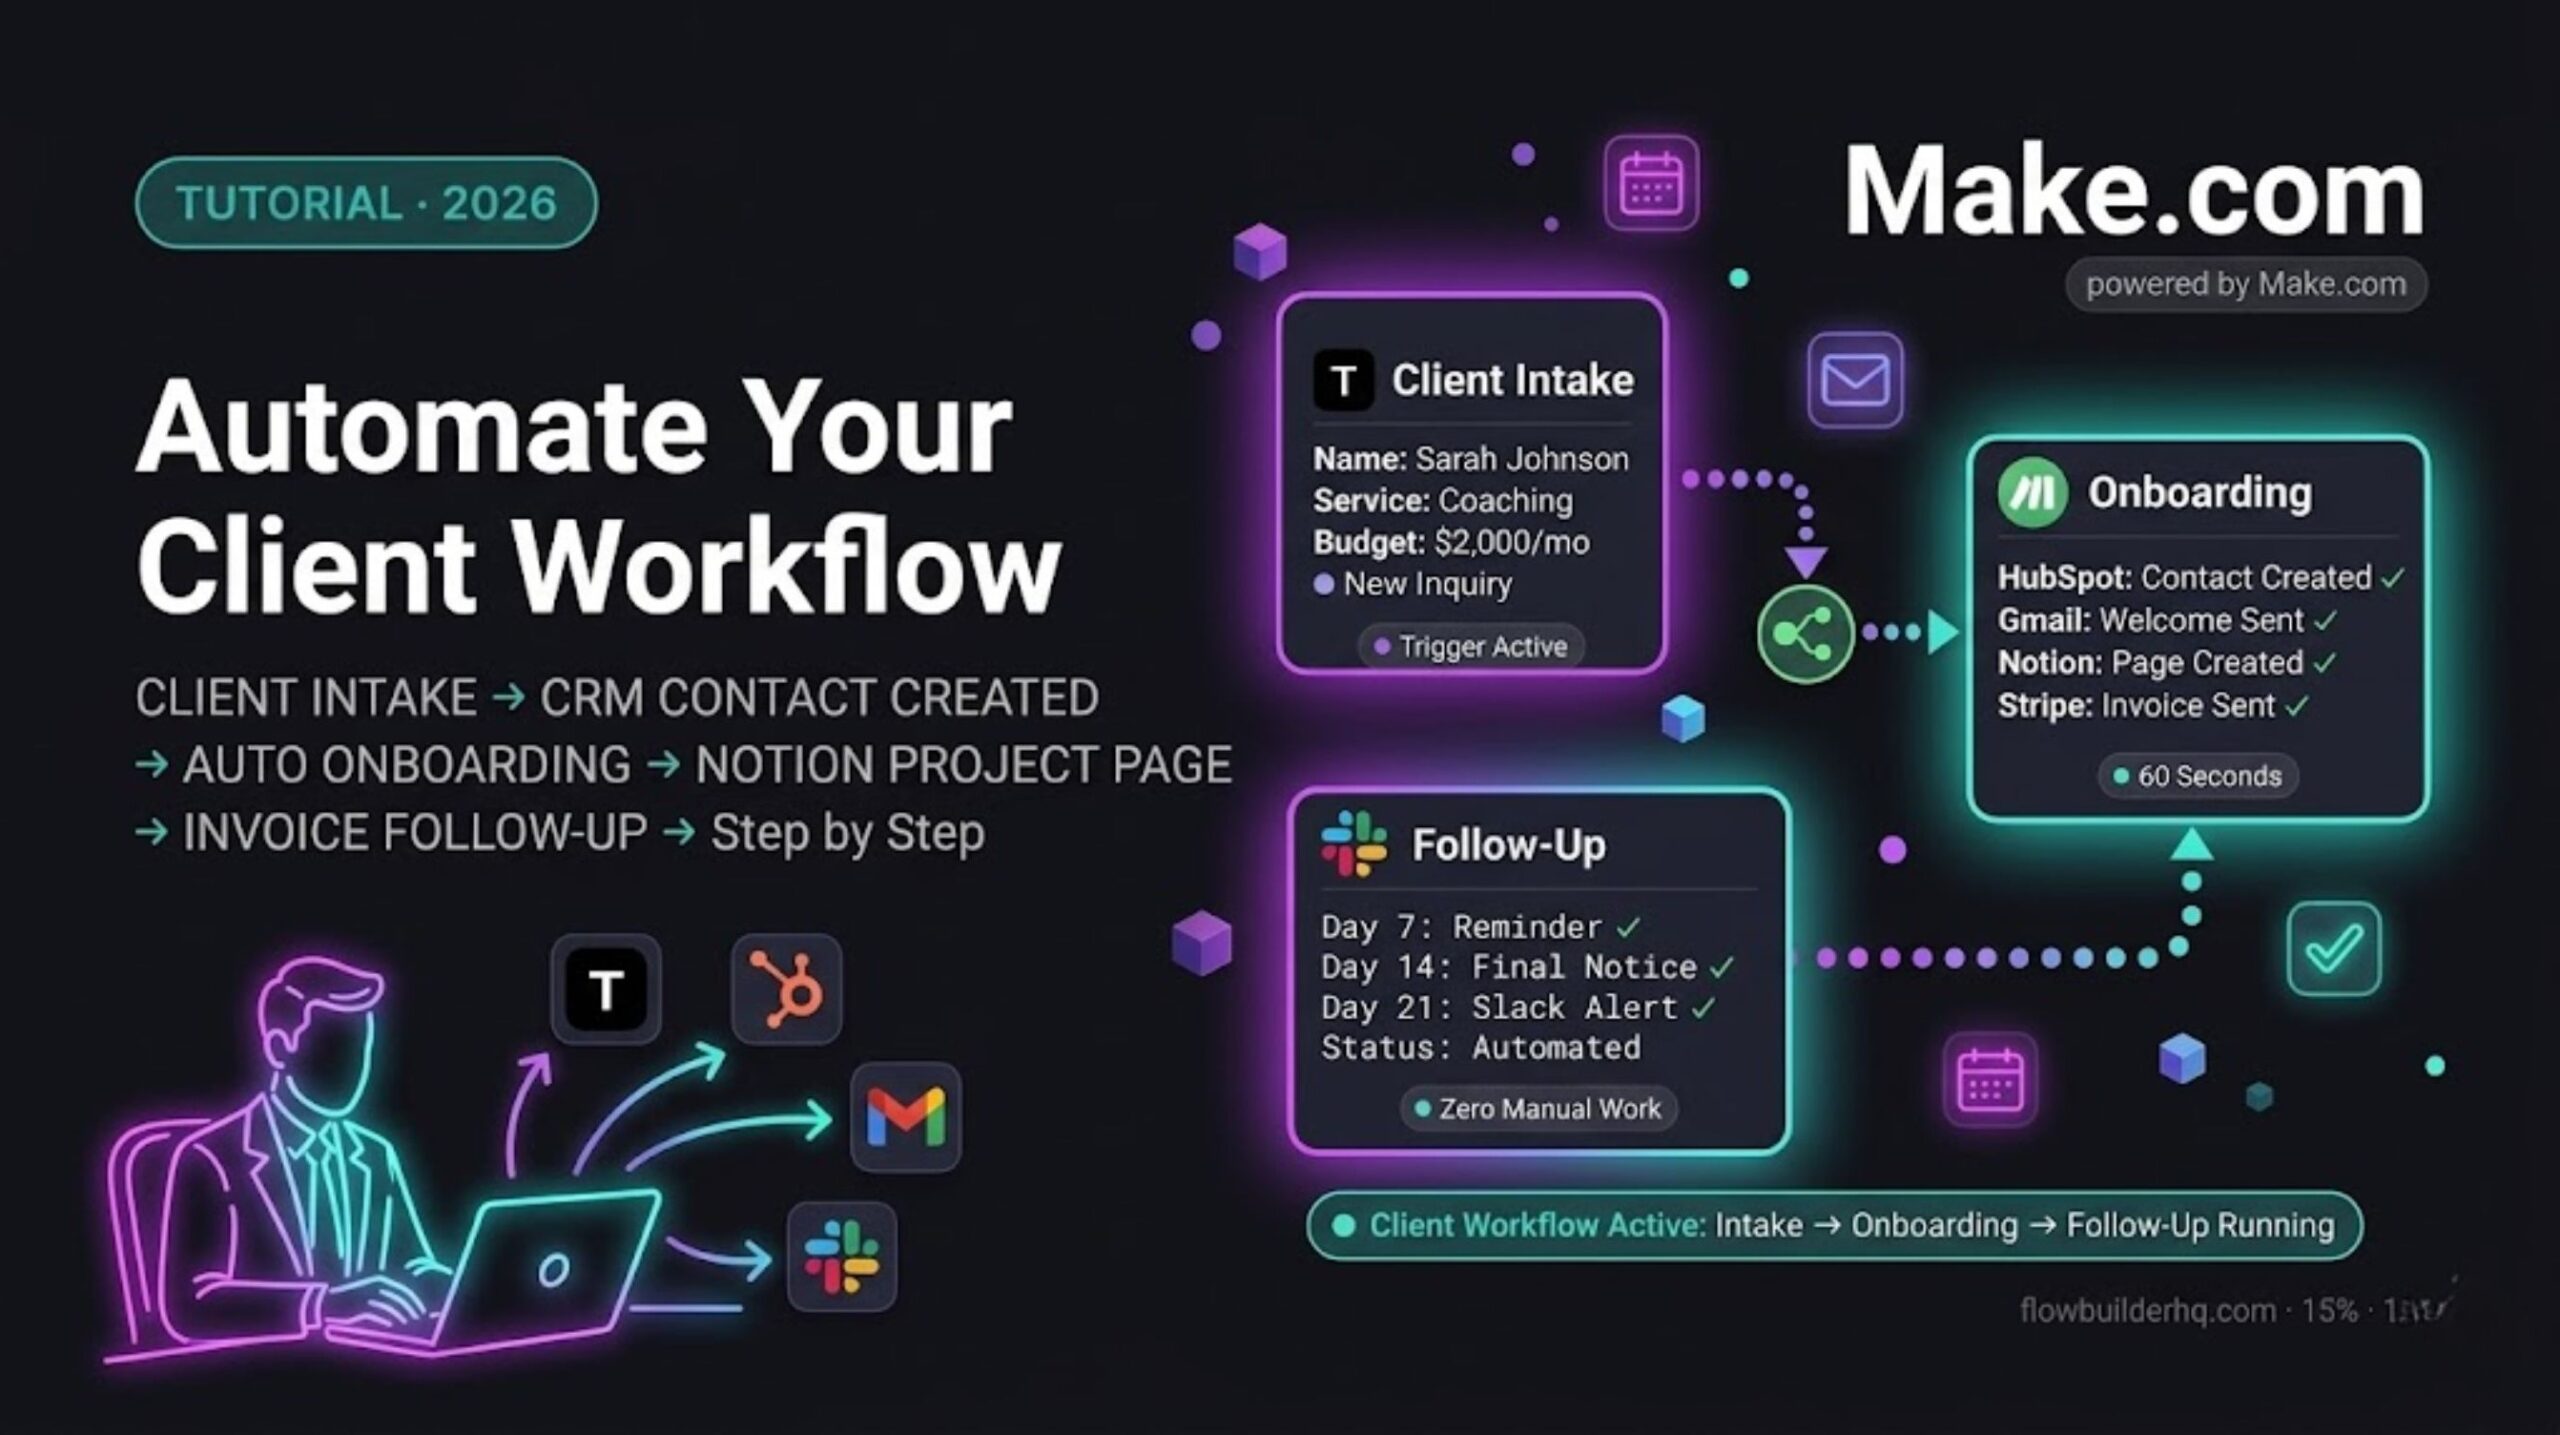
A router splits your scenario into different paths based on conditions. Think of it as an if/else branch. If the new row has “priority: high” in column C, send a Slack message. If it says “priority: low”, just log it. Routers are optional — you don’t need one for this first build, but you’ll hit them fast once you start building real workflows. You can see a router in action in this client onboarding workflow tutorial.
That’s the whole logic of Make.com: one trigger fires, actions run, routers redirect if needed. Everything else is just app-specific configuration on top of that pattern.
Step 1: Create Your Make.com Account
Go to Make.com and sign up for free. No credit card required for the free plan. Once you’re in, you land on the dashboard — a list of your scenarios (empty right now) and a left sidebar with navigation.
Don’t click anything else yet. You’re building a scenario, so go directly to the Scenarios section in the left sidebar, then hit the blue Create a new scenario button in the top right.
Step 2: Meet the Canvas
The canvas is the blank workspace where your scenario lives. You’ll see a large empty area with a faint grid, and a single question mark icon in the center — that’s your first module placeholder waiting to be set up as a trigger.
Two things to know about the canvas before you start placing modules:
- Scroll to zoom: Use your mouse wheel or trackpad to zoom in and out. When your scenario gets longer, this matters.
- Click and drag to pan: Hold the canvas background and drag to move around.
The canvas autosaves as you work, but you won’t run anything until you explicitly hit the Run button. So you can’t break anything by clicking around.
Step 3: Set Up Your Trigger (Google Sheets — Watch Rows)
Click the question mark module in the center of the canvas. A search box appears — this is the app picker. Type Google Sheets and select it from the list.
Make.com will show you all the available triggers and actions for Google Sheets. You want a trigger — something that watches for new data. Select Watch Rows. This trigger fires every time a new row is added to a sheet you specify.
Connect Your Google Account
The first time you use Google Sheets in Make.com, you need to create a connection. Click Add next to the Connection field. A Google OAuth window opens — log in with the Google account that owns the sheet you want to watch. Grant the permissions Make.com requests, then name your connection something memorable (like “My Google Account”) and save it.
This is the step where most beginners slow down. The connection setup looks different from the rest of the UI, and it opens a popup. If your popup blocker fires, allow popups for Make.com and try again. Once the connection is saved, it appears in a dropdown — you’ll reuse it every time you add a Google app module, so you only do this once per Google account.
Configure the Trigger Settings
After connecting, you need to fill in three fields:
- Spreadsheet: Click the dropdown and select your Google Sheet. Make.com pulls a live list from your Drive.
- Sheet: Select the specific tab within that spreadsheet (usually “Sheet1” by default).
- Limit: Leave this at 1 for testing. It controls how many rows Make.com processes per run.
Click OK to save the trigger. Make.com will ask: “Where do you want to start?” This sets which row the trigger checks from on its first run. Select Choose manually and set it to the row after your headers — usually row 2. This prevents Make.com from treating your header row as data.
Step 4: Add Your Action (Gmail — Send an Email)
You’ll see a small circle with a plus sign appear to the right of your trigger module. Click it to add the next module — your first action.
Type Gmail in the search box and select it. From the list of actions, choose Send an Email.
Connect your Gmail account the same way you connected Google Sheets — click Add, authorize via OAuth, save the connection.
Fill In the Email Fields
Now you’ll configure what the email actually contains. This is where Make.com’s visual data mapping comes in — and it’s the feature that makes the tool genuinely powerful.
- To: Type your own email address here for testing.
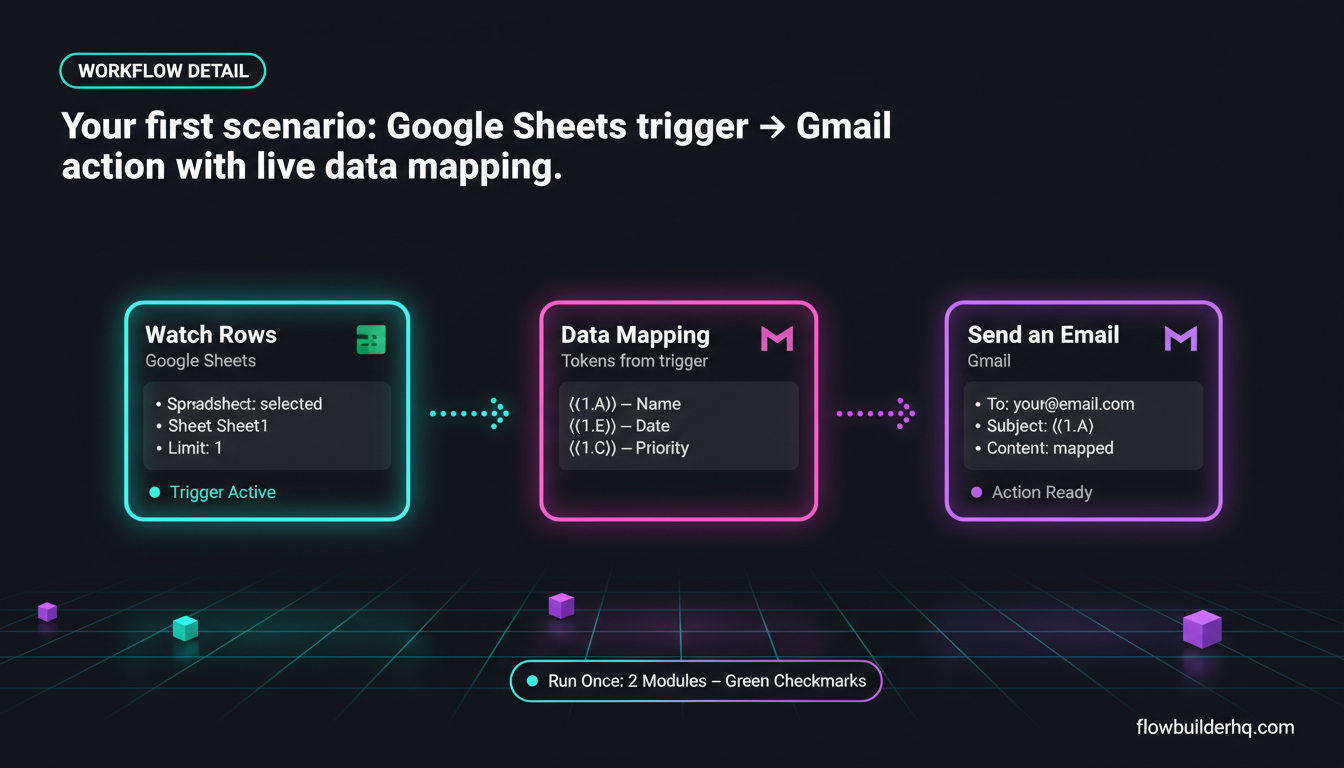
- Subject: Click inside the field. A blue panel appears on the right side of the screen — this is the data picker. You can see all the data your trigger collected from the Google Sheet row: column A, column B, column C, etc. Click on whichever column contains the subject-relevant data (say, column A which holds a name or task title). Make.com inserts a token like
{{1.A}}— this is dynamic data from the trigger. - Content: Build your email body using a mix of plain text and mapped tokens. For example:
New entry: {{1.A}} — submitted on {{1.E}}. Every token pulls live data from the row that triggered the scenario.
Click OK to save the action. Your canvas now has two modules linked by an arrow: the Google Sheets trigger on the left, the Gmail action on the right. That’s a complete scenario.
Step 5: Test the Scenario
Before turning the scenario on, test it manually. Click the Run once button at the bottom left of the canvas.
Make.com runs the scenario once, pulls data from your Google Sheet (the first new row it finds), and attempts to send the email. Watch for two things:
- Green checkmarks above each module mean that module executed successfully and processed data.
- Red exclamation marks mean an error occurred — click the module to see the error message.
If the run succeeds, check your inbox. The email should arrive within seconds.
Common Error: “No rows found”
The most frequent test-run error for beginners is the trigger returning no data — Make.com shows “No bundles processed” and the trigger bubble shows a zero. This usually means one of three things:
- Your Google Sheet has no rows below the row you set as the starting point. Add a test row to the sheet, then run again.
- You set the starting position to a row that already has data — Make.com considers it “already seen.” Go back into the trigger settings and reset the starting position.
- The wrong sheet tab is selected. Double-click the trigger module and verify the Sheet dropdown matches the tab where your data actually lives.
Once you see green checkmarks on both modules and the email lands in your inbox, the scenario works.
Step 6: Schedule the Scenario and Turn It On
Right now the scenario only runs when you manually click Run once. To make it automatic, you need to do two things:
Set the Schedule
At the bottom left of the canvas, click the scheduling toggle area — it shows a clock icon. You can set how frequently Make.com checks for new rows: every 15 minutes, every hour, every day. On the free plan, the minimum interval is 15 minutes. On paid plans, you can go down to 1 minute.
For most notification workflows like this one, every 15 minutes is fine.
Activate the Scenario
At the bottom of the canvas, you’ll see an ON/OFF toggle. Flip it to ON. Make.com will now run your scenario automatically on the schedule you set. You’ll see it listed as “Active” on the Scenarios dashboard.
That’s it. You’ve built your first automation from scratch.
What You Just Learned (And What Comes Next)
That one scenario taught you the core pattern behind every Make.com build: a trigger watches for an event, actions fire in response, and mapped tokens carry real data between modules. Every scenario — no matter how complex — works exactly the same way. The only difference is more modules and more logic in between.
Here’s where to go from here, depending on what you want to automate next:
- Email automation: See how to use the same logic for automated email follow-up sequences.
- Pre-built starting points: Rather than build every scenario from zero, browse Make.com scenario templates for small business — many are one-click imports.
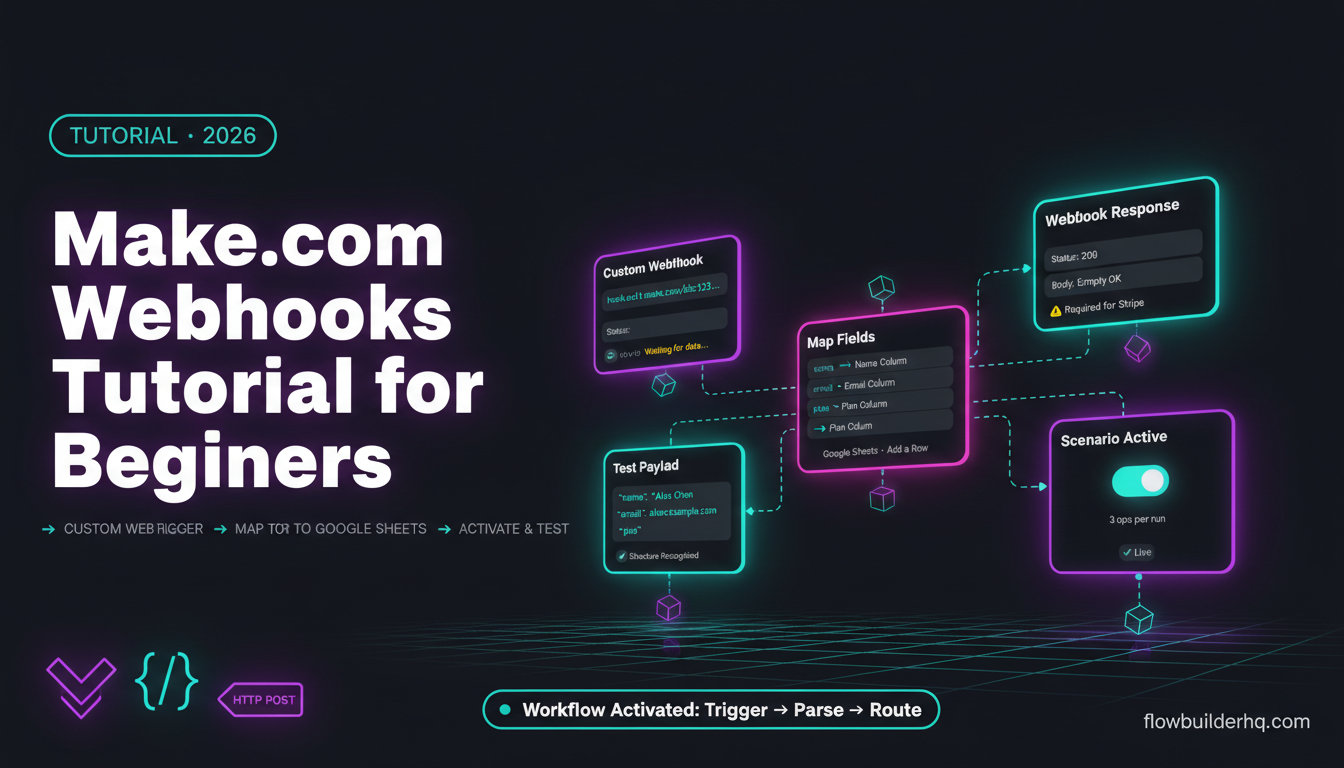
- Real-time triggers: The Google Sheets trigger runs on a poll schedule. When you need instant triggers (form submit fires the workflow in seconds, not 15 minutes), read the Make.com webhooks tutorial for beginners.
- Freelancer workflows: If you’re running a solo practice, Make.com for freelancers covers the five scenarios worth building first.
If you’re comparing Make.com against alternatives before fully committing, the Make.com vs Zapier breakdown covers pricing math and real capability differences. And if you’ve been considering n8n as an alternative, the best no-code automation tools comparison puts both in context.
Make.com’s official scenario documentation is also worth bookmarking — it covers edge cases and advanced module options that go beyond what any single tutorial can cover.
Ready to Build Your First Make.com Scenario?
The free plan is genuinely usable — 1,000 operations per month covers multiple active scenarios without paying anything. Start there, get comfortable with the canvas, and upgrade only when you hit the ceiling.
Create your free Make.com account and have your first scenario running before the hour is up.
Building this yourself? Get the workflow pack.
5 ready-to-import n8n workflows — lead capture, invoicing, content repurposing, onboarding, social posting. Free.