Client Onboarding Automation for Solopreneurs: A Step-by-Step Make.com Workflow
Client onboarding automation for solopreneurs is one of the highest-ROI workflows you can build. Every new client you sign triggers the same sequence of tasks: send the welcome email, create the project folder, add them to your CRM, issue the contract, collect the intake form. Done manually, that’s 30–60 minutes per client. Done with automation, it’s under two minutes — and most of that is your client filling out a form.
This tutorial builds a complete onboarding workflow in Make.com that triggers when a new client pays or signs, then handles every step automatically. No Zapier required. No expensive CRM add-on. Just a Make.com scenario, a form tool, and whatever CRM you’re already using.
If you’ve looked at doing this in n8n, the n8n onboarding tutorial covers that path. This one is for people who want a visual builder with less infrastructure overhead.
What This Workflow Does
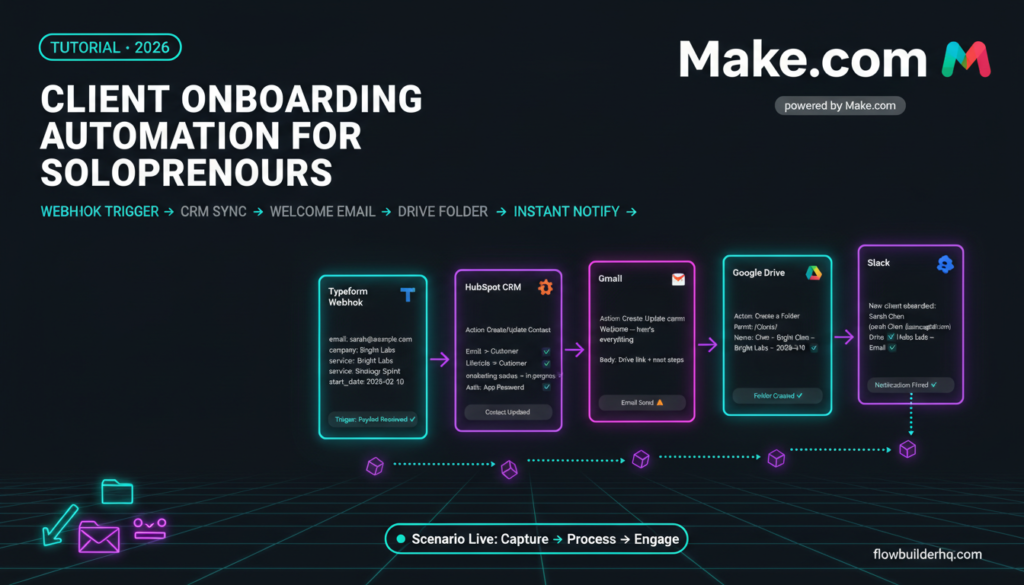
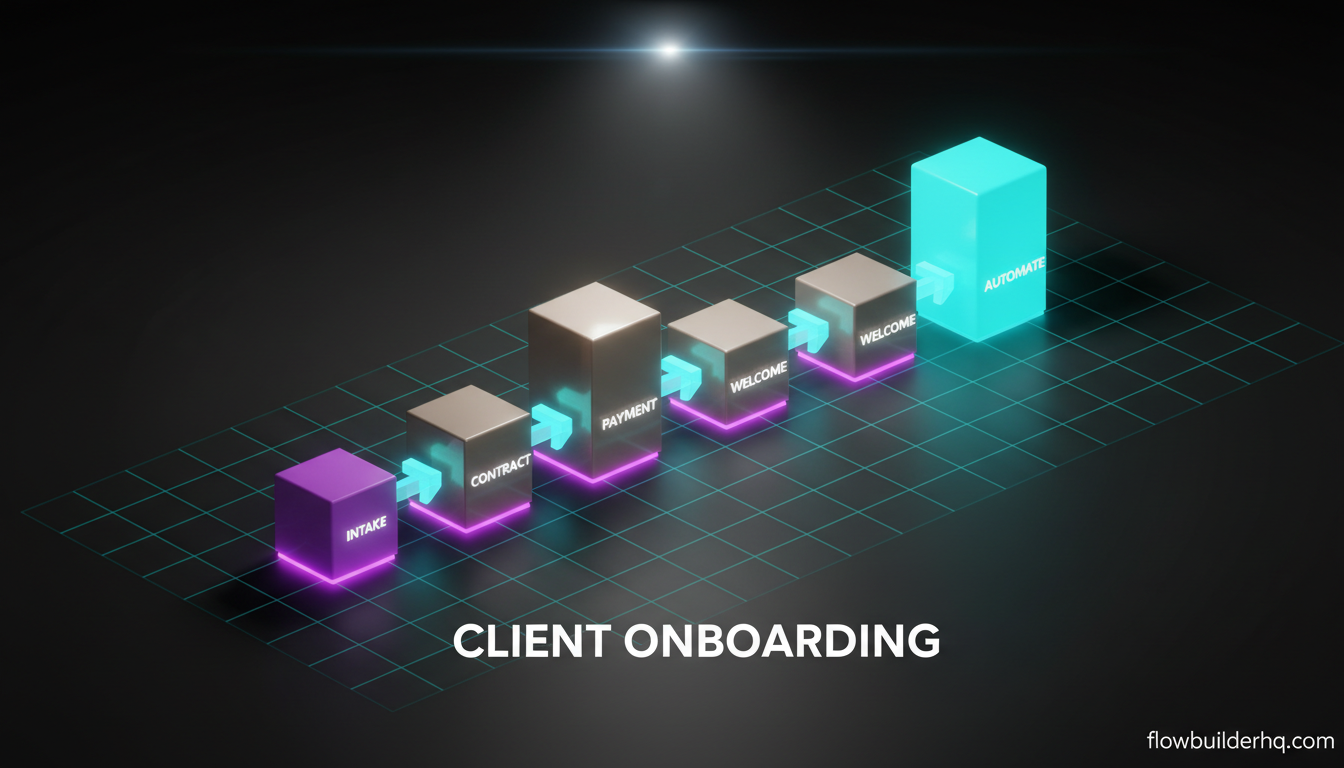
Before building anything, here’s the full sequence this workflow handles:
- A client submits a Typeform (or any form tool) after paying
- Make.com picks up the form submission via webhook
- A new contact is created or updated in your CRM (HubSpot, used here)
- A welcome email goes out immediately with onboarding instructions
- A Google Drive folder is created and named after the client
- A Slack or email notification fires to let you know the client is in
- A task is created in your project management tool (optional step)
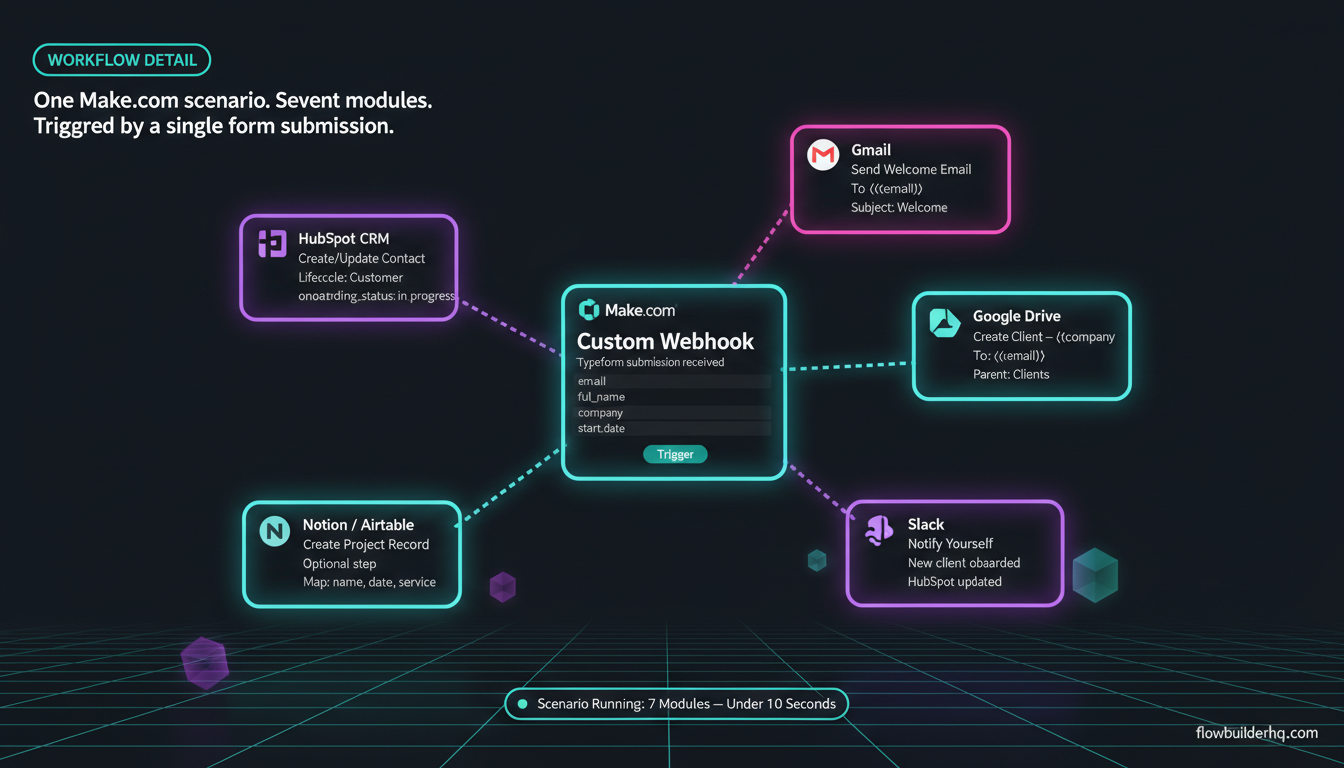
Seven steps. In Make.com, that’s one scenario with about seven modules. The whole thing runs in under 10 seconds once a client submits their form.
Tools You Need
- Make.com — the automation layer (free plan covers this workflow at low volume)
- Typeform, Tally, or JotForm — your intake form (any webhook-capable form works)
- HubSpot CRM — free plan is enough for contact creation
- Google Drive — for client folder creation
- Gmail or any SMTP — for the welcome email
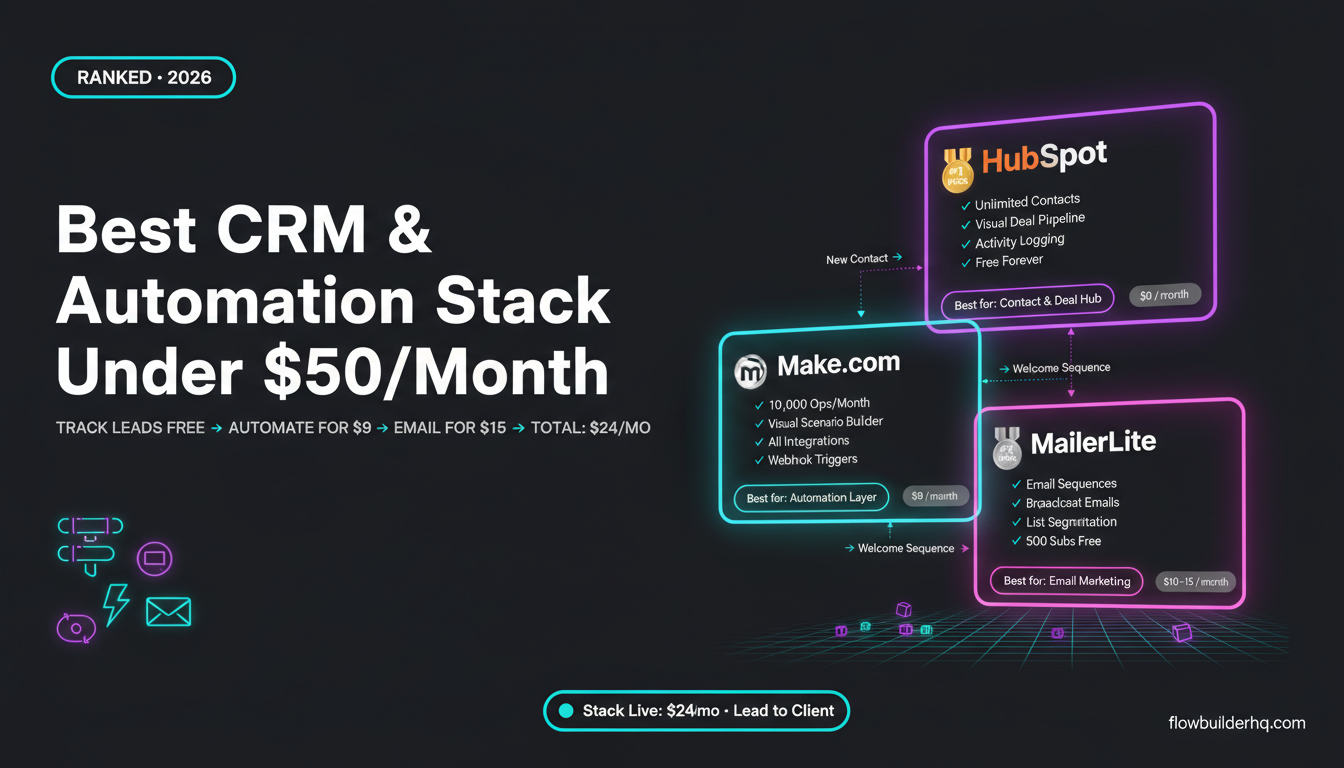
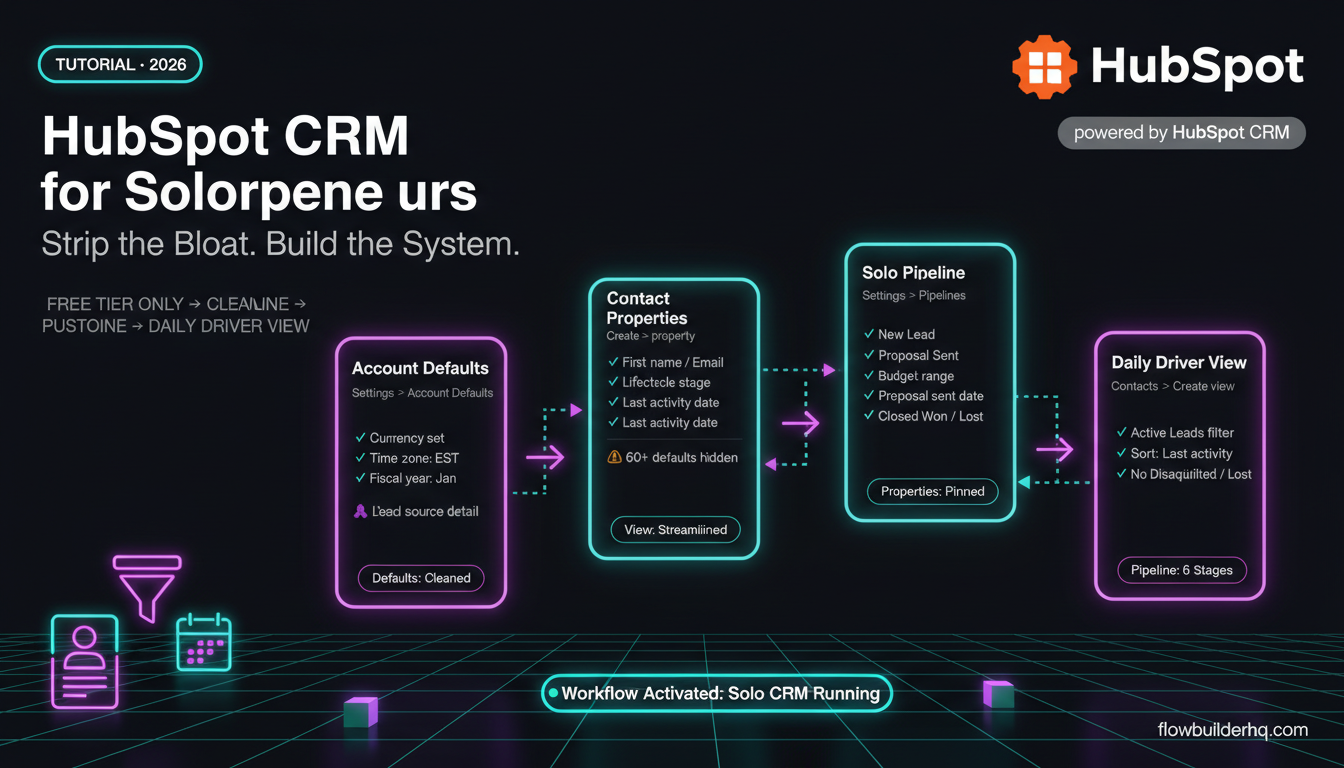
HubSpot’s free CRM handles contact storage well for a solopreneur volume. If you’re weighing CRM options, the best CRM for solopreneurs breakdown compares the main options honestly. For this tutorial, HubSpot is used because Make.com’s native HubSpot modules are reliable and don’t require complex auth setup.
Step 1: Build Your Client Intake Form
Your form is the trigger point. It should collect everything you need to set up a new client without a follow-up email:
- Full name
- Email address
- Company name (if applicable)
- Project type or service they purchased
- Start date preference
- Any notes or context for the project
Build this in Typeform, Tally, or JotForm — whichever you have. The key setting: enable webhooks on form submission. In Typeform, this is under Connect → Webhooks. In Tally, it’s under Integrations → Webhooks. You’ll paste in Make.com’s webhook URL in a later step, so just get the form structure right first.
Send this form to clients after they pay. Whether you’re using Stripe, PayPal, or a manual invoice, the intake form submission is what kicks off the automation.
Step 2: Create the Make.com Scenario
If you don’t have a Make.com account yet, sign up via this link — the free plan gives you 1,000 operations per month, which is more than enough for onboarding at solopreneur volume.
Inside Make.com:
- Click Create a new scenario
- Add your first module: search for Webhooks → Custom webhook
- Click Add to create a new webhook and copy the generated URL
- Paste that URL into your form tool’s webhook settings
- Submit a test form submission so Make.com can see the data structure
Once Make.com receives the test submission, it maps all your form fields automatically. You’ll see the field names (email, name, company, etc.) available for use in every subsequent module. This is the data spine of the whole workflow.
If you’ve never built a webhook-triggered scenario before, the Make.com webhooks tutorial walks through the exact process of setting up custom webhooks from scratch.
Step 3: Create or Update the Contact in HubSpot
Add the next module: HubSpot CRM → Create/Update a Contact.
Map the fields from your webhook data:
- Email → form field: email
- First name → form field: first_name (or split from full_name using a text function)
- Last name → form field: last_name
- Company → form field: company
- Lifecycle stage → set to “Customer” (hardcoded, not a form field)
The “Create/Update” module is important here — not just “Create.” If a lead submitted your contact form previously, HubSpot already has their record. This module checks by email and updates the existing contact rather than creating a duplicate. Duplicate contacts in a CRM are a silent chaos generator.
For a complete walkthrough of how Make.com and HubSpot talk to each other, the Make.com to HubSpot integration guide covers authentication and module setup in detail.
Once connected, set a custom HubSpot property for “onboarding_status” and set it to “in_progress” at this step. You’ll be able to filter by this in HubSpot later to see exactly where each client is.
Step 4: Send the Welcome Email
Add the next module: Gmail → Send an Email (or your preferred email module).
Configure it:
- To: map to the email field from the webhook
- Subject: “Welcome — here’s everything you need to get started”
- Body: write this once, use it forever
The welcome email body should include:
- A direct confirmation that you’ve received their info
- The link to your shared Google Drive folder (you’ll create this in the next step — for now, link to a generic “client portal” folder URL and update later)
- Next steps: what happens, when they’ll hear from you, what they need to prepare
- Your calendar link if you have a kickoff call
Keep it under 200 words. Long welcome emails don’t get read. The goal is to confirm they’re in and tell them what happens next — nothing more.
Common error here: Gmail’s Make.com module occasionally fails on first auth with a “403 Forbidden” if you haven’t enabled less secure app access or set up an App Password. Fix: go to your Google Account → Security → App Passwords, generate one for Make.com, and use that in the Gmail module auth instead of your regular password.
Step 5: Create the Google Drive Client Folder
Add the next module: Google Drive → Create a Folder.
Settings:
- Parent folder: select your “Clients” folder ID (browse to it from the module)
- Folder name: map to the client’s name from the webhook — format it as
{{full_name}} — {{company}} — {{start_date}}
This creates a uniquely named folder for every client automatically. No more “New Folder (3)” in your Drive.
If you want to go further, add a sub-module to copy template folders into the new client folder: Google Drive → Copy a File pointed at your template documents (SOW template, brief template, feedback form). This is optional but saves another manual step.
Store the folder URL from this module’s output — you’ll need it if you want to send the actual folder link in the welcome email. To do that properly, you need to reorder: create the folder first, then send the email with the folder URL mapped in. Move step 5 before step 4 in your scenario if you want to include the real folder link.
Step 6: Notify Yourself
Add the final module: Gmail → Send an Email (to yourself) or Slack → Create a Message if you use Slack.
This fires a notification to you the moment a new client completes onboarding. Keep it simple:
New client onboarded: {{full_name}} ({{email}}) — {{company}}. Drive folder created. HubSpot updated. Welcome email sent.
This isn’t just a nice-to-have. It’s an audit trail. If the automation ever partially fails, this notification (or its absence) tells you immediately that something broke before you check HubSpot three days later and notice the gap.
Step 7: Add a Task in Your Project Tool (Optional)
If you use Notion, Airtable, Asana, or ClickUp for project management, add one more module to create a new project card or task when a client onboards.
For Notion: Notion → Create a Database Item — map client name, email, start date, and service type to your Notion client tracker database properties.
For Airtable: Airtable → Create a Record — same principle.
This is where the Make.com workflow for coaches and consultants goes deeper — connecting onboarding to a full client management system rather than just a CRM entry.
Testing the Full Workflow
Before going live, run the scenario in test mode:
- In Make.com, click Run once (not the full schedule)
- Submit the intake form with real test data (use your own email)
- Watch each module execute in sequence — green checkmarks mean success, red means a module errored
- Check HubSpot: did the contact appear with the right lifecycle stage?
- Check Gmail: did the welcome email arrive correctly?
- Check Google Drive: did the folder get created with the right name?
- Check your notification: did you receive the summary?
Most common failure point: field mapping issues where the webhook data keys don’t match what you mapped. If a field shows as null in a module, go back to the webhook module, click the data structure, and check the exact field names Make.com captured from your form. Typeform often sends fields as answers[0].text rather than labeled field names — you may need to use Make.com’s text parsing or Typeform’s “hidden fields” feature to get clean named variables.
Once the test run completes cleanly, turn on scheduling. For an onboarding workflow, set it to Instant (triggered on webhook) so it fires in real-time, not on a delay.
Scaling This Workflow
The basic version handles single-service businesses well. As your services or team grow, a few additions are worth knowing:
Router module: If you offer multiple services, add a Router after the webhook trigger. Route based on the “service type” form field — each path can send a different welcome email, create a different folder structure, and tag the HubSpot contact differently. Make.com’s Router is one of its most useful modules for this kind of conditional logic.
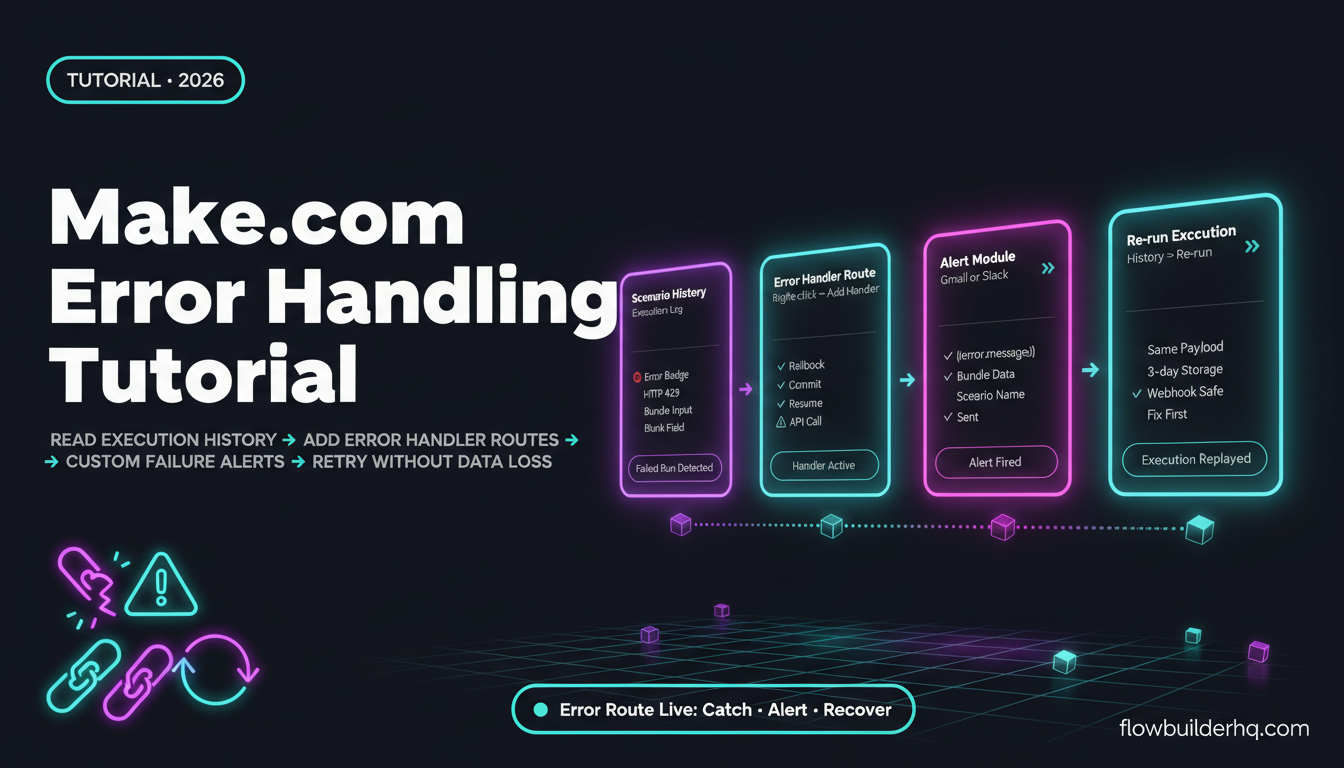
Error handling: Add an error handler route on the HubSpot and Gmail modules. If HubSpot is down or rate-limited, you want the workflow to retry or notify you — not silently fail. In Make.com, right-click any module and select Add error handler → Resume or Rollback depending on whether the step is recoverable.
Operation cost: This 7-module scenario uses 7 operations per run on Make.com. At 10 new clients per month, that’s 70 operations — well within the free plan’s 1,000 limit. At 50 clients per month, you’re at 350 operations. You’d need the Core plan ($9/mo) only if you’re running additional scenarios on the same account. See Make.com’s full pricing breakdown for how operations stack across scenarios.
If you’re comparing whether Make.com or another tool fits your broader workflow — not just onboarding — the full Make.com review covers where it performs well and where it falls short for solopreneurs specifically.
Client Onboarding Automation for Solopreneurs: What Actually Breaks
Three failure modes worth knowing before you go live:
1. Form tool webhook timeouts: Some form tools (older JotForm plans especially) have unreliable webhook delivery. If Make.com’s webhook module shows no data received, test by triggering the webhook manually from the form tool’s dashboard. If it doesn’t fire, the issue is the form tool, not Make.com.
2. HubSpot duplicate contacts: If you’re feeding leads from multiple sources (your website, paid ads, referrals) into HubSpot alongside this automation, duplicates happen. The Create/Update module handles it at the point of creation, but merge any existing duplicates in HubSpot first before going live. HubSpot’s free plan has a built-in duplicate manager under Contacts → Actions → Manage Duplicates.
3. Google Drive permissions: If the folder gets created but clients can’t access it when you share the link, check the folder’s default sharing settings. The folder inherits permissions from the parent. If your “Clients” parent folder is set to “Restricted,” new sub-folders will be too. Set the parent folder to “Anyone with the link can view” or handle sharing as a separate module step.
For anyone evaluating HubSpot versus a simpler option for the CRM piece, the HubSpot vs Notion comparison covers exactly that trade-off. HubSpot wins on automation depth; Notion wins on flexibility and cost.
What This Workflow Replaces
Manual onboarding at solopreneur scale typically looks like: copy-paste a welcome email template, create a Drive folder, add a row to a spreadsheet, send a Slack message to yourself, set a reminder to follow up. That’s four to six manual tasks per client. At 10 clients per month, that’s 60 manual actions. At 30 clients per month, it starts to eat real hours.
The Make.com scenario described here runs all of that in one automated chain, triggered by a single form submission. The Make.com for freelancers guide covers how this fits into a full solo business stack — not just onboarding, but invoicing, follow-ups, and reporting in the same tool.
For comparison, automating invoicing with Make.com pairs naturally with this onboarding flow — once a client is in HubSpot and their folder is created, triggering an invoice automatically from the same data is the logical next step.
Make.com’s official documentation has module-specific reference pages for every app covered here if you need parameter-level detail beyond what this tutorial covers. The HubSpot CRM module docs and Google Drive module docs are both solid.
For anyone who wants to evaluate n8n as an alternative platform for this same workflow, n8n’s official site covers its self-hosted option — free at any volume, but requires more technical setup than Make.com’s visual builder. Also worth checking is the Zapier vs n8n comparison if you’re still deciding which automation platform fits your overall stack before committing to the build.
The workflow above is the baseline. Build it once, test it with 2–3 real clients, then extend it. Client onboarding automation for solopreneurs doesn’t need to be complex to work — it needs to be complete, reliable, and actually running.
Start with a free Make.com account and build the webhook trigger first. Everything else follows from there.
Building this yourself? Get the workflow pack.
5 ready-to-import n8n workflows — lead capture, invoicing, content repurposing, onboarding, social posting. Free.