How to Use Make.com With Notion to Automate Your Solopreneur Workspace
Notion is your brain. Make.com is the nervous system. That’s the most accurate way to describe what happens when you connect these two tools — and if you’re currently running your workspace as a static wiki, learning how to use Make.com with Notion to automate your solopreneur workspace will change how you think about Notion entirely.
Most solopreneurs set up Notion once, fill it with pages and databases, then manually update it forever. Every form submission gets copy-pasted. Every new lead gets typed in. Every content idea gets added by hand. That manual loop is expensive in the one thing you can’t buy more of: time.
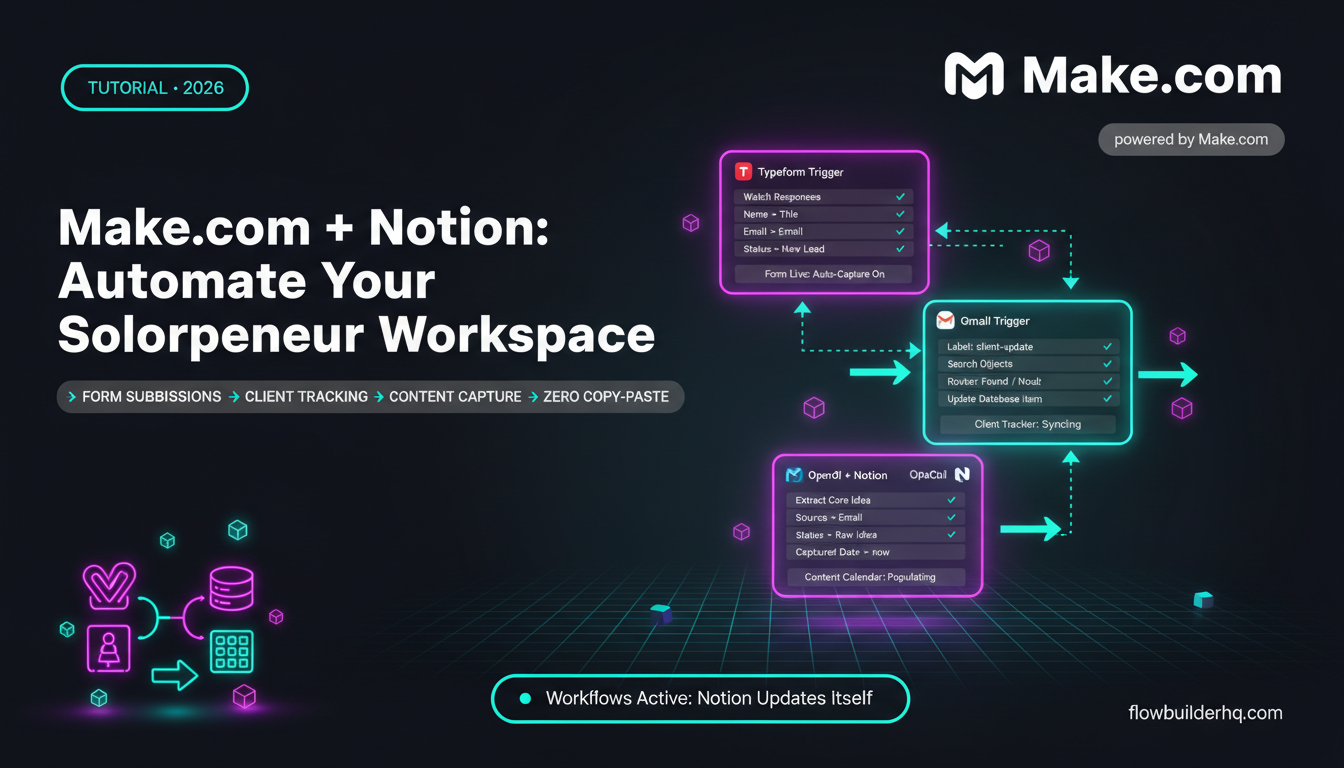
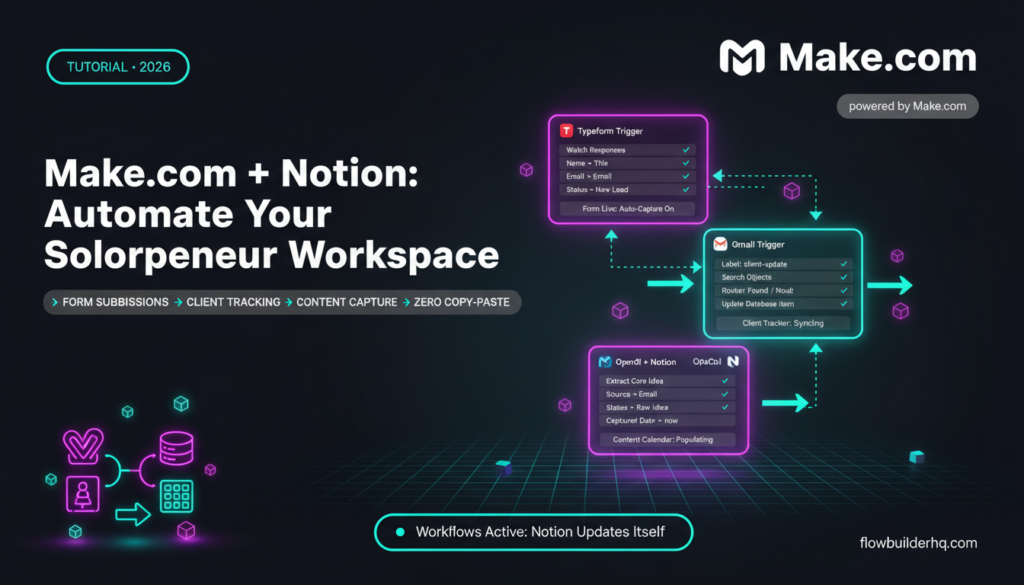
This tutorial shows you exactly how to use Make.com with Notion to automate your solopreneur workspace — three complete, practical workflows you can build today. No fluff, no toy demos. By the end, your Notion databases will update themselves.
If you’re new to Make.com scenarios, this beginner’s guide to building your first Make.com scenario will get you up to speed before continuing here.
What You Need Before You Start
- A Make.com account — the free plan (1,000 ops/month) covers everything in this tutorial. Start your free Make.com account here.
- A Notion account — free tier is fine.
- At least one Notion database set up (not just pages — an actual database with properties).
- The Make.com Notion connection authorized — you’ll do this inside your first scenario build.
One thing worth setting right: Make.com talks to Notion through Notion’s official API. That means you need to create a Notion integration and share your databases with it. The steps below walk through this the first time.
How to Use Make.com With Notion: Connecting the Two Tools
Before any workflow runs, you need to authorize Make.com to read and write to your Notion workspace.
- In Notion, go to Settings & Members → Integrations → Develop or manage integrations. This takes you to Notion’s integrations page.
- Click New integration. Give it a name (e.g., “Make Automation”) and select your workspace.
- Under Capabilities, check Read content, Update content, and Insert content. Save and copy the Internal Integration Token.
- Back in Notion, open the database you want Make.com to write to. Click the … menu in the top-right corner, then Add connections → select your integration.
- In Make.com, when you add a Notion module for the first time, it will ask you to create a connection. Choose API token and paste the token from step 3.
That’s the one-time setup. Every workflow below reuses this same connection.
Common error at this step: Make.com returns a “Could not find database” error even though the database exists. The fix is almost always that you forgot step 4 — you created the integration but didn’t share the specific database with it. Go back to that database in Notion, click the … menu, and confirm the integration is listed under connections.
Workflow 1: Push Form Submissions Into a Notion Database
This is the highest-leverage automation for most solopreneurs. Every time someone fills out a contact form, intake form, or discovery call request, the data writes itself into your Notion CRM or project database — no copy-paste required.
For a complete walkthrough of the Typeform side of this, see how to automate Typeform responses with Make.com. The Notion write step is what this section adds.
The Scenario Structure
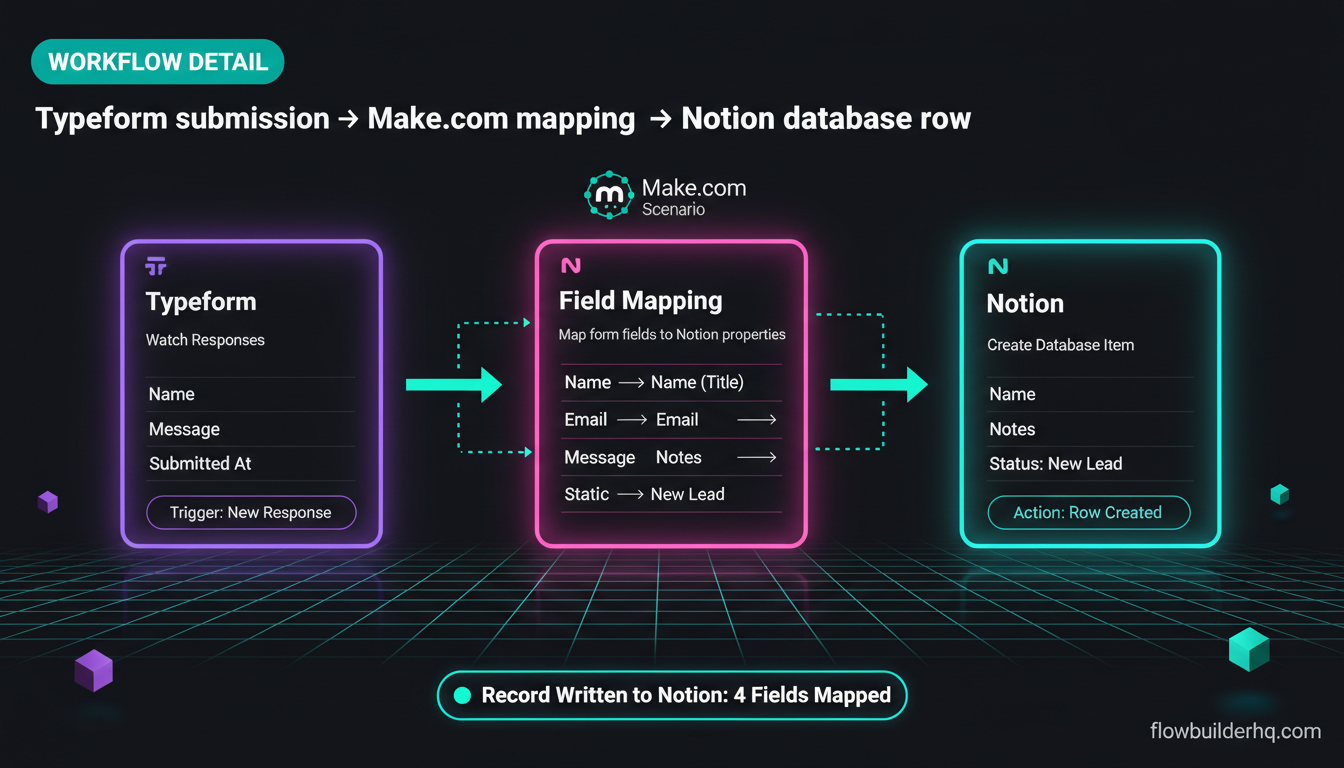
- Trigger: Typeform → Watch Responses (or use a Make.com custom webhook if your form tool isn’t natively supported)
- Action: Notion → Create a Database Item
Step-by-Step Build
- Create a new scenario in Make.com.
- Add the Typeform module as trigger. Select Watch Responses, connect your Typeform account, and pick the specific form.
- Click the + button to add the next module. Search for Notion and select Create a Database Item.
- Connect your Notion account using the token from the setup section above.
- In the Database ID field, click the dropdown. Make.com will list all databases your integration has been shared with. Select the right one.
- Map the form fields to Notion properties:
- Typeform “Name” field → Notion “Name” property (Title type)
- Typeform “Email” field → Notion “Email” property (Email type)
- Typeform “Message” field → Notion “Notes” property (Text type)
- Add a static value for “Status” → “New Lead” (Select type)
- Turn on the scenario. Test it by submitting your form. Check Notion — the new row should appear within seconds.
Real error to watch for: If a Notion property is a Select type and you try to map a value that doesn’t exist in the select options, Make.com will throw an error. The fix: either pre-create the option in Notion before running the scenario, or switch the property to a Text type while testing, then convert back.
Workflow 2: Log Client Updates to a Notion Project Tracker
This workflow solves a specific problem: keeping your Notion project tracker current without manually updating it after every client interaction.
The trigger here can be almost anything — an email tag applied in Gmail, a deal stage change in your CRM, or a webhook from a scheduling tool. The output is always the same: a record gets updated or created in your Notion project database.
If you’re using HubSpot as your CRM alongside Notion, connecting Make.com to HubSpot lets you trigger this workflow from a deal stage change.
The Scenario Structure (Gmail-triggered example)
- Trigger: Gmail → Watch Emails (filtered by label, e.g., “Client Updates”)
- Action 1: Notion → Search Objects (to find the existing project page by client name)
- Action 2: Notion → Update a Database Item (write the update to the found page)
Step-by-Step Build
- In Make.com, create a new scenario.
- Add Gmail → Watch Emails as trigger. Under Filter, set it to only watch emails with a specific label (e.g., “client-update”). This prevents every inbox email from firing the scenario.
- Add Notion → Search Objects. Select your project database. Under Filter, set Property = “Client Name”, Condition = “equals”, Value = the sender name from the Gmail trigger (use Make.com’s variable picker to map
From Name). - Add a Router module. This splits the flow:
- Path A: If Search Objects returns a result → Notion → Update a Database Item using the Page ID from the search result.
- Path B: If no result found → Notion → Create a Database Item (creates a new project entry).
- In the Update module, map the email snippet to a “Last Update” text property and set “Last Contacted” to today’s date using Make.com’s
nowfunction.
This is the same pattern used in client onboarding automation with Make.com — trigger, search for existing record, branch on found/not-found. Once you understand the Router + Search pattern, you can apply it to almost any update workflow.
Common error: The Search Objects module returns an empty bundle when you expected a match. This usually means the client name in Notion doesn’t exactly match the email sender name. Add a Text → toLowerCase function on both sides of the comparison to remove case sensitivity issues, or use “contains” instead of “equals” as the filter condition.
Workflow 3: Auto-Capture Content Ideas Into a Notion Content Calendar
Content ideas show up everywhere — a tweet you bookmarked, a question a client asked, a voice memo from your commute. Without a system, they disappear. This workflow captures them automatically from a single inbox source and routes them into your Notion content calendar database.
The cleanest trigger for this is email. Set up a dedicated email address (a Gmail alias works fine) that you forward ideas to. Make.com watches that inbox and writes every message as a new row in your content calendar.
For more automation patterns that reduce daily manual tasks like this one, the task automation ideas for solopreneurs post covers a solid range of approaches.
The Scenario Structure
- Trigger: Gmail → Watch Emails (on your ideas inbox)
- Optional middle step: OpenAI → Create a Completion (to summarize or format the idea)
- Action: Notion → Create a Database Item (in your content calendar database)
Step-by-Step Build
- Create a new scenario. Add Gmail → Watch Emails filtering for a specific label or inbox address.
- (Optional but worth it) Add OpenAI → Create a Completion. Set the prompt to: “Extract the core content idea from this email in one concise sentence: [email subject + body]”. Map the email subject and snippet from the Gmail trigger into the prompt. This cleans up raw forwarded emails into usable content idea text.
- Add Notion → Create a Database Item. Map:
- “Idea” (Title) → the OpenAI response text (or the email subject if skipping step 2)
- “Source” (Select) → “Email”
- “Status” (Select) → “Raw Idea”
- “Captured Date” (Date) →
{{now}}
- Save and activate. Test by sending an email to your ideas address. Within the scenario’s polling interval, it appears in Notion.
If you want to go further with AI-assisted content workflows, automating content repurposing with Make.com builds on the same OpenAI + Make.com pattern and is a natural next step once this workflow is running.
Make.com Pricing for These Workflows
All three workflows above run comfortably within Make.com’s free tier at low-to-moderate volume. Here’s what to expect:
| Plan | Ops/Month | Price | Good for |
|---|---|---|---|
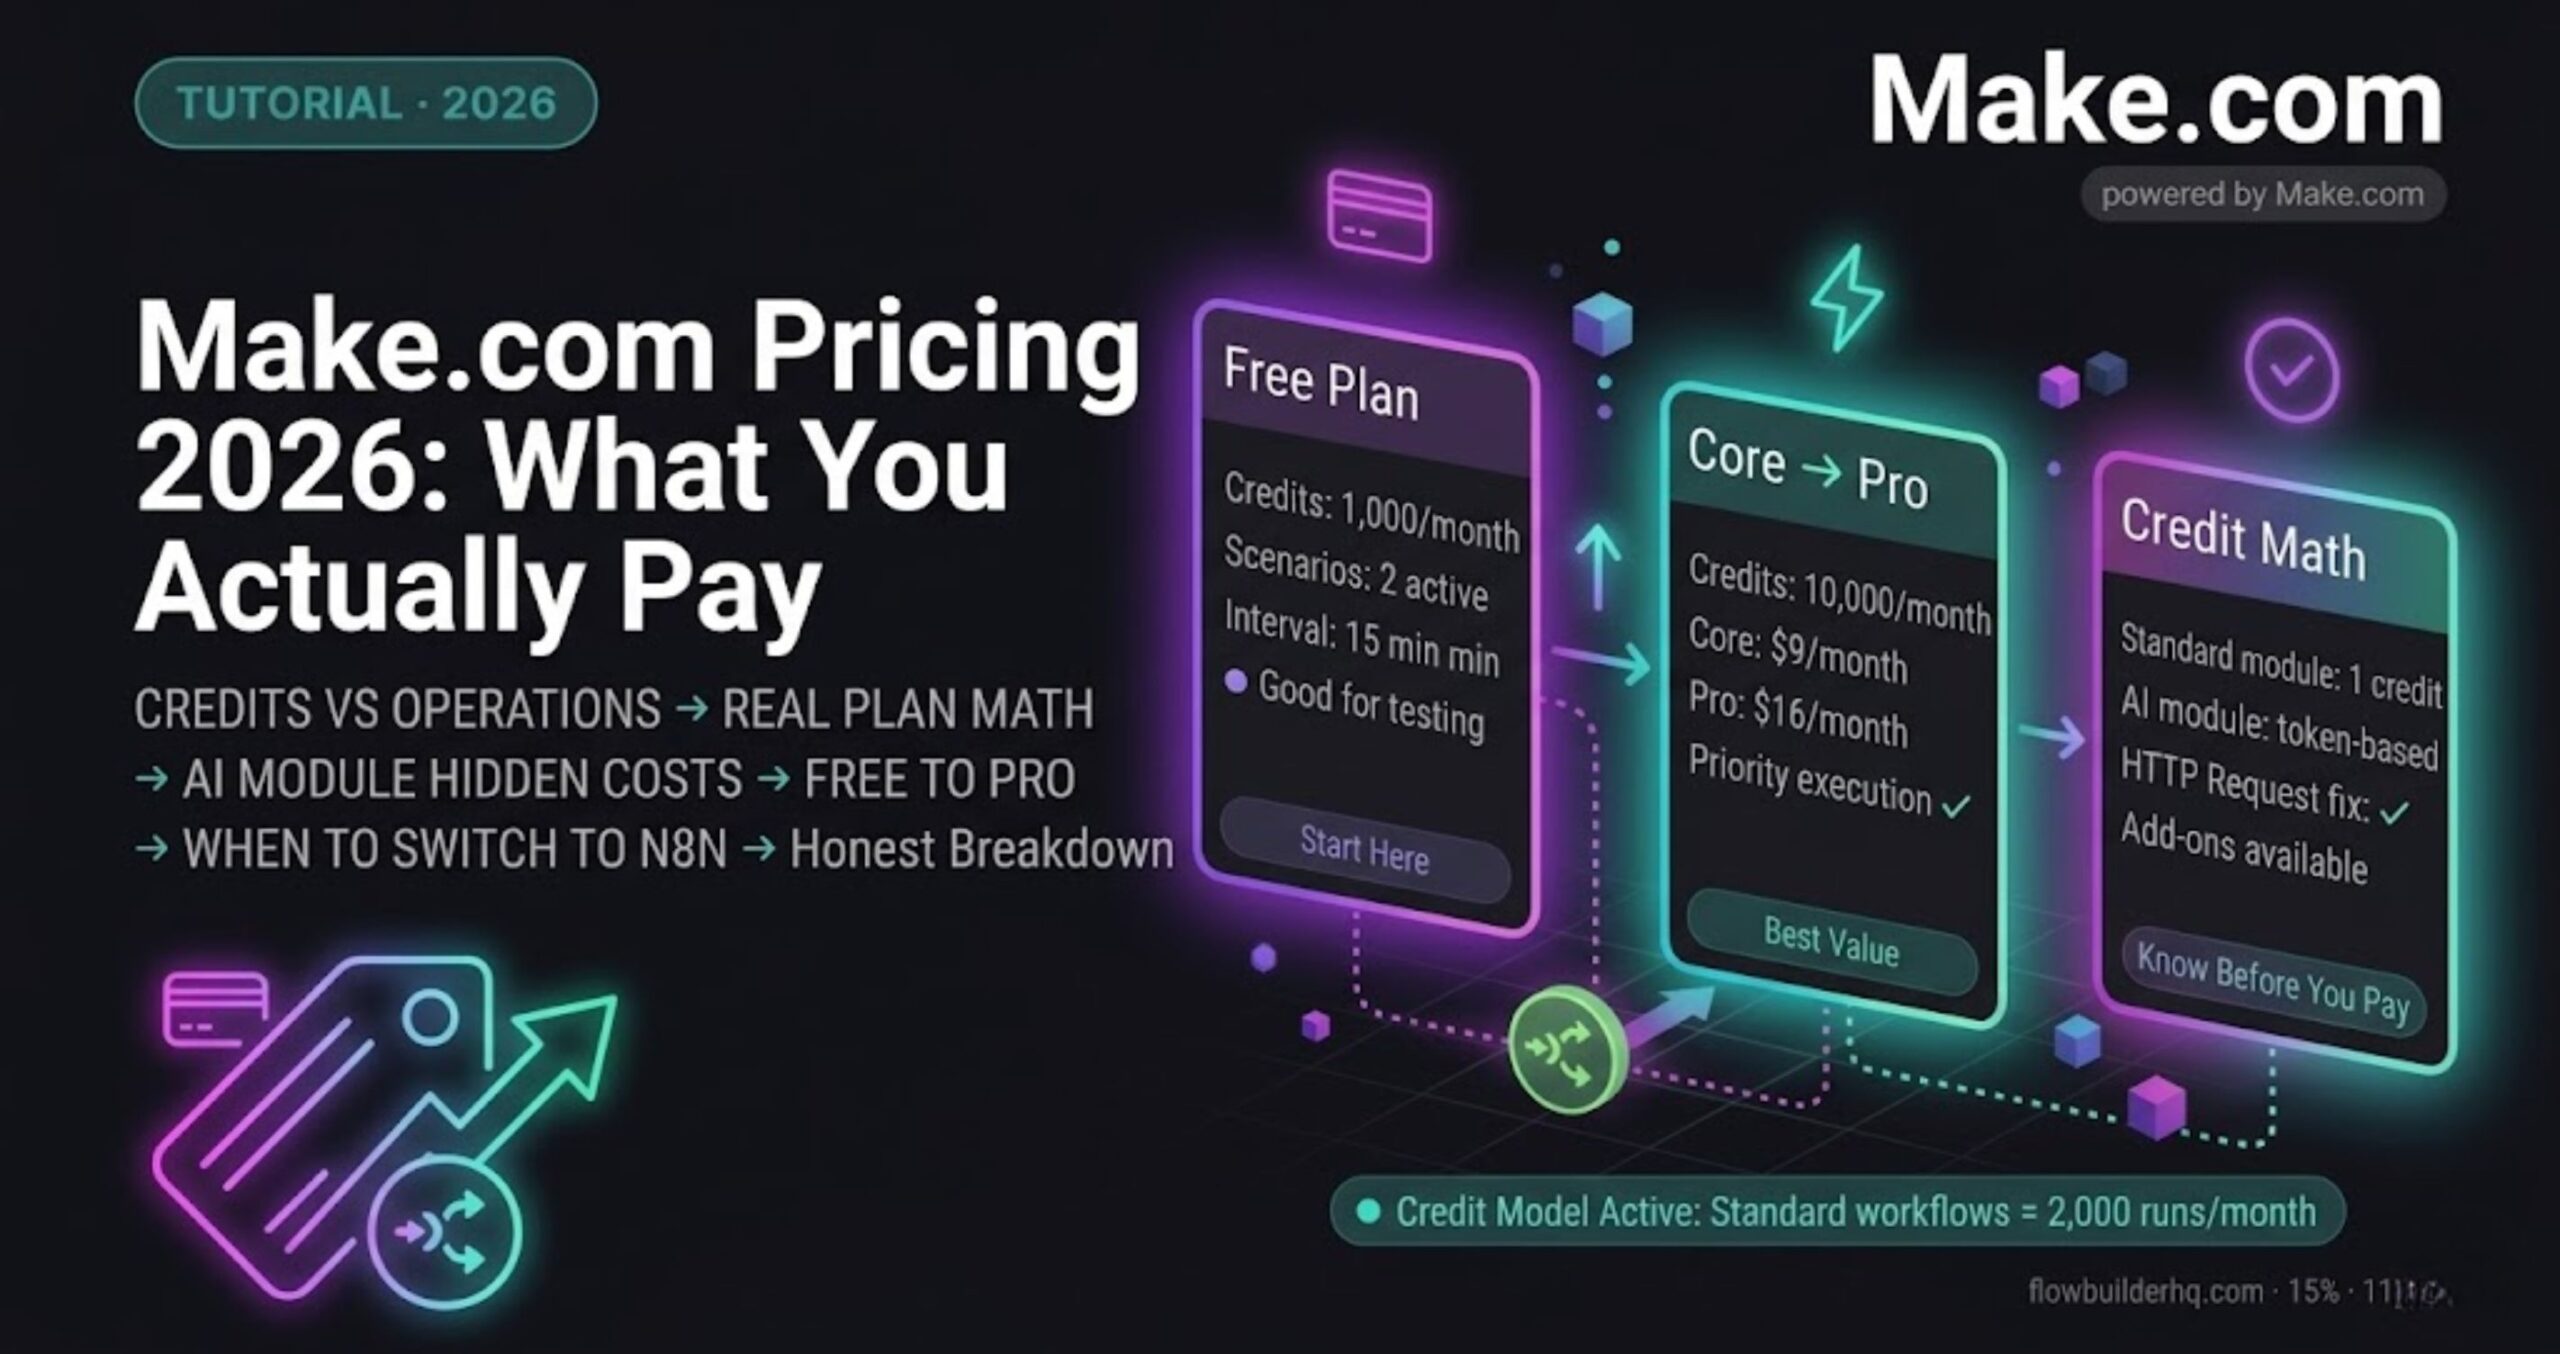
| Free | 1,000 | $0 | Getting started, testing all three workflows |
| Core | 10,000 | $9/mo | Active freelancer or small client base |
| Pro | 10,000+ | $16/mo | Higher volume + advanced features |
Each module execution in a scenario counts as one operation. Workflow 1 uses 2 ops per form submission. Workflow 3 with the optional OpenAI step uses 3 ops per email. For most solopreneurs, the free tier holds easily for the first few months. For a detailed breakdown of how Make.com’s pricing scales, the full Make.com pricing breakdown is worth reading before you upgrade.
Why This Beats Zapier for How to Use Make.com With Notion
The short answer: cost and flexibility. For reference, Zapier’s pricing page confirms the free-tier task limit and two-step restriction. Zapier’s free plan gives you 100 tasks/month and only two-step Zaps on the free tier — the Router-based workflow above wouldn’t run on free Zapier at all. Make.com gives you multi-step scenarios, branching, and 1,000 ops free. For a deeper comparison, Make.com vs Zapier for solopreneurs runs the real pricing math.
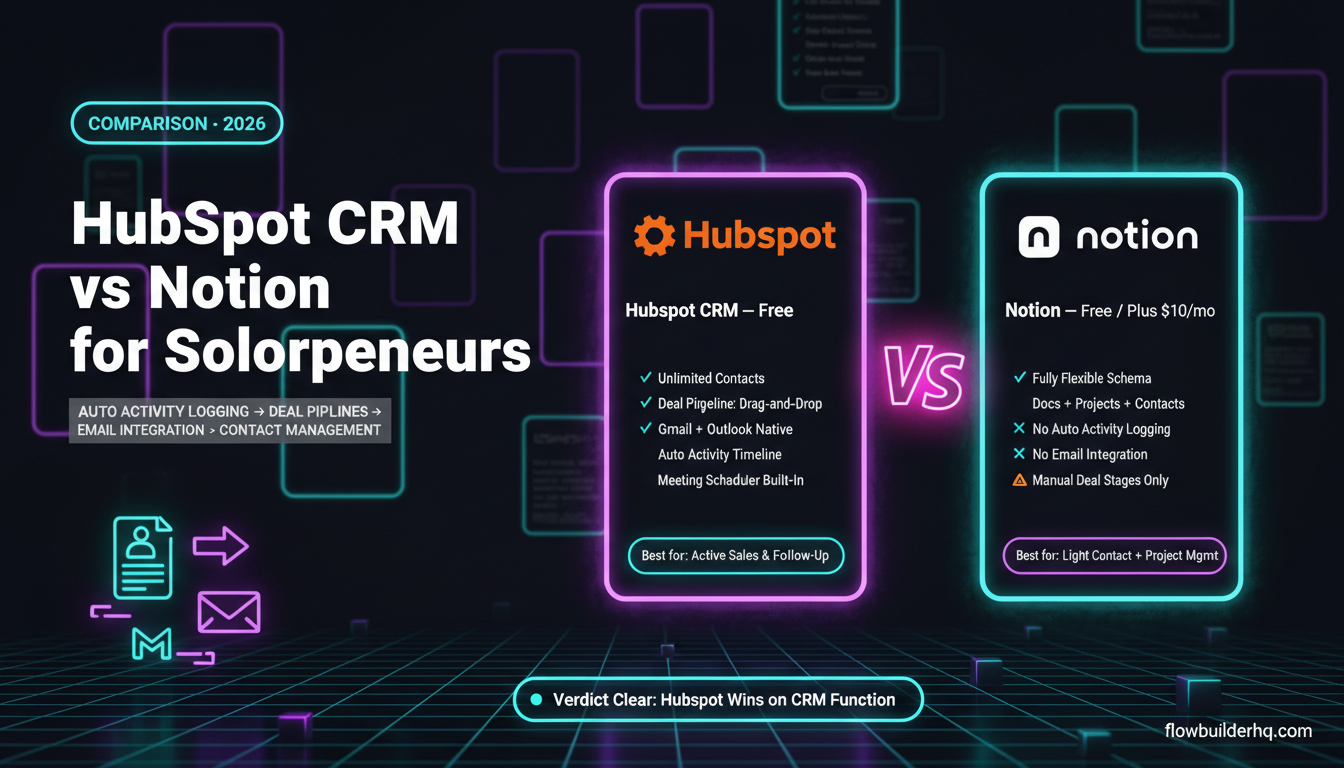
Notion also deserves mention here. If you’re debating whether to build your CRM layer in Notion or a dedicated CRM tool, Notion CRM vs HubSpot Free gives an honest comparison of where each one wins. You can also review how Notion structures its database and API capabilities on their official site.

What to Build Next
Once these three workflows are running, your Notion workspace stops being a place you maintain and starts being a place that maintains itself. For deeper reading on what the Notion API supports, the official Notion developer docs are the definitive reference — useful when you need to map unusual property types. The logical next steps:
- Connect your Google Sheets to Notion via Make.com — useful if you have existing data in Sheets you want mirrored into Notion. See how to automate Google Sheets with Make.com for the data-layer approach.
- Add AI enrichment to incoming leads — use the OpenAI or Claude API to score or tag new Notion records automatically. The guide to Claude AI for business automation covers how to wire this up.
- Build a morning dashboard trigger — a scheduled Make.com scenario that pulls data from multiple sources and writes a daily summary into a Notion page. The solopreneur morning routine automation post has a working version of this.
The goal isn’t to automate for the sake of it. It’s to make Notion reflect reality without you being the one constantly updating it. These three workflows do that for the highest-friction parts of most solopreneur operations: lead intake, client tracking, and content capture.
Ready to build? Create your free Make.com account and have the first workflow live in under 30 minutes. The Notion connection setup takes five minutes. The time savings start the same day.