How to Build a Solopreneur Client Portal with HubSpot and Make.com
Most solopreneurs manage client communication through a chaotic mix of email threads, shared Google Docs, and manual status updates. Clients ask “where are we at?” and you spend 10 minutes reconstructing context. That stops being sustainable around client number three.
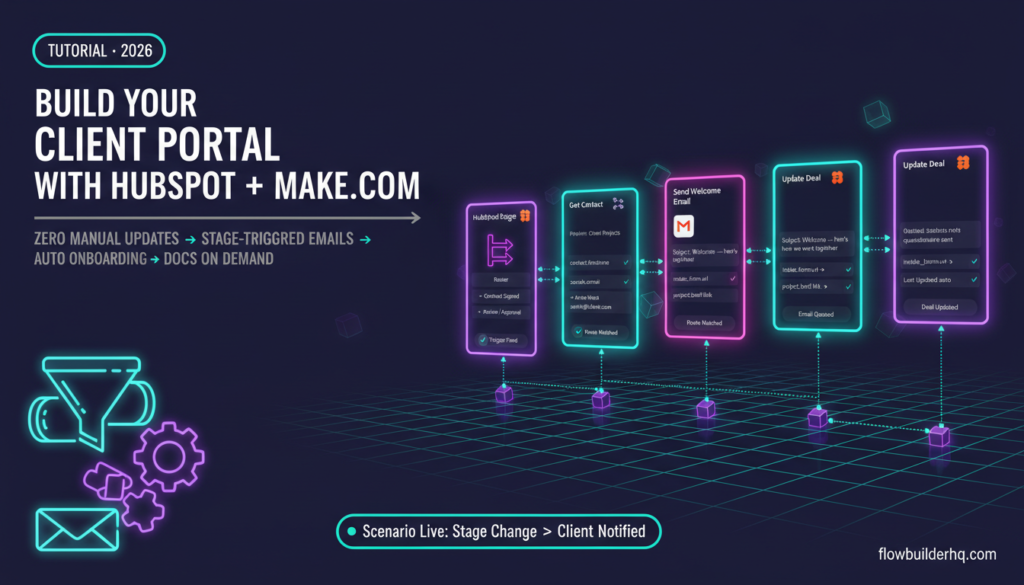
This tutorial shows you how to build a solopreneur client portal using HubSpot as your CRM backbone and Make.com as the automation layer that keeps clients informed without you lifting a finger. The result: clients get automatic status updates, documents land in their inbox at the right stage, and your onboarding steps run themselves.
This is not about the technical connection between the two tools — if that’s what you need, start with our step-by-step HubSpot integration tutorial first. This post is about the full portal system: what to build, in what order, and how to wire it together so it actually works in production.
What “Client Portal” Actually Means Here
There’s no single app called a client portal. What you’re building is a system that gives clients visibility into their project without requiring you to manually update them. It has three functional pieces:
- Status visibility: Clients know what stage their project is in.
- Document delivery: Contracts, briefs, reports, invoices get sent automatically at the right moment.
- Onboarding steps: New clients receive instructions, intake forms, and check-ins triggered by their deal stage — not by you remembering to send them.
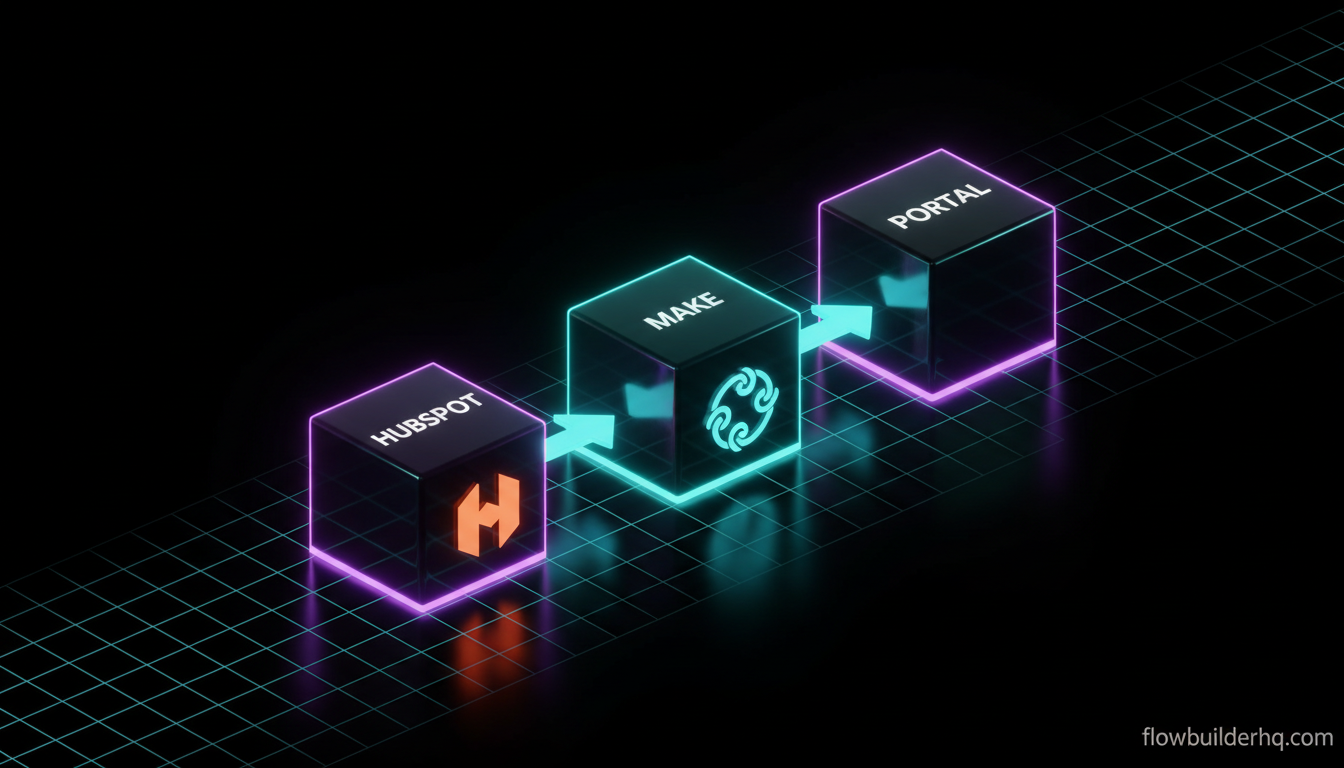
HubSpot holds the data. Make.com executes the logic. Your clients experience a polished, responsive service operation — even when you’re offline.
The Architecture Before You Touch Any Tool
Before opening HubSpot or Make.com, sketch your client lifecycle as distinct stages. For most solopreneurs running a service business, it looks something like this:
- Lead / Inquiry
- Proposal Sent
- Contract Signed (Deal Won)
- Onboarding
- Active Work
- Review / Approval
- Completed
Each stage transition is a trigger. When a deal moves from “Proposal Sent” to “Contract Signed,” that should automatically fire a welcome email, send the onboarding questionnaire, and create a task in your project tool. That’s the whole system — HubSpot records the stage change, Make.com detects it and acts.
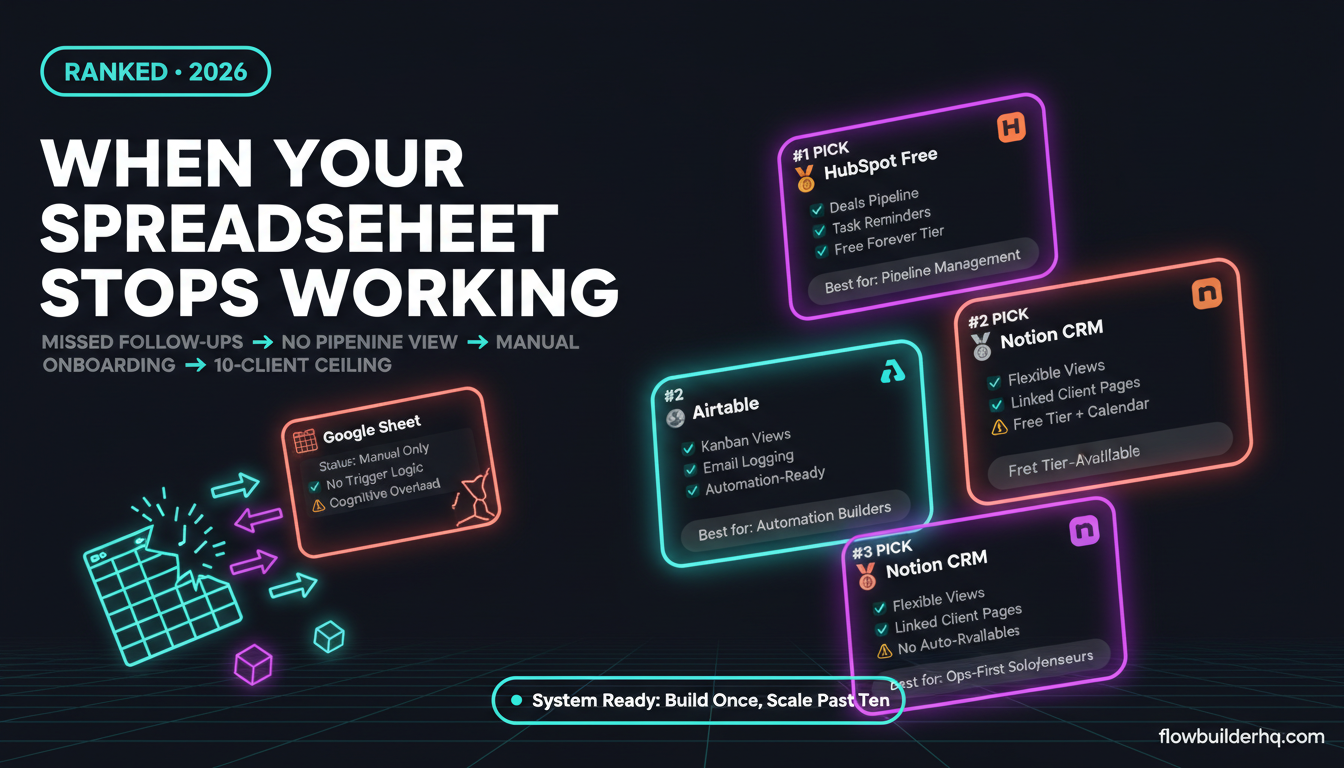
If you haven’t built your HubSpot pipeline yet, the HubSpot Deals Pipeline guide for solopreneurs walks through setting up stages that map to a real service workflow, not a generic B2B sales funnel.
Step 1: Set Up Your HubSpot Deal Stages
Log into HubSpot and go to CRM → Deals → Pipeline Settings. You want a single pipeline with named stages that match the lifecycle you sketched above. Rename the default stages — “Appointment Scheduled” and “Qualified to Buy” are irrelevant to a service solopreneur.
For each stage, decide: what does the client need from me at this exact moment? Write it next to the stage name. This forces clarity before you automate anything.
Inside each deal record, you’ll also want a few custom properties. Go to Settings → Properties → Create Property and add:
client_email— maps to associated contact email (you can pull this from the contact; create this as a calculated field or just use the associated contact’s email in Make.com)intake_form_url— the URL of their specific intake form or onboarding docproject_brief_link— Google Drive or Notion link to their working docportal_status_note— a short text field you update to describe current status in plain English
These custom properties become the data Make.com pulls to personalize every automated message. Generic “your project is in progress” emails are useless — you want “Your brand identity project just moved into design. Here’s your brief: [link].”
Step 2: Connect HubSpot to Make.com
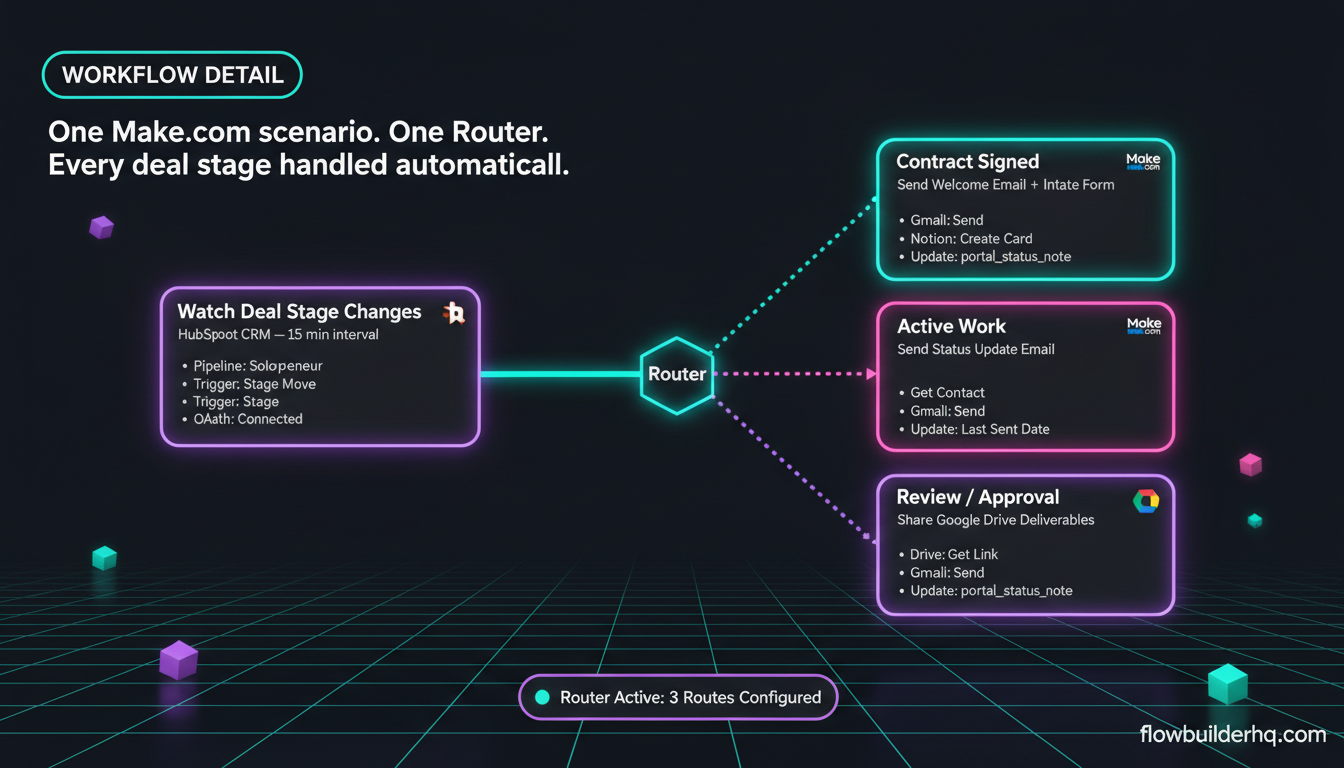
In Make.com, create a new scenario. The trigger module is HubSpot CRM → Watch Deal Stage Changes. This fires every time a deal moves to a new pipeline stage.
Configure the trigger:
- Connect your HubSpot account via OAuth (Make.com walks you through this on first connection)
- Select your pipeline
- Set the polling interval — 15 minutes is fine for most service work; real-time isn’t necessary
After the trigger, add a Router module. Each route handles one specific stage. This is the core logic of the whole system — instead of building five separate scenarios, one scenario with a router handles all stage transitions cleanly.
If you want to understand Make.com’s routing and filter logic before building this, the error handling and scenario structure guide covers how to keep complex scenarios from breaking silently.
Step 3: Build the Onboarding Route (Deal Won → Onboarding)
This is the most valuable route to build first. When a deal moves to “Contract Signed” or your equivalent Won stage, the following should happen automatically:
Route Filter
Set the filter condition: Deal Stage Name equals Contract Signed. Only deals entering this exact stage pass through this route.
Module 1: Get Associated Contact
Use HubSpot CRM → Get a Contact with the contact ID from the deal record. This pulls the client’s email, first name, and any other contact properties you need to personalize messages.
Module 2: Send Welcome Email
Use Gmail → Send an Email (or your email provider). Build the email body using the contact’s first name and the deal’s custom properties. A working template:
Subject: Welcome — here's how we work together

Hi {{contact.firstname}},

Your project is officially live. Here's everything you need:

→ Your onboarding questionnaire: {{deal.intake_form_url}}
→ Your project brief (shared doc): {{deal.project_brief_link}}

Please fill in the questionnaire by [DATE]. Once I have it, I'll start the project kickoff within 48 hours.

Questions? Reply to this email — I check it twice daily.

[Your name]
Module 3: Create a Task in Your Project Tool
If you use Notion, add a Notion → Create a Database Item module and create the client’s project card with their name, deal ID, and links pre-filled. If you use Airtable, same pattern — connecting Make.com to Airtable works the same way as connecting to any other database tool.
Module 4: Update the Deal Property
Use HubSpot CRM → Update a Deal and set portal_status_note to “Onboarding questionnaire sent. Awaiting client intake.” This keeps your HubSpot record current without manual data entry.
Step 4: Build the Status Update Route (Active Work)
When you move a deal into “Active Work,” clients should receive an automatic update. No more “just wanted to check in” emails from clients who have no idea where things stand.
This route follows the same structure:
- Filter:
Deal Stage NameequalsActive Work - Get associated contact
- Send email with current
portal_status_notevalue and a link to any deliverables or working doc - Update HubSpot deal with timestamp:
Last Status Email Sent: [today's date]
The key here is the portal_status_note field. Before moving a deal stage in HubSpot, take 10 seconds to update that field with one sentence about what’s happening. Make.com then uses that sentence in the email. You write one field; the client gets a professional update. That’s the whole trick.
For a more general approach to automating client status communication, the freelancer CRM automation guide covers follow-up logic that pairs well with what you’re building here.
Step 5: Build the Document Delivery Route (Review / Approval)
When work is ready for client review, documents need to land in the client’s inbox with clear instructions. This route adds one extra module: file attachment or Google Drive link generation.
If you store deliverables in Google Drive:
- Filter:
Deal Stage NameequalsReview / Approval - Get associated contact
- Use Google Drive → Get a Shared Link on the folder containing client deliverables (you’ll need the folder ID stored in a HubSpot deal property — add a
drive_folder_idcustom property to your setup from Step 1) - Send email with the shared link and review instructions
- Update deal:
portal_status_note= “Deliverables shared. Awaiting client feedback.”
The most common error here: the Google Drive folder doesn’t exist yet when the route fires because you just moved the deal stage before creating the folder. Fix: add a Router → Error Handler path that catches a null drive_folder_id and sends you a Slack notification instead of sending a broken email to the client. Make.com’s error handling is detailed enough to manage this cleanly — set the error handler to “Resume” after notification so the scenario doesn’t halt entirely.
Step 6: Build the Completion Route
When a project moves to “Completed,” two things should happen automatically:
- Client receives a wrap-up email with links to all final files and an invitation to leave a review or testimonial
- You receive a Slack or email notification prompting you to send the final invoice
For the invoice notification, use Make.com → Gmail → Send Email to Yourself or Slack → Send a Message. Keep it simple — “Deal [deal name] is complete. Send final invoice.” If you’ve built invoice automation separately, the Make.com invoicing automation tutorial covers how to trigger invoice creation from a deal stage change, which you can wire directly into this route.
The client-facing completion email should include:
- A thank you (short — one sentence)
- Links to all final deliverables
- A testimonial or review request with a direct link
- Information about future work or referrals
Step 7: Test Every Route Before Activating
In Make.com, use the Run Once button to test each route in isolation. Create a test deal in HubSpot named “TEST — [your name]” and manually move it through each stage while watching the scenario execute in Make.com’s scenario log.
Check:
- Does the right route activate for each stage?
- Do all custom properties map correctly? (Empty fields send blank emails — embarrassing.)
- Does the email arrive in your test inbox with correct formatting?
- Does the HubSpot deal update correctly after each route fires?
Delete the test deal after testing. HubSpot counts it in reporting and it’ll skew your numbers if you leave it.
For a broader look at avoiding the mistakes that break automation systems like this one, the common solopreneur automation mistakes post covers exactly the kind of edge cases that bite you a month after launch.
Step 8: Add a Scheduled Weekly Status Ping (Optional but High Value)
Beyond stage-triggered emails, you can run a weekly check on all active deals and send clients a brief status ping every Friday. This requires a different trigger: Make.com → Schedule → Every Week on Friday at 9am.
The scenario:
- Trigger: Scheduled, weekly
- HubSpot CRM → Search Deals by pipeline stage = “Active Work”
- Iterator module to loop through each deal
- Get associated contact for each deal
- Send weekly update email using
portal_status_note
This scenario runs independently of your stage-change scenario. Before running it, make it a habit to update every active deal’s portal_status_note field each Thursday. Ten minutes of field updates generates 30 minutes of professional client communication. If you want to automate your own review of active work before this fires, the solopreneur weekly review automation covers how to build that prep step into your workflow.
Pricing Reality Check
Here’s what this system costs to run:
- HubSpot Free CRM: $0. Deals, contacts, custom properties, and pipeline — all free. You won’t need a paid HubSpot tier for this setup.
- Make.com Core: $9/month. The Core plan gives you enough operations for a service solopreneur running 20-30 active clients. The Free plan (1,000 ops/month) works if you’re early-stage with fewer clients.
- Gmail / Google Drive: Likely already in your stack at no additional cost.
Total: $9/month to run a client portal that used to require either a dedicated tool (many charge $30-100/month) or hours of manual communication. If you want to see how Make.com’s operation usage scales as you grow, the Make.com pricing breakdown has the full math on when to upgrade plans.
For context on where this fits in a broader solo tech stack, the under-$50 CRM and automation stack post shows how HubSpot and Make.com combine with other tools to cover most operational needs.
How to Build a Solopreneur Client Portal: What to Do First
If this feels like a lot, build it in this order:
- Set up HubSpot pipeline with correct stage names
- Add the four custom properties to deal records
- Build and test the Onboarding route only
- Run it live for two weeks
- Add the Status Update route
- Add Document Delivery and Completion routes
- Add the weekly ping scenario last
You don’t need the whole system running before it provides value. The onboarding route alone eliminates the most common manual touchpoint in a service business — the post-contract welcome sequence.
The full system, once running, means a client can sign a contract on Saturday night and receive a professional welcome email, their onboarding questionnaire, and a link to their project brief before you wake up Sunday morning. That’s the difference between a solo operation that looks like a two-person team and one that clearly isn’t.
Get started with Make.com’s free plan to build and test this: Make.com — free up to 1,000 operations/month. Upgrade to Core ($9/month) when you’re ready to run it live with real clients.
If you want to see the full range of what Make.com can do for client-facing workflows beyond this portal setup, the Make.com guide for coaches and consultants covers additional automation patterns specifically built for service-based solopreneurs.
Building this yourself? Get the workflow pack.
5 ready-to-import n8n workflows — lead capture, invoicing, content repurposing, onboarding, social posting. Free.