How to Use Make.com With Airtable for Solopreneur Project Management
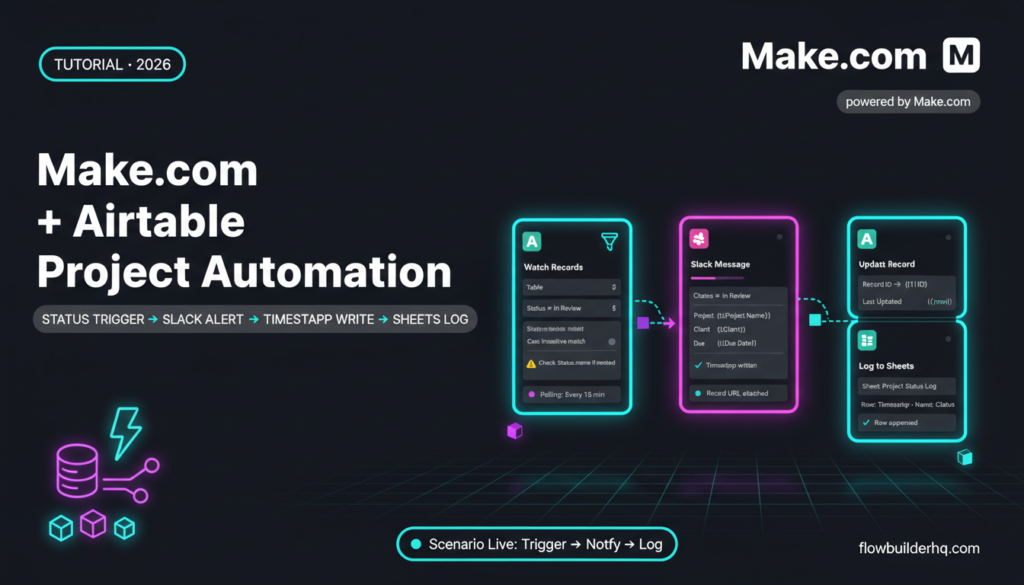
If you’re running projects out of Airtable, you already have a solid database. What you probably don’t have is anything that acts on that data automatically. That’s the gap. Learning how to use Make.com with Airtable for solopreneur project management closes it — without you touching either tool manually every time a project moves forward.
This tutorial walks through one complete, real workflow: Airtable as the project database, Make.com as the automation layer that watches for status changes and pushes updates where they need to go. No fluff. No toy examples. By the end you’ll have a working scenario you can adapt to your own setup.
If you haven’t set up Make.com before, start with this walkthrough on building your first Make.com scenario — then come back here.
Why Airtable + Make.com Works for Solo Operators
Airtable is a database with a spreadsheet face. It’s where solopreneurs store structured data — projects, clients, deliverables, deadlines — in a way that’s queryable and flexible. But Airtable’s native automations are limited. They’re clunky, live inside Airtable’s own ecosystem, and don’t talk cleanly to external tools without paying for enterprise-tier features.
Make.com fills that role better. It can watch your Airtable base for new or updated records, then fire a sequence of actions across any tool you’re connected to — Gmail, Slack, Notion, Google Sheets, whatever your stack runs on. The operations-based pricing model at Make.com means you’re only paying for what actually runs, not a flat fee for the privilege of connecting two apps.
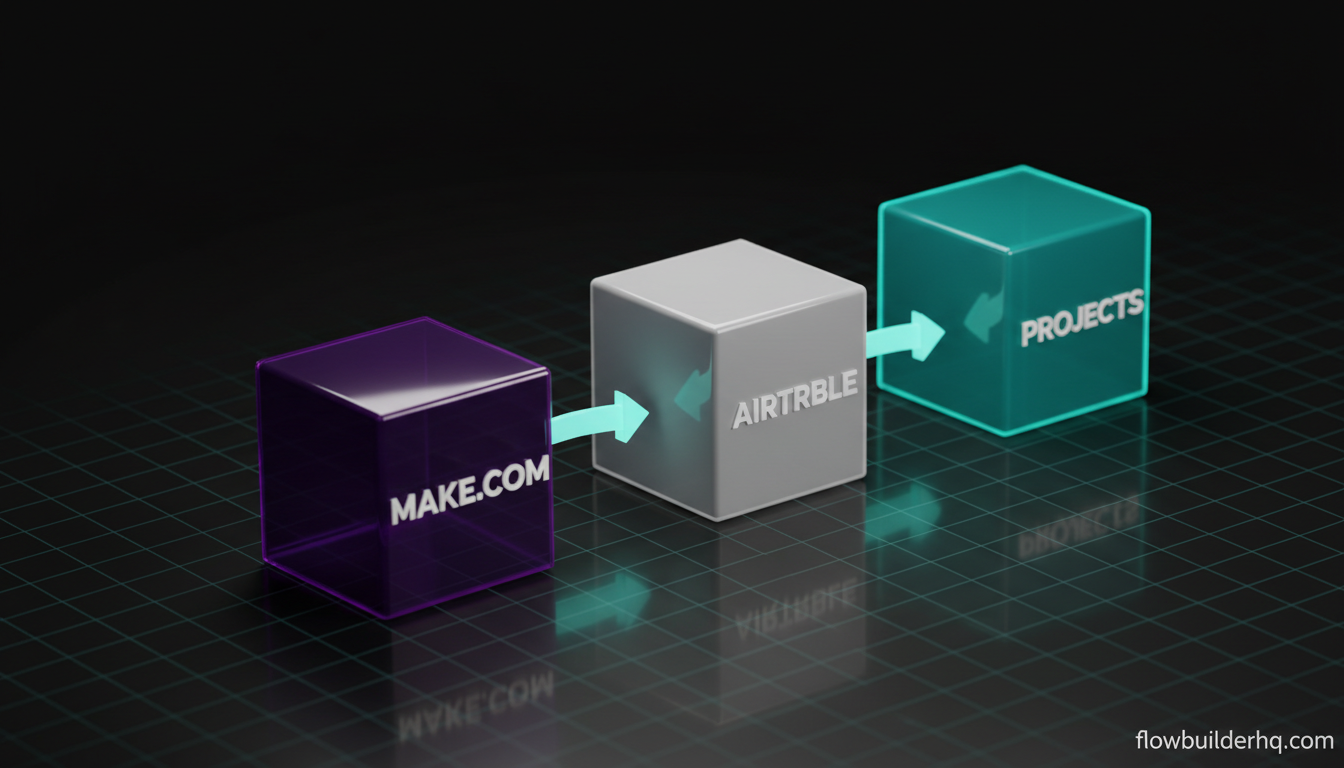
For project management specifically, the pattern is: Airtable holds the truth, Make.com reacts to changes in that truth. You update a project’s status field in Airtable, and Make.com handles all the downstream notifications, record updates, and logging that would otherwise eat 10 minutes of your attention every time.
This pairs naturally with a lean solopreneur tech stack — you’re not adding complexity, you’re making the tools you already use actually talk to each other.
What You’ll Build: The Project Status Automation
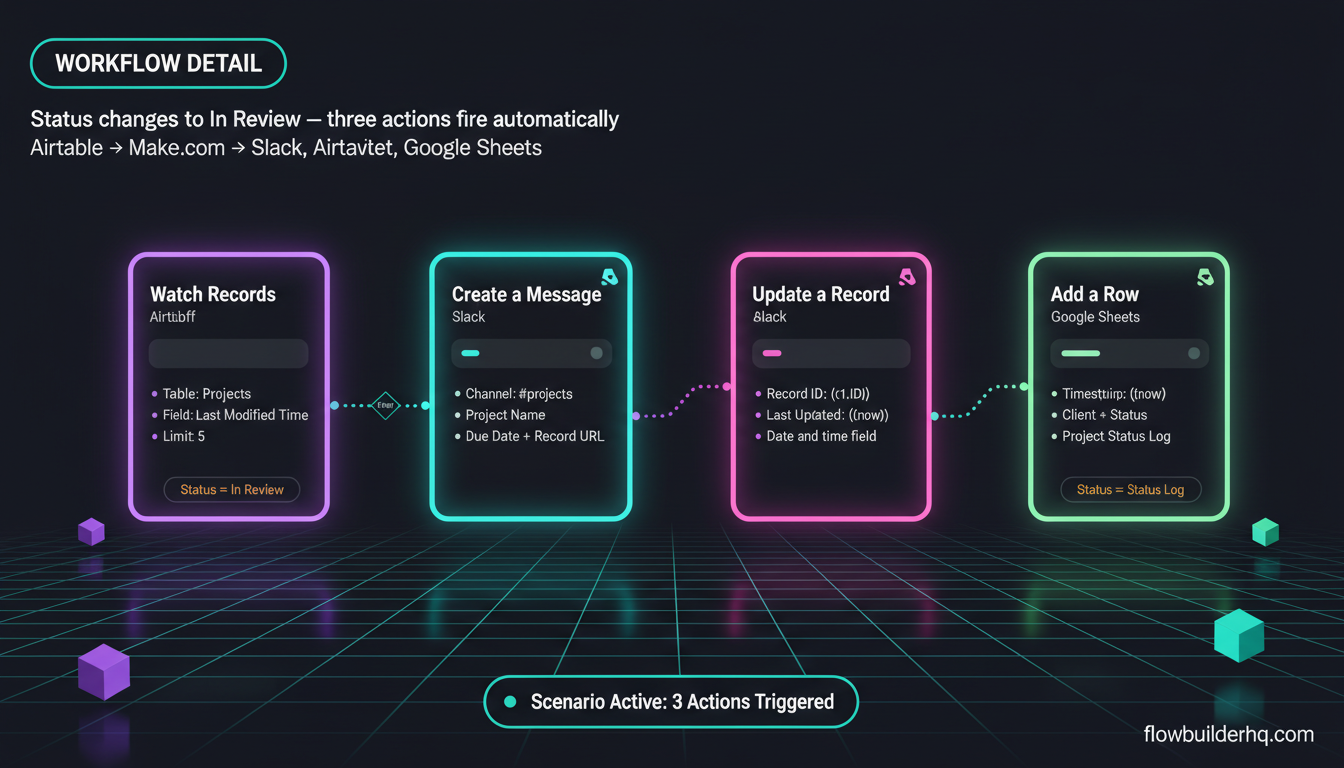
Here’s the exact workflow this tutorial builds:
- Trigger: A record in Airtable is updated — specifically, the
Statusfield changes to In Review - Action 1: Make.com sends a Slack message to your work channel with project name, client, and due date
- Action 2: Make.com updates a
Last Updatedfield in the same Airtable record with a current timestamp - Action 3: Make.com logs the status change to a Google Sheet for your weekly reporting
Three actions from one trigger. This replaces three manual steps you’d otherwise do (or skip) every time a project hits review stage.
Before You Start: Airtable Base Setup
Your Airtable base needs specific fields for the Make.com scenario to work cleanly. If you’re building from scratch, create a table called Projects with these fields:
Project Name— Single line textClient— Single line text (or a linked record if you have a Clients table)Status— Single select with options: Not Started, In Progress, In Review, DoneDue Date— Date fieldLast Updated— Date and time field (Make.com will write to this)Notes— Long text (optional, useful later)
Add two or three test records with real-looking data before you start building the scenario. Make.com needs to pull a sample record to map fields, and it’s much easier to do that mapping when the records have actual content in them.
Also: make sure you have an Airtable account with API access enabled. On the free tier, you have access to the API. You’ll need your base ID and API token — find these under your Airtable account settings → Developer Hub → Personal access tokens.
Step 1: Connect Airtable to Make.com
Open Make.com and create a new scenario. Click the large + button to add your first module.
Search for Airtable and select the module called Watch Records. This is a polling trigger — Make.com checks Airtable on a schedule (you’ll set the interval) and processes any records that have changed since the last check.
When prompted to create a connection, click Add. Make.com will ask for your Airtable API token. Paste it in. Name the connection something clear like Airtable – FlowBuilderHQ so you can reuse it across scenarios without confusion.
Once connected, configure the module:
- Base: Select the base containing your Projects table
- Table: Select Projects
- Trigger field: Select
Last Modified Time— this tells Make.com to watch for any record that’s been touched since the last run - Limit: Set to 5 for testing (raise to 100 in production)
Click OK, then click Run once at the bottom of the scenario editor. Make.com will pull a sample bundle from Airtable. You should see your test records appear in the module output. If nothing appears, go back and confirm your base ID is correct and that your API token has read permissions for that base.
Step 2: Add a Filter for Status = “In Review”
Right now, the scenario would fire on every single Airtable update. You only want it to fire when Status changes to In Review. Add a filter between the trigger and the first action.
Click the small filter icon (the circle with lines) between modules. Set the condition:
- Label: Status is In Review
- Condition 1:
Status(from the Airtable bundle) → Equal to (case insensitive) →In Review
This is where most beginners make a mistake: they map the wrong field. Make sure you’re selecting the Status value from the Airtable Watch Records output, not a static text string. The field label in the bundle should look something like 1. Status when you click into the condition value picker.
Common error: if your single-select field returns an object instead of a plain string (Airtable sometimes wraps select values), you’ll need to map Status.name instead of just Status. Check the bundle output structure — if you see a nested object, drill into it.
Step 3: Send a Slack Notification
Add a new module after the filter. Search for Slack → Create a Message.
Connect your Slack workspace, then configure:
- Channel: Your work channel, e.g., #projects
- Text: Build a clean message using mapped values from the Airtable bundle
Here’s the message format that works well in practice:
:white_check_mark: *Project in Review*
*Project:* {{1.Project Name}}
*Client:* {{1.Client}}
*Due Date:* {{1.Due Date}}
*Record:* {{1.URL}}
The {{1.URL}} maps to the Airtable record URL — Make.com exposes this automatically in the bundle. Paste it into the message and you get a one-click link from Slack directly to the Airtable record. Small thing, massive quality of life.
If you’re already automating Slack messages for other workflows, this deeper guide on Slack automations with Make.com covers formatted messages, conditional routing, and error notifications in more detail.
Step 4: Write the Timestamp Back to Airtable
Add another module: Airtable → Update a Record.
Use the same Airtable connection you already set up. Configure it:
- Base: Same base
- Table: Projects
- Record ID: Map
{{1.ID}}from the Watch Records bundle — this is the unique Airtable record identifier - Fields to update: Add
Last Updated→ map{{now}}(Make.com’s built-in timestamp function)
This writes the current date and time back into the record every time the automation runs for that record. It’s a lightweight audit trail — you can sort or filter by this field in Airtable to see which projects have been touched recently.
One thing to watch: if your Last Updated field is a date-only field (not date + time), Make.com will throw a data format error. Make sure the Airtable field type is set to Date and time before mapping {{now}}.
Step 5: Log the Status Change to Google Sheets
Add the final module: Google Sheets → Add a Row.
Connect your Google account if you haven’t already. Point it at a spreadsheet you’ll use as your automation log — something like a sheet called Project Status Log with columns: Timestamp, Project Name, Client, Status, Due Date.
Map each column from the Airtable bundle:
Timestamp→{{now}}Project Name→{{1.Project Name}}Client→{{1.Client}}Status→{{1.Status}}Due Date→{{1.Due Date}}
This log becomes useful fast. After a few weeks you’ll have a timeline of every project status change — useful for client updates, billing reconciliation, and general “what actually happened on this project” questions. If you want to automate your reporting on top of this log, this guide on automating Google Sheets reports with Make.com picks up exactly where this step leaves off.
Step 6: Set the Schedule and Test End-to-End
Click the clock icon on the Watch Records trigger to set your polling interval. For project management, every 15 minutes is usually fine. If you need near-real-time (say, you’re using Airtable as a live handoff board), go every 5 minutes — but be aware that tighter intervals consume more operations across your Make.com plan.
At Make.com’s Core plan ($9/month for 10,000 ops/month), running this scenario every 15 minutes with an average of 2-3 records processed per run stays comfortably within the free tier most months, and well within Core when it gets busier. If your operation count matters to you, the full Make.com pricing breakdown explains exactly how ops are counted per module.
To test end-to-end: go to your Airtable base, find a test record, and manually change the Status field to In Review. Back in Make.com, click Run once. Watch each module execute. You should see:
- Watch Records picks up the updated record
- Filter passes (Status equals In Review)
- Slack module sends a message to your channel
- Update Record writes the timestamp back to Airtable
- Add a Row appends a line to your Google Sheet
If the filter stops execution (no downstream modules run), check whether the Status value in your bundle matches exactly — including capitalization if you’re not using case-insensitive comparison.
Common Errors and Fixes
Error: “Record not found” on the Update Record module
This usually means the Record ID mapping is broken. Go back to the Update Record module and confirm you’ve mapped {{1.ID}} from the Watch Records bundle, not a hardcoded value or an empty field.
Error: “Invalid date format” when writing to Last Updated
Make.com’s {{now}} outputs in ISO 8601. Airtable accepts this, but only if the field type is Date and time. If it’s a plain Date field, use {{formatDate(now; "YYYY-MM-DD")}} instead.
Error: Scenario runs but Slack message doesn’t appear
Check the Slack module output in the execution log. If the module shows a success but the message isn’t in the channel, you’ve likely mapped the wrong channel ID. Slack channel IDs look like C04XXXXXXX — if you typed a channel name manually (e.g., #projects), Make.com might not resolve it. Use the dropdown to select the channel rather than typing it.
For a broader troubleshooting reference, the Make.com error handling guide covers how to set up error routes so your scenario doesn’t silently fail when something breaks.
Extending the Workflow: What to Add Next
Once this base scenario is running, it’s easy to extend without rebuilding from scratch. Here are three logical next moves:
1. Add routing for other statuses. Use Make.com’s Router module to branch the scenario — one route for In Review, another for Done. The Done route could trigger a client notification email via Gmail, update a billing record, or kick off your client offboarding workflow.
2. Pull in AI for status summaries. Add a Claude or GPT module between the filter and the Slack notification. Feed it the project name, status, and any notes from the Airtable record, and have it generate a one-line summary for the Slack message. Cleaner than raw field dumps. Using the Claude API in solopreneur automations shows you how to wire that up inside Make.com scenarios.
3. Connect to a CRM. If you’re tracking projects that have associated client relationships, you can extend this scenario to update a HubSpot deal stage or ActiveCampaign contact tag whenever a project status changes. Connecting Make.com to HubSpot covers the mechanics if that’s your CRM of choice.
How to Use Make.com With Airtable at Scale
Once you have one scenario working, the pattern repeats cleanly. You can build separate scenarios for:
- New records added to Airtable (trigger: Watch New Records) → send welcome or kickoff email
- Due dates approaching within 3 days (trigger: scheduled search with a formula filter) → Slack reminder
- Records with status Done for more than 7 days → archive to a separate Airtable table or Google Sheet
Each of these is its own scenario in Make.com. Keep them separate — don’t try to cram every Airtable automation into one giant scenario. Smaller scenarios are easier to debug, easier to turn on and off independently, and don’t fail catastrophically when one branch breaks.
This same principle applies across any Make.com integration. If you’re building out a full automation layer for your solo business, the common workflow automation mistakes solopreneurs make is worth reading before you get too deep — most of the pitfalls are structural, not technical.
The Make.com free tier (1,000 ops/month) will cover light usage of this setup. Once you’re running multiple Airtable scenarios on a 15-minute schedule, the Core plan at $9/month becomes the right call. That’s still less than a single hour of manual project admin time — the math isn’t close.
Ready to build it? Get started with Make.com here — the free tier is enough to build and test everything in this tutorial before you spend a dollar.
For the full picture on what Make.com can and can’t do, our Make.com review for 2026 covers the honest tradeoffs alongside the strengths.
Building this yourself? Get the workflow pack.
5 ready-to-import n8n workflows — lead capture, invoicing, content repurposing, onboarding, social posting. Free.