How to Automate Slack Notifications with Make.com (Triggers, Filters, and Formatted Messages)
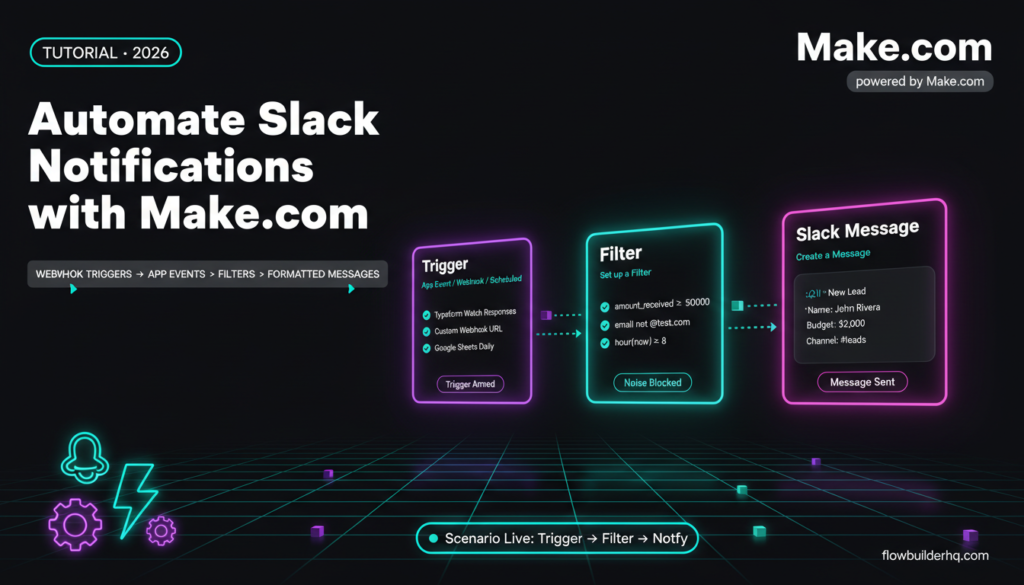
Your automation stack should talk to you. Not in a dashboard you have to remember to open, not in an email thread you’ll check in three hours — in Slack, where you’re already living. When you automate Slack notifications with Make.com, every important event in your business shows up exactly where your attention already is.
This tutorial covers three trigger types (webhook, scheduled, and app event), how to filter so you’re not buried in noise, and how to format messages with variables so they’re actually readable. The result is a Slack channel that acts as your business nerve center — not another inbox to manage.
If you’re brand new to building scenarios, start with this beginner walkthrough on building your first Make.com scenario before continuing. If you’re already comfortable with the builder, let’s get into it.
Why Slack Over Email for Automation Alerts
Email is async. Slack is ambient. When a lead comes in, a payment clears, or a report is ready, you want to know now — not when you open your inbox at 2pm. Slack notifications created by Make.com are instant, skimmable, and actionable without leaving your workflow.
The other reason: Slack channels give you a natural triage layer. You can push lead alerts to #leads, payment confirmations to #revenue, and system errors to #alerts. Your business speaks to you in organized channels, not a noisy unified feed.
Make.com’s Slack integration handles this cleanly. It supports the official Make.com Slack app module, which lets you send messages, create channels, react to messages, and more. For this tutorial, you’ll use the Create a Message action almost exclusively — it’s the workhorse.
Setting Up the Make.com + Slack Connection
Before building anything, connect Slack to Make.com. Inside any scenario, add a Slack module and click Add next to the Connection field. You’ll be redirected to authorize Make.com access to your Slack workspace. Grant it, pick the workspace, and you’re done.
One thing to check: Make.com’s Slack module sends messages as a bot by default. If you want the message to come from your name instead, you’ll need to use the Slack API with a webhook — covered in the webhook trigger section below. For most solopreneur use cases, the bot is fine.
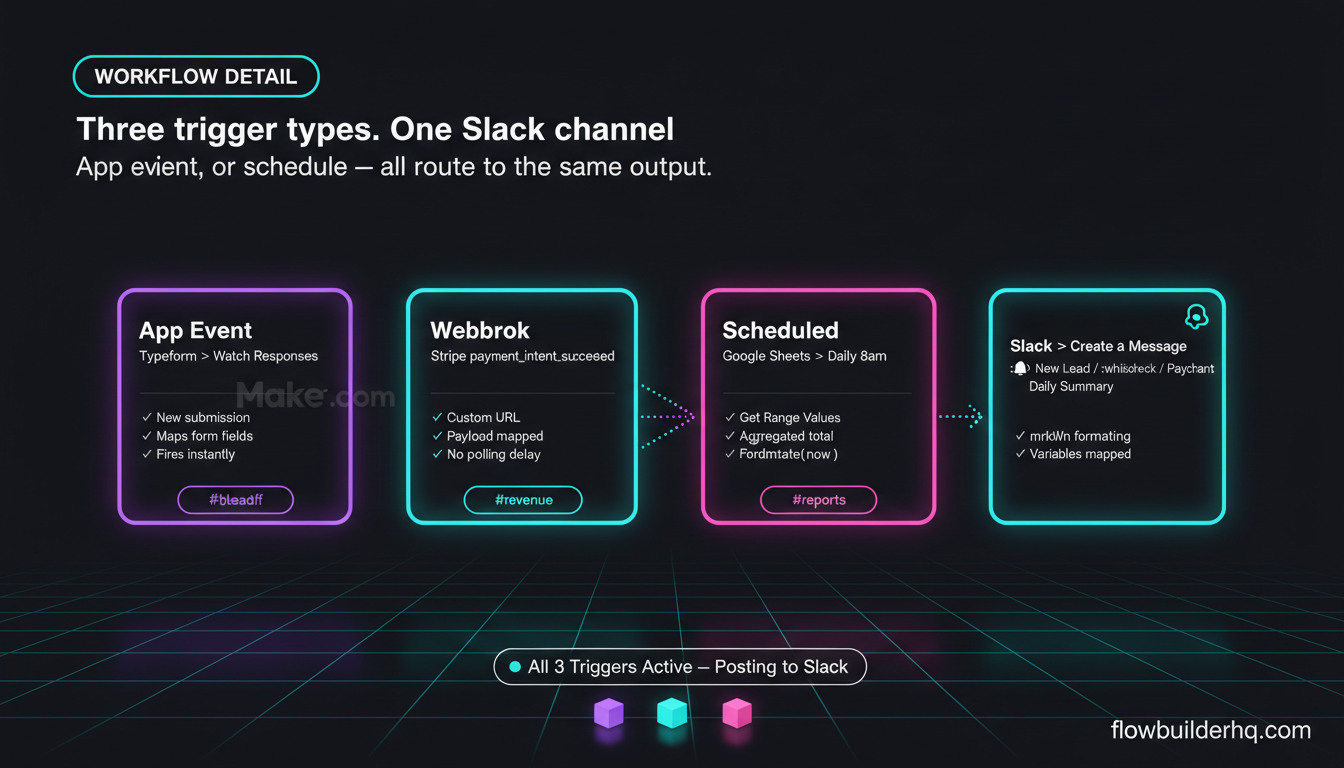
Now pick your trigger type. There are three worth knowing.
Trigger Type 1: App Event (The Most Common Setup)
An app event trigger fires when something happens in a connected app — a new Typeform submission, a new Stripe payment, a new HubSpot contact, a row added to a Google Sheet. This is the most common Slack notification pattern for solopreneurs.
Example workflow: New lead in a form → Slack alert in #leads
- Create a new Make.com scenario.
- Set the trigger to Typeform → Watch Responses (or whichever form tool you use). Connect your account, select the form.
- Add a second module: Slack → Create a Message.
- In the Channel field, type or select your target channel (e.g.,
#leads). - In the Text field, build your message using variables from the Typeform trigger.
For step 5, click inside the Text field. Make.com opens a variable panel on the right showing every field from the Typeform response. Map them into your message like this:
:bell: New lead just hit the form

Name: {{1.answers.name}}
Email: {{1.answers.email}}
Budget: {{1.answers.budget}}
Submitted: {{1.metadata.createdAt}}
That’s it. Run the scenario once with a test submission and you’ll see the formatted message appear in Slack within seconds. For more on integrating Typeform responses into a full workflow, see this complete Typeform automation walkthrough.
Trigger Type 2: Webhook (For Custom Apps and Instant Firing)
Webhooks are how you get Slack notifications from systems Make.com doesn’t have a native module for — or when you want maximum speed with no polling delay. Make.com gives you a unique webhook URL that any app, script, or service can POST to.
Example workflow: Stripe payment confirmed → Slack alert in #revenue
- In a new scenario, set the trigger to Webhooks → Custom Webhook.
- Click Add and name it (e.g., “Stripe Payment Received”). Make.com generates a URL like
https://hook.eu1.make.com/abc123xyz. - Copy that URL. In Stripe’s dashboard, go to Developers → Webhooks → Add endpoint, paste the URL, and select the
payment_intent.succeededevent. - Back in Make.com, click Run once, then trigger a real or test payment in Stripe. Make.com captures the payload and maps all available fields.
- Add a Slack → Create a Message module after the webhook trigger. Use the Stripe payload fields to build your message:
:white_check_mark: Payment received

Amount: ${{1.data.object.amount_received / 100}}
Customer: {{1.data.object.customer}}
Payment ID: {{1.data.object.id}}
The division by 100 is required because Stripe stores amounts in cents. That’s the kind of detail that bites you if you skip the test run — always fire a real test event and verify the output before activating.
Make.com’s webhook tutorial for beginners covers the full setup if you want more detail on webhook triggers before wiring this to Slack.
Trigger Type 3: Scheduled (For Digest Alerts and Reports)
Not every Slack notification needs to fire instantly. Sometimes you want a daily digest — a summary of what happened today, pulled from a spreadsheet, CRM, or project board — delivered at 8am before you start work.
Example workflow: Daily revenue summary from Google Sheets → Slack
- Create a scenario and set the trigger to Google Sheets → Get Range Values (or use a Search Rows module to pull today’s rows).
- Add a Tools → Set Variable module to aggregate data if needed — for example, sum a revenue column across all rows returned.
- Add Slack → Create a Message at the end. Write a summary message using the aggregated variables:
:bar_chart: Daily Revenue Summary — {{formatDate(now; "YYYY-MM-DD")}}

Total collected today: ${{2.total_revenue}}
Transactions: {{2.transaction_count}}
Highest single payment: ${{2.max_payment}}- Go to the scenario’s scheduling settings (the clock icon at the bottom left). Set it to run daily at your preferred time.
The formatDate(now; "YYYY-MM-DD") function is a Make.com built-in. Always include the date in digest messages — you’ll thank yourself when you’re scrolling back through Slack history. For more on building Google Sheets workflows in Make.com, the Google Sheets reporting automation guide has the full setup.
How to Automate Slack Notifications with Make.com: Filtering So You’re Not Spammed
The fastest way to ruin a Slack channel is to flood it with noise. Make.com’s filter system stops that before it starts.
Between any two modules in Make.com, you can add a filter. Click the small wrench icon on the arrow connecting two modules and select Set up a filter. You define conditions — if the condition isn’t met, that execution path stops and nothing gets posted to Slack.
Useful filters for Slack notifications:
- Only fire for high-value payments: Filter where
amount_received >= 50000(that’s $500 in Stripe’s cent-based format). - Only fire for specific form fields: Filter where
budgetdoes not equal “Under $500”. - Only fire during business hours: Filter where
hour(now)is greater than or equal to 8 AND less than or equal to 18. - Skip test submissions: Filter where email does not contain
@test.comor+test.
You can chain multiple conditions in a single filter using AND/OR logic. Use AND when every condition must be true. Use OR when any condition is enough to pass. This is where most people undersell Make.com — the filtering is legitimately powerful for a no-code tool.
If you’re building more complex logic, Make.com’s error handling system works alongside filters to catch edge cases without breaking your scenario.
Formatting Slack Messages with Variables (Make Them Readable)
A Slack message that just says “New submission received” is useless. You need to include the context that lets you act without clicking anywhere else. That means pulling variables from the trigger and structuring them clearly.
Make.com’s Slack module Text field accepts Slack’s mrkdwn formatting. Here’s what actually works:
- Bold:
*bold text* - Italic:
_italic text_ - Inline code:
`inline code` - Line break: actual newline in the text field (hit Enter)
- Emoji:
:bell:,:white_check_mark:,:bar_chart:— these render natively in Slack
A template that works well for lead alerts:
:bell: *New Lead*
*Name:* {{1.answers.full_name}}
*Email:* {{1.answers.email}}
*Service interest:* {{1.answers.service}}
*Budget:* {{1.answers.budget}}
*Message:* {{1.answers.message}}
*Submitted:* {{formatDate(1.metadata.createdAt; "MMM D, YYYY [at] h:mm A")}}
The formatDate function cleans up raw ISO timestamps into something human-readable. Without it, you get 2026-03-14T09:23:11.000Z — technically correct, completely annoying to read.
For even richer formatting, Make.com’s Slack module supports Block Kit via the Blocks field. Block Kit lets you send structured message sections with buttons, images, and dividers. It’s overkill for basic alerts, but worth knowing when you want actionable buttons (like “View in CRM” linking directly to a HubSpot record). Check Slack’s official message formatting documentation for the full mrkdwn reference.
Common Error: “Channel Not Found”
The most frequent error when setting up Slack notifications in Make.com is channel_not_found. It happens for two reasons:
- The bot isn’t in the channel. Make.com’s Slack bot needs to be a member of private channels before it can post. Go to the channel in Slack, type
/invite @Make(or whatever your bot is named), and add it. - You typed the channel name with a # prefix when Make.com expects it without one. Try both formats — some versions of the Slack module are picky. Use the dropdown selector instead of typing the name when possible.
If the error persists after fixing both, disconnect and reconnect the Slack connection in Make.com. OAuth token issues occasionally cause ghost errors that reconnecting clears.
Building a Full Solopreneur Alert Stack
Once you have one Slack notification working, the pattern replicates fast. A practical setup for a solopreneur running a service business might look like:
- #leads — fires when a new intake form is submitted (app event trigger)
- #revenue — fires when a payment clears in Stripe (webhook trigger)
- #reports — fires at 8am daily with a Google Sheets digest (scheduled trigger)
- #alerts — fires when a Make.com scenario fails or an error is caught (error handler trigger)
Each channel is a separate Make.com scenario. Keep them separate — one scenario per alert type makes debugging clean and lets you pause individual alerts without breaking others.
For the error alert channel specifically, use Make.com’s built-in error handler routes. When a scenario throws an error, route it to a Slack message instead of letting it silently fail. This is covered in depth in the Make.com error handling tutorial.
If you’re building out a full service delivery workflow that feeds into these alerts, the no-code workflow automation guide for service solopreneurs covers what to automate across the full client lifecycle.
Pricing Reality Check
Make.com’s free plan gives you 1,000 operations per month. Each module execution in a scenario counts as one operation. A simple three-module scenario (trigger → filter → Slack message) costs 3 ops per run. If you’re firing 50 lead alerts a month, that’s 150 ops — well within free tier.
Even on the Core plan at $9/month, you get 10,000 operations — enough for a busy solopreneur running a dozen active scenarios. The full Make.com pricing breakdown explains exactly how operations are counted across different plan tiers if you want to model your usage before committing.
For comparison, Zapier’s free plan caps at 100 tasks per month with no multi-step workflows. Make.com is the better choice here — by a significant margin — for anyone who wants Slack notifications wired to multiple triggers without paying $69/month. See the Make.com vs Zapier pricing comparison for the full breakdown.
What to Build Next
Once your Slack alerts are running, you’ll start seeing gaps in your stack — places where information lives in one tool but you’re checking it manually somewhere else. That’s the signal to build the next scenario.
Good next steps from here:
- Add a Slack alert to your client onboarding automation workflow so you know the moment a new client’s welcome email fires
- Wire proposal-sent events to Slack using the proposal automation workflow
- Connect appointment bookings so you get a Slack ping every time a call is scheduled — the appointment scheduling automation guide has the full setup
The goal isn’t notifications for everything. It’s notifications for the things that require your attention or action. Keep that filter in mind and your Slack setup stays useful instead of becoming another noise machine.
Ready to build? Start your Make.com free account here — the free plan is enough to run everything covered in this tutorial. For a full overview of what Make.com can handle across your entire solopreneur stack, the Make.com 2026 review is worth reading before you scale up.
Building this yourself? Get the workflow pack.
5 ready-to-import n8n workflows — lead capture, invoicing, content repurposing, onboarding, social posting. Free.