How to Automate a Lead Magnet Delivery Workflow with Make.com
Most lead magnets are just a file send dressed up as a system. Someone opts in, you manually email them a PDF link, maybe tag them in your email tool if you remember, and log nothing. Three weeks later you have no idea how many people actually got it or whether they were ever followed up with.
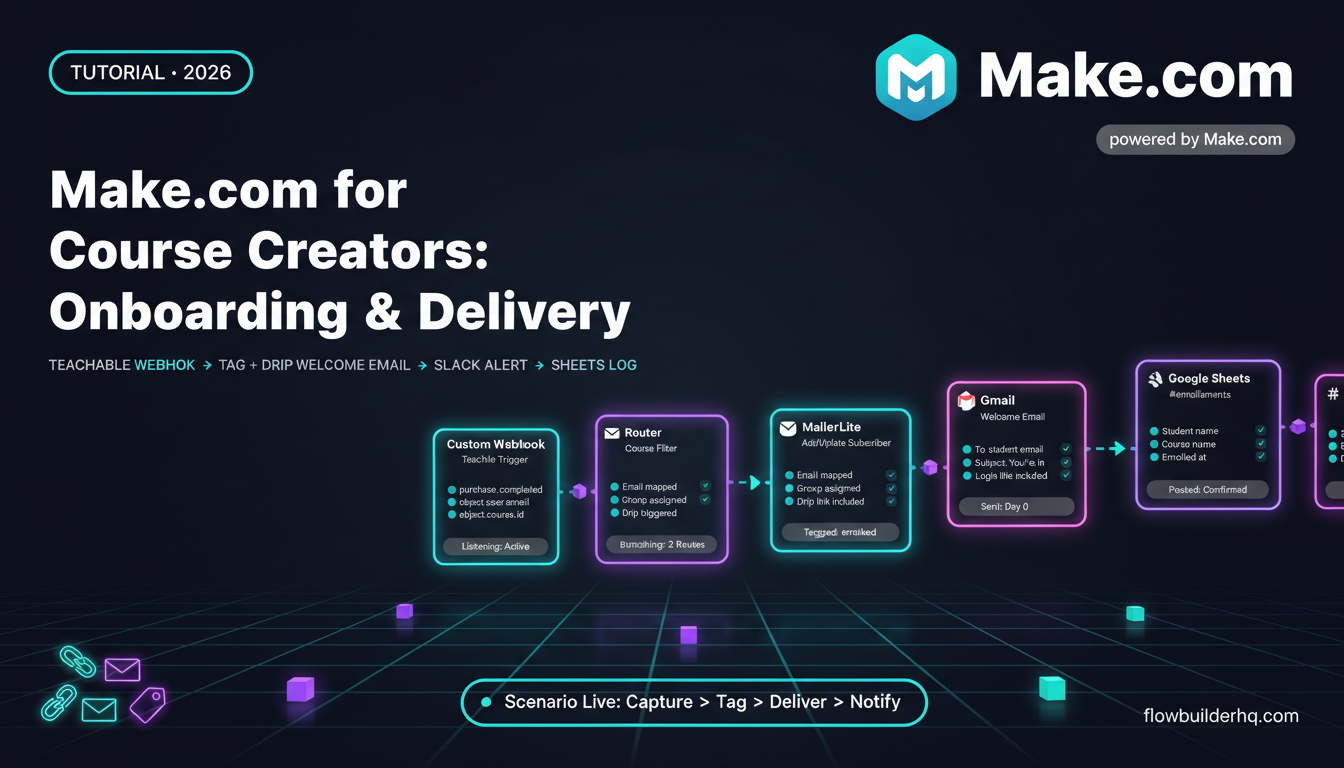
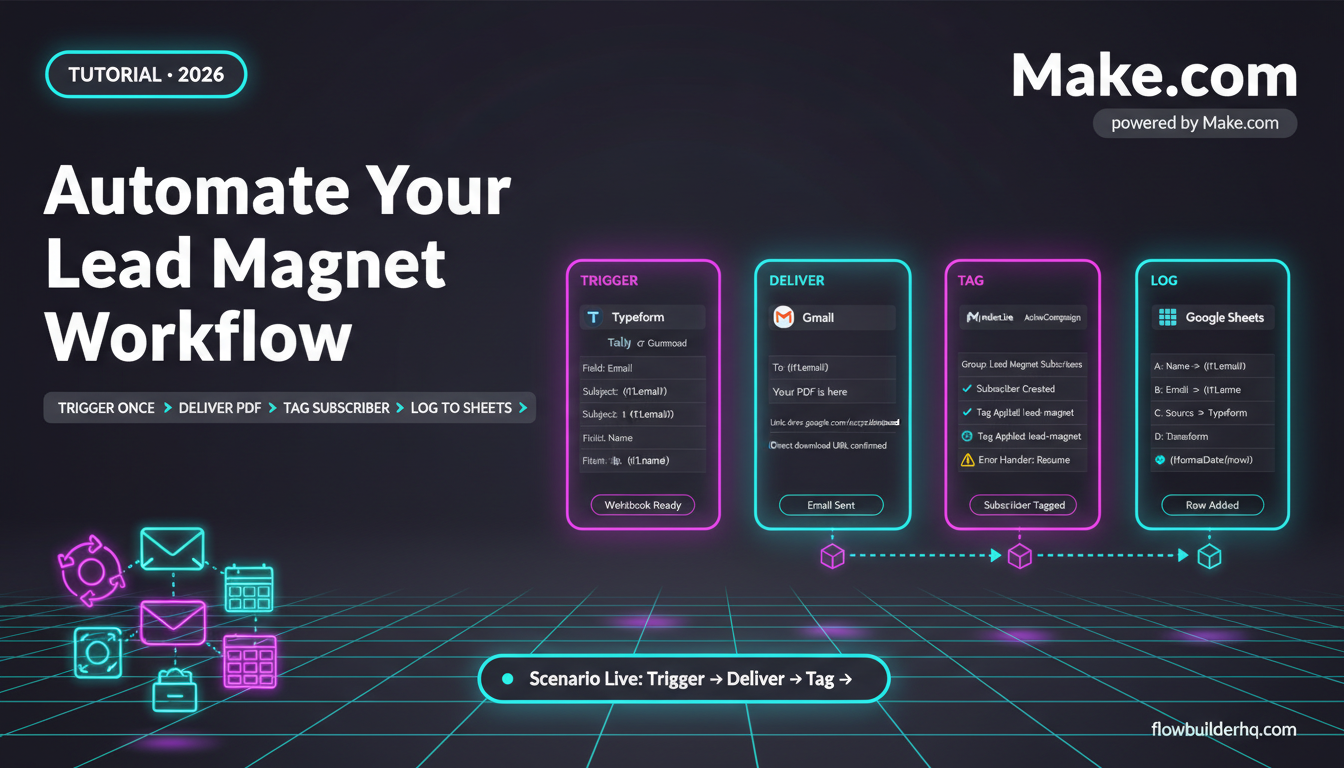
This tutorial shows you How to Automate Lead Magnet Delivery with Make.com so that the moment someone opts in — via Typeform, Tally, or Gumroad — they get the PDF, they get tagged in your email platform, and they’re logged in a Google Sheet. One scenario, no manual steps, runs indefinitely.
This is the lead magnet as a mini-system: trigger → deliver → tag → log. Make.com is the connective tissue that holds all four steps together.
What You’re Building
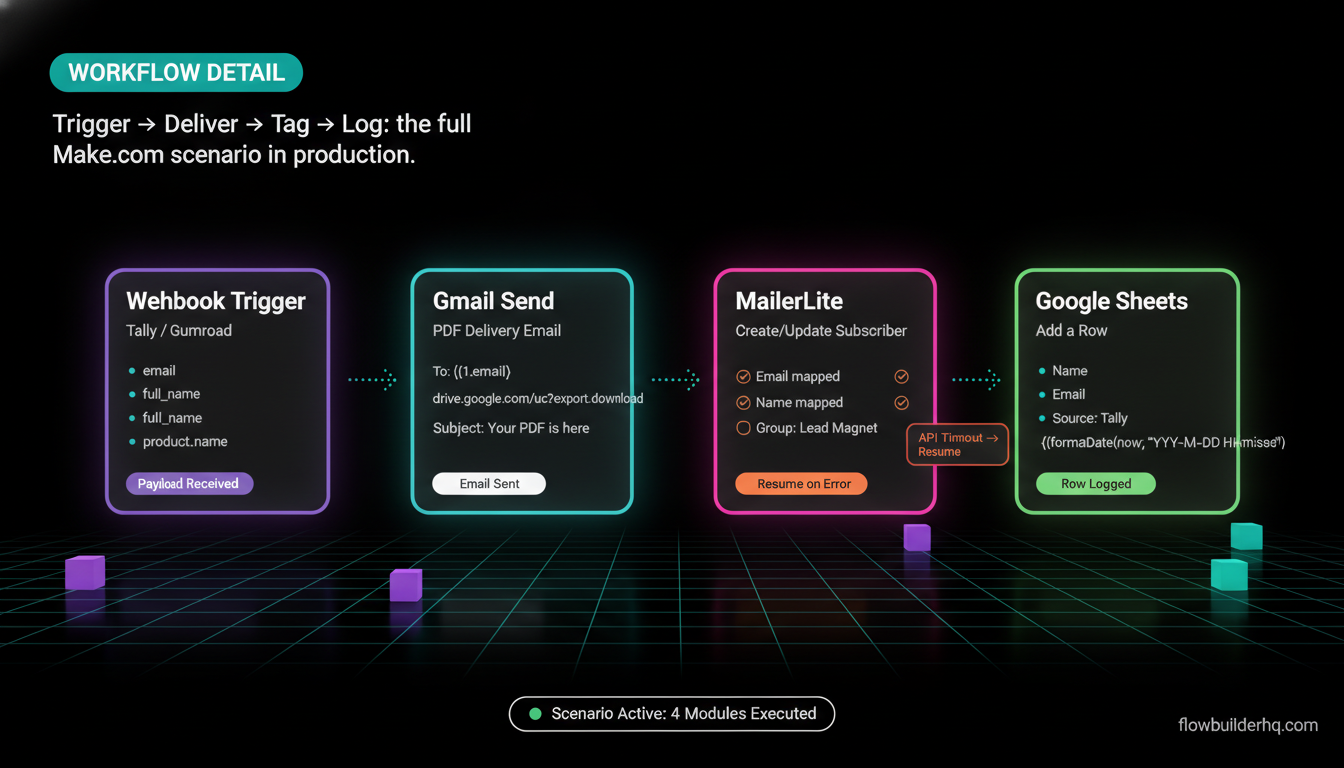
Here’s the full flow before you touch a single module:
- A new opt-in comes in via Typeform, Tally, or a Gumroad free product
- Make.com catches it via webhook or native trigger
- Gmail (or your SMTP) sends the subscriber their PDF download link
- Your email marketing tool (MailerLite, ActiveCampaign, or similar) gets a new subscriber added and tagged
- A Google Sheet row is created with their name, email, opt-in source, and timestamp
You don’t need to pick all three trigger tools. Build it for one trigger first, then add branches later. The core logic is identical regardless of which form tool you use.
If you’ve never built a multi-module scenario before, this walkthrough of building your first Make.com scenario will get you oriented before you start here.
Prerequisites
- A Make.com account (free tier works for testing; Core at $9/mo for production)
- Your lead magnet PDF hosted somewhere with a direct link — Google Drive, Dropbox, or your own domain. Do not use a “view” link; use a direct download link.
- One of: Typeform account, Tally account, or Gumroad free product set up
- An email marketing account with an API (MailerLite and ActiveCampaign both have Make.com native modules)
- A Google Sheet with columns: Name, Email, Source, Timestamp
Step 1: Set Up Your Trigger
Option A — Typeform
In Make.com, create a new scenario. Search for the Typeform module and select Watch Responses. Connect your Typeform account via OAuth, then select the specific form you’re using as your lead magnet opt-in. Make sure your Typeform asks for at minimum: first name and email address. Map those fields — you’ll reference them in every downstream module.
For a deeper look at what Typeform + Make.com can do together, see this full Typeform automation walkthrough.
Option B — Tally
Tally doesn’t have a native Make.com module, so you use a webhook. In Make.com, add a Webhooks → Custom webhook module as your trigger. Copy the webhook URL. In Tally, open your form settings → Integrations → Webhooks, paste the URL, and save. Submit a test response to populate the data structure in Make.com. Once the webhook receives the test, Make.com will map all your field names automatically.
The Tally webhook approach is the same pattern used in client feedback collection with Make.com and Tally — same setup, different form purpose.
Option C — Gumroad
If you’re offering your lead magnet as a free Gumroad product (price: $0), Gumroad fires a webhook for every sale — including $0 purchases. In Make.com, use Webhooks → Custom webhook as your trigger. In Gumroad → Settings → Advanced → Ping URL, paste your Make.com webhook URL. Submit a test $0 purchase to populate the payload. Gumroad sends email, full_name, and product_name in the ping body — those are your mapped fields.
The Gumroad approach is especially useful if you want built-in payment infrastructure in case you ever charge for it later. The trigger changes; the rest of the workflow is identical.
Step 2: Send the PDF Delivery Email
Add a Gmail → Send an Email module (or Email → Send an Email if you’re using SMTP). Connect your Google account.
Fill in the fields:
- To: Map the email field from your trigger (e.g.,
{{1.email}}or the Typeform mapped field) - Subject: Something like “Your [Lead Magnet Name] is here”
- Content type: HTML
- Body: Write a short, direct email with the download link embedded. Don’t write a novel. One sentence of context, the link, one sentence of what’s next.
Your PDF link goes in the body as a plain <a href> tag. If you’re using Google Drive, the shareable link format should be: https://drive.google.com/uc?export=download&id=YOUR_FILE_ID — not the default viewer URL, which forces a preview page instead of a download.
Common error here: Google Drive “sharing” links look like https://drive.google.com/file/d/FILE_ID/view?usp=sharing — those open a preview, not a download. Replace /view?usp=sharing with /uc?export=download to force a direct download. Test it in an incognito window to confirm.
Step 3: Add the Subscriber to Your Email Tool and Tag Them
This is where the lead magnet becomes a real acquisition system rather than a one-time file drop. You want this person in your email platform, tagged so you know where they came from.
Using MailerLite
Add a MailerLite → Create/Update a Subscriber module. Map the email and name from your trigger. Under “Groups,” select the group that corresponds to your lead magnet (create one if it doesn’t exist — e.g., “Lead Magnet: [Name]”). This acts as your tag. MailerLite’s free plan covers up to 500 subscribers, so this costs nothing to start.
Using ActiveCampaign
Add an ActiveCampaign → Create/Update a Contact module, then a second ActiveCampaign → Add a Tag to a Contact module. Map the email field in both. In the tag module, type the tag name you want applied — e.g., “lead-magnet-[name]”. This keeps your contact list segmentable from day one. ActiveCampaign starts at $15/mo for up to 1,000 contacts.
For a full breakdown of how MailerLite and ActiveCampaign stack up for solopreneurs, the ActiveCampaign vs MailerLite comparison covers pricing and feature tradeoffs in detail.
Important: Set up error handling on this module specifically. If your email tool’s API is down or rate-limits you, you don’t want the whole scenario to fail and not deliver the PDF. In Make.com, right-click the module → “Add error handler” → choose Resume so the scenario continues to Step 4 even if tagging fails.
For a full primer on Make.com error handling, this error handling tutorial covers exactly how Resume and Ignore directives work.
Step 4: Log to Google Sheets
Add a Google Sheets → Add a Row module. Connect your Google account, select your spreadsheet and sheet tab, then map:
- Column A (Name): Mapped name field from trigger
- Column B (Email): Mapped email field from trigger
- Column C (Source): Hard-code this as text — “Typeform”, “Tally”, or “Gumroad” depending on which trigger you built. If you later use a router to handle multiple sources, each branch sets its own source value.
- Column D (Timestamp): Use Make.com’s built-in
{{now}}variable, formatted with theformatDatefunction:{{formatDate(now; "YYYY-MM-DD HH:mm:ss")}}
This sheet becomes your ops log. You can see exactly how many people have opted in, when, and from which source — without logging into three different platforms. You can also feed this data into reports or trigger follow-up sequences later.
If you want to build more sophisticated reporting on top of this sheet, automating Google Sheets reporting with Make.com shows you how to turn raw rows into summary data automatically.
Step 5: Handle Multiple Trigger Sources with a Router
If you want one scenario to handle Typeform AND Tally AND Gumroad opt-ins, use Make.com’s Router module after the trigger. Each branch handles a different source. The email delivery, tagging, and logging logic is identical in each branch — only the field mappings change slightly (different field names from different tools).
The Router pattern also lets you send different emails based on which lead magnet someone opted in for, if you run multiple. Route by product name (from Gumroad’s product_name field) or by form ID (from Typeform’s response metadata).
For a complete walkthrough of filters and routers in Make.com, this multi-step workflow tutorial shows exactly how to branch logic without duplicating scenarios.
Step 6: Test the Full Scenario
Before going live, run a complete end-to-end test:
- In Make.com, click Run once
- Submit your opt-in form with a real email address you control
- Watch each module execute in the scenario view — green checkmarks mean it ran successfully, the bubble shows the data processed
- Check your inbox for the delivery email
- Confirm the subscriber appears in your email tool with the correct tag/group
- Open your Google Sheet and verify the row was added with correct data and timestamp
If any module shows a red X, click it to see the error detail. The most common issues at this stage are: wrong field mappings (field name from the form doesn’t match what you mapped), Google Drive link format (preview vs. download, as covered in Step 2), or an OAuth scope issue on your email tool connection.
Step 7: Activate and Set Your Schedule
Once the test passes, turn the scenario on. For webhook-based triggers (Tally, Gumroad), the scenario runs instantly when the webhook fires — there’s no polling delay. For Typeform’s native “Watch Responses” module, Make.com polls on your set interval (15 minutes on free, down to 1 minute on Core plan and above).
If real-time delivery matters — and for lead magnets it almost always does — use a webhook trigger instead of a polling trigger. You can set up a Make.com webhook for essentially any form tool that supports outgoing webhooks, not just Tally.
On Make.com’s free plan, you get 1,000 operations per month. This scenario uses 4-5 operations per opt-in (trigger + email + email tool + Sheets row). At 1,000 ops, you can process roughly 200 opt-ins per month for free. If your lead magnet volume exceeds that, the Core plan at $9/mo gives you 10,000 ops — more than enough for most solopreneurs.
For a full breakdown of how Make.com’s operation model actually works, the Make.com pricing breakdown explains what counts as an operation and how to estimate your real monthly usage.
Extending the System
Once this base workflow is running, there are a few natural extensions worth considering:
Add a follow-up sequence: Instead of just adding the subscriber to a group, trigger a specific automation in your email tool — a 3-email nurture sequence starting 24 hours after opt-in. Most email platforms let you trigger automations via API when a contact is added to a specific list or tagged.
Notify yourself on Slack: Add a Slack → Create a Message module at the end to ping your ops channel every time someone opts in. One-line message: name, email, source. You see momentum without checking dashboards. The Slack notifications tutorial covers formatting and channel targeting.
Score or segment by lead source: If you have multiple lead magnets, add a column to your Google Sheet for “Lead Magnet Name” and populate it dynamically. Over time, your sheet tells you which lead magnets convert best — not based on vanity metrics, but on who actually showed up in your email list.
This is what separates a mini-system from a file send. The delivery is the beginning, not the end. Get started with Make.com and build this scenario today — the free plan is enough to have it running in production before the end of the day.
If you want to see how this same pattern applies to a full client onboarding flow, client onboarding automation with Make.com covers the same trigger-to-tag-to-log logic at a larger scale.
Building this yourself? Get the workflow pack.
5 ready-to-import n8n workflows — lead capture, invoicing, content repurposing, onboarding, social posting. Free.