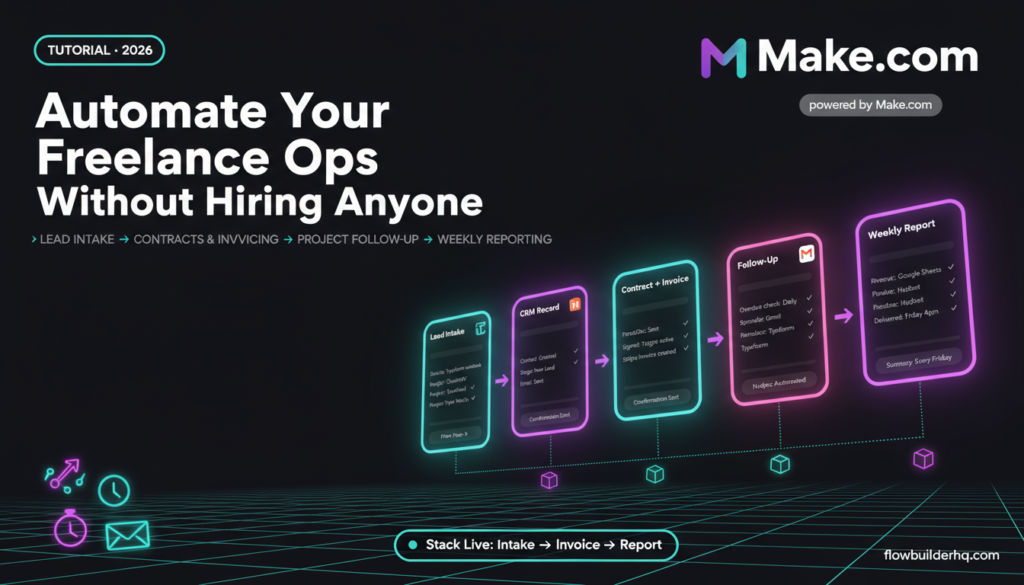
How to Automate Your Freelance Business Operations Without Hiring Anyone
There’s a specific kind of exhaustion that hits when you’re doing the work and running the business. You finish a client deliverable at 6pm, then spend the next two hours chasing an invoice, updating your project tracker, and drafting a follow-up email you’ve written seventeen times before. You don’t need more discipline. You need a system that handles the operational layer so you can stay focused on the work that actually earns.
This is exactly what learning how to automate your freelance business operations without hiring anyone makes possible. Not by cutting corners on client work — but by building a silent team member that handles intake, invoicing, follow-up, and reporting while you sleep. This tutorial walks you through that full operational picture, end to end, using Make.com as the backbone.
If you’ve already read our client onboarding automation walkthrough, this goes further. Onboarding is one piece. Here we’re covering the full ops stack: lead intake, contract and invoice triggers, project status updates, follow-up sequences, and weekly reporting — all automated, none of it requiring a hire.
Why Freelancers Specifically Need This
Agencies have ops managers. Startups have founders who split the load. You have yourself. Every hour you spend on administrative work is an hour you’re not billing — or resting. The math is brutal and most freelancers feel it without being able to name it.
The answer isn’t always “hire a VA.” VAs cost money, require training, and introduce communication overhead. For many one-person businesses, a well-built automation stack eliminates the need for that hire entirely. Make.com starts at free (1,000 operations/month) and scales to $9/month on the Core plan — a fraction of even one hour of VA time.
This tutorial assumes you’re already comfortable with the idea of no-code automation. We’re building real workflows, not explaining what a webhook is. Here’s how to build it.
The Four Operational Areas to Automate First
Before building anything, map your ops into these four buckets. Everything that drains your time falls into one of them:
- Lead intake and qualification — capturing inquiries, filtering out bad fits, booking calls
- Contracts and invoicing — sending proposals, triggering invoices, logging payments
- Project communication and follow-up — status nudges, check-ins, unanswered email reminders
- Reporting and review — weekly summaries, revenue tracking, pipeline health
Most freelancers automate one of these accidentally (usually invoicing, because the pain is obvious) and leave the rest manual. This tutorial builds out all four as a connected system. Check out our breakdown of what to automate first if you’re prioritizing — the framework there maps cleanly to this stack.
Step 1: Automate Lead Intake and Qualification
Your intake form is the first handoff point. When a lead submits a form — Typeform, Tally, JotForm, whatever you use — that submission should trigger a full sequence automatically, not land in your inbox for manual processing.
The Trigger
In Make.com, create a new scenario. Set the trigger module to your form tool’s webhook or polling connection. For Typeform users, our Typeform + Make.com intake workflow covers the connection setup in detail. The key fields you want to capture: name, email, project type, budget range, and timeline.
The Filter
Add a Filter module immediately after the trigger. Set conditions that match your qualification criteria. For example: budget must be greater than your minimum project size, or project type must match one of your service offerings. Leads that don’t pass the filter get routed to a “not a fit” email sequence. Leads that pass continue through.
The Actions
For qualified leads, chain these modules:
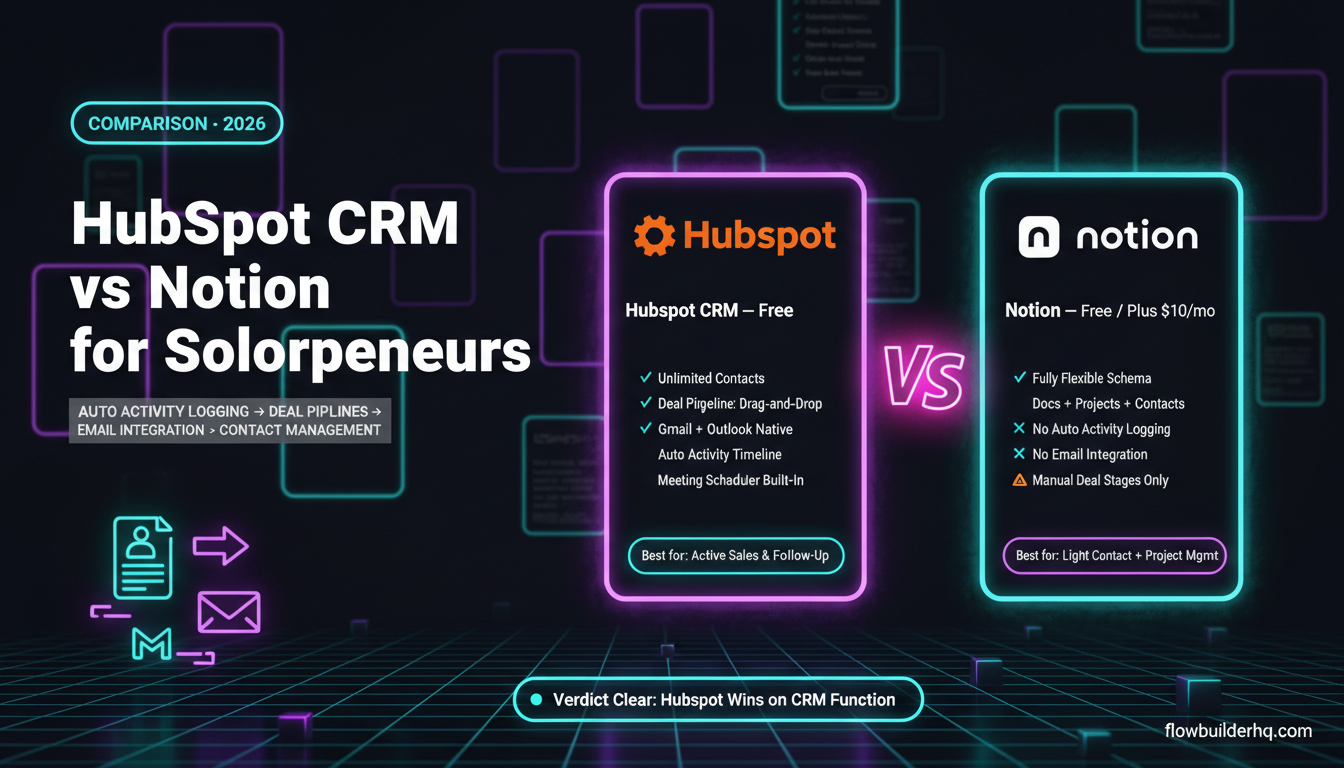
- Create a CRM record — push the lead into HubSpot, Airtable, or Notion. If you’re using HubSpot, our guide on tracking leads without a sales team shows exactly which fields to populate.
- Send a confirmation email — via Gmail or your email provider. Personalise it with the lead’s name and project type using Make’s data mapping. This goes out within seconds of form submission.
- Book a discovery call — add a Calendly module (or any scheduling tool with a Make integration) to append your booking link in the confirmation email body, or trigger an invite directly.
- Notify yourself — send a Slack or email notification with a summary of the lead details. You see it when you’re ready, not as an interruption.
Common error: Typeform’s Make integration sometimes sends fields as arrays instead of strings when you use multiple-choice questions. In the mapping panel, use the first() function to extract the first array element: {{first(1.answers[].choice.label)}}. This prevents downstream modules from failing on unexpected data types.
Step 2: Automate Contracts and Invoicing
The moment a client says yes is the moment most freelancers shift into full manual mode — drafting a contract, copying it into their invoicing tool, sending it, then following up when it goes unsigned for a week. Every step of this can be automated.
The Trigger
You need a trigger that fires when a client becomes “active.” Options: a CRM deal moves to a specific stage, a form submission comes in with a status field set to “approved,” or you manually toggle a status in Airtable or Notion. Any of these work as a Make trigger.
The Contract Module
Connect Make to your contract/proposal tool. PandaDoc, Docusign, and HelloSign all have Make modules. When triggered, the scenario creates a contract pre-filled with the client’s name, project scope, and price — pulled from your CRM record. It sends automatically. You never open a document editor.
For the full proposal automation build, including the PDF-to-email chain, see our proposal sending workflow.
The Invoice Trigger
Add a second scenario that watches for the contract’s signed status via webhook. When the contract tool sends a “document signed” event, Make fires and creates the invoice in Stripe, PayPal, or your invoicing app. Our invoicing automation tutorial covers the Stripe and PayPal module setup specifically.
The result: client signs the contract, invoice appears in their inbox within two minutes. No manual step from you.
Payment Logging
Add a final module to log the payment in a Google Sheet or Airtable base when Stripe fires a payment success webhook. This becomes your real-time revenue tracker. More on this in the reporting section below.
Step 3: Automate Project Follow-Up and Communication
Chasing clients for feedback, approvals, and overdue deliverables is where most freelancer time bleeds out invisibly. You can’t fully automate the relationship — but you can automate the reminders, check-ins, and status nudges that currently require you to remember them.
Automated Status Check-Ins
Build a scenario with a scheduled trigger (Make’s Clock module). Set it to run every Monday morning. The scenario reads your active projects from Airtable or Notion, checks the “last client contact” date field, and sends a personalised check-in email for any project where that date is more than 5 days old.
This pairs well with a proper CRM setup. If you’re using HubSpot for contact management, our tutorial on follow-up automation for freelancers shows how to use deal stages to trigger these sequences contextually rather than on a fixed timer.
Automated Feedback Requests
When you mark a deliverable as “submitted” in your project tracker (Notion, Airtable, or a Google Sheet), Make fires a feedback request email to the client. Include a short Typeform or Google Form link for structured feedback. The response automatically updates the project record and triggers the next phase of work.
Common error: If you use Notion as your project tracker and trigger Make via the Notion module polling, note that Make polls Notion every 15 minutes on the Core plan. If you need faster triggers, switch to a webhook-based trigger using a Notion automation that hits a Make webhook URL instead. This drops the latency from 15 minutes to near-instant.
Overdue Invoice Reminders
Create a scenario that checks your Stripe or invoicing app for unpaid invoices past their due date (Stripe has a filter for this). For any overdue invoice, Make sends a polite reminder email — not from a generic billing address, but from your personal email via Gmail, so it feels human. Schedule this to run daily. For the full email follow-up build, see our complete email follow-up workflow.
Step 4: Automate Weekly Reporting and Business Review
Flying blind on your own business numbers is a tax on every decision you make. Most freelancers either don’t track at all, or spend 30 minutes every Sunday pulling numbers manually. Automate this entirely.
The Weekly Summary Scenario
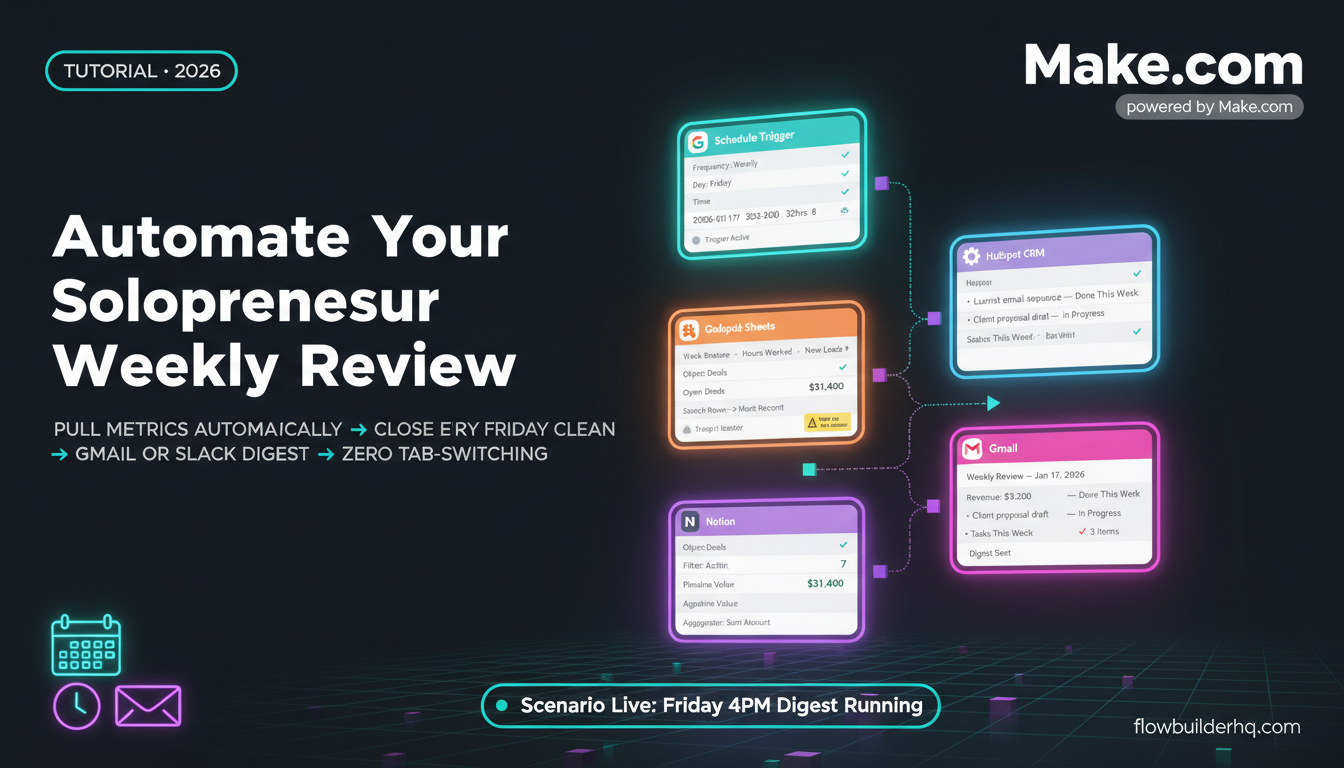
Build a scenario triggered by Make’s Clock module every Friday at 4pm. It pulls data from:
- Your Google Sheet or Airtable revenue log (invoices sent, payments received this week)
- Your CRM (new leads this week, proposals sent, deals closed)
- Your project tracker (active projects, deliverables due next week)
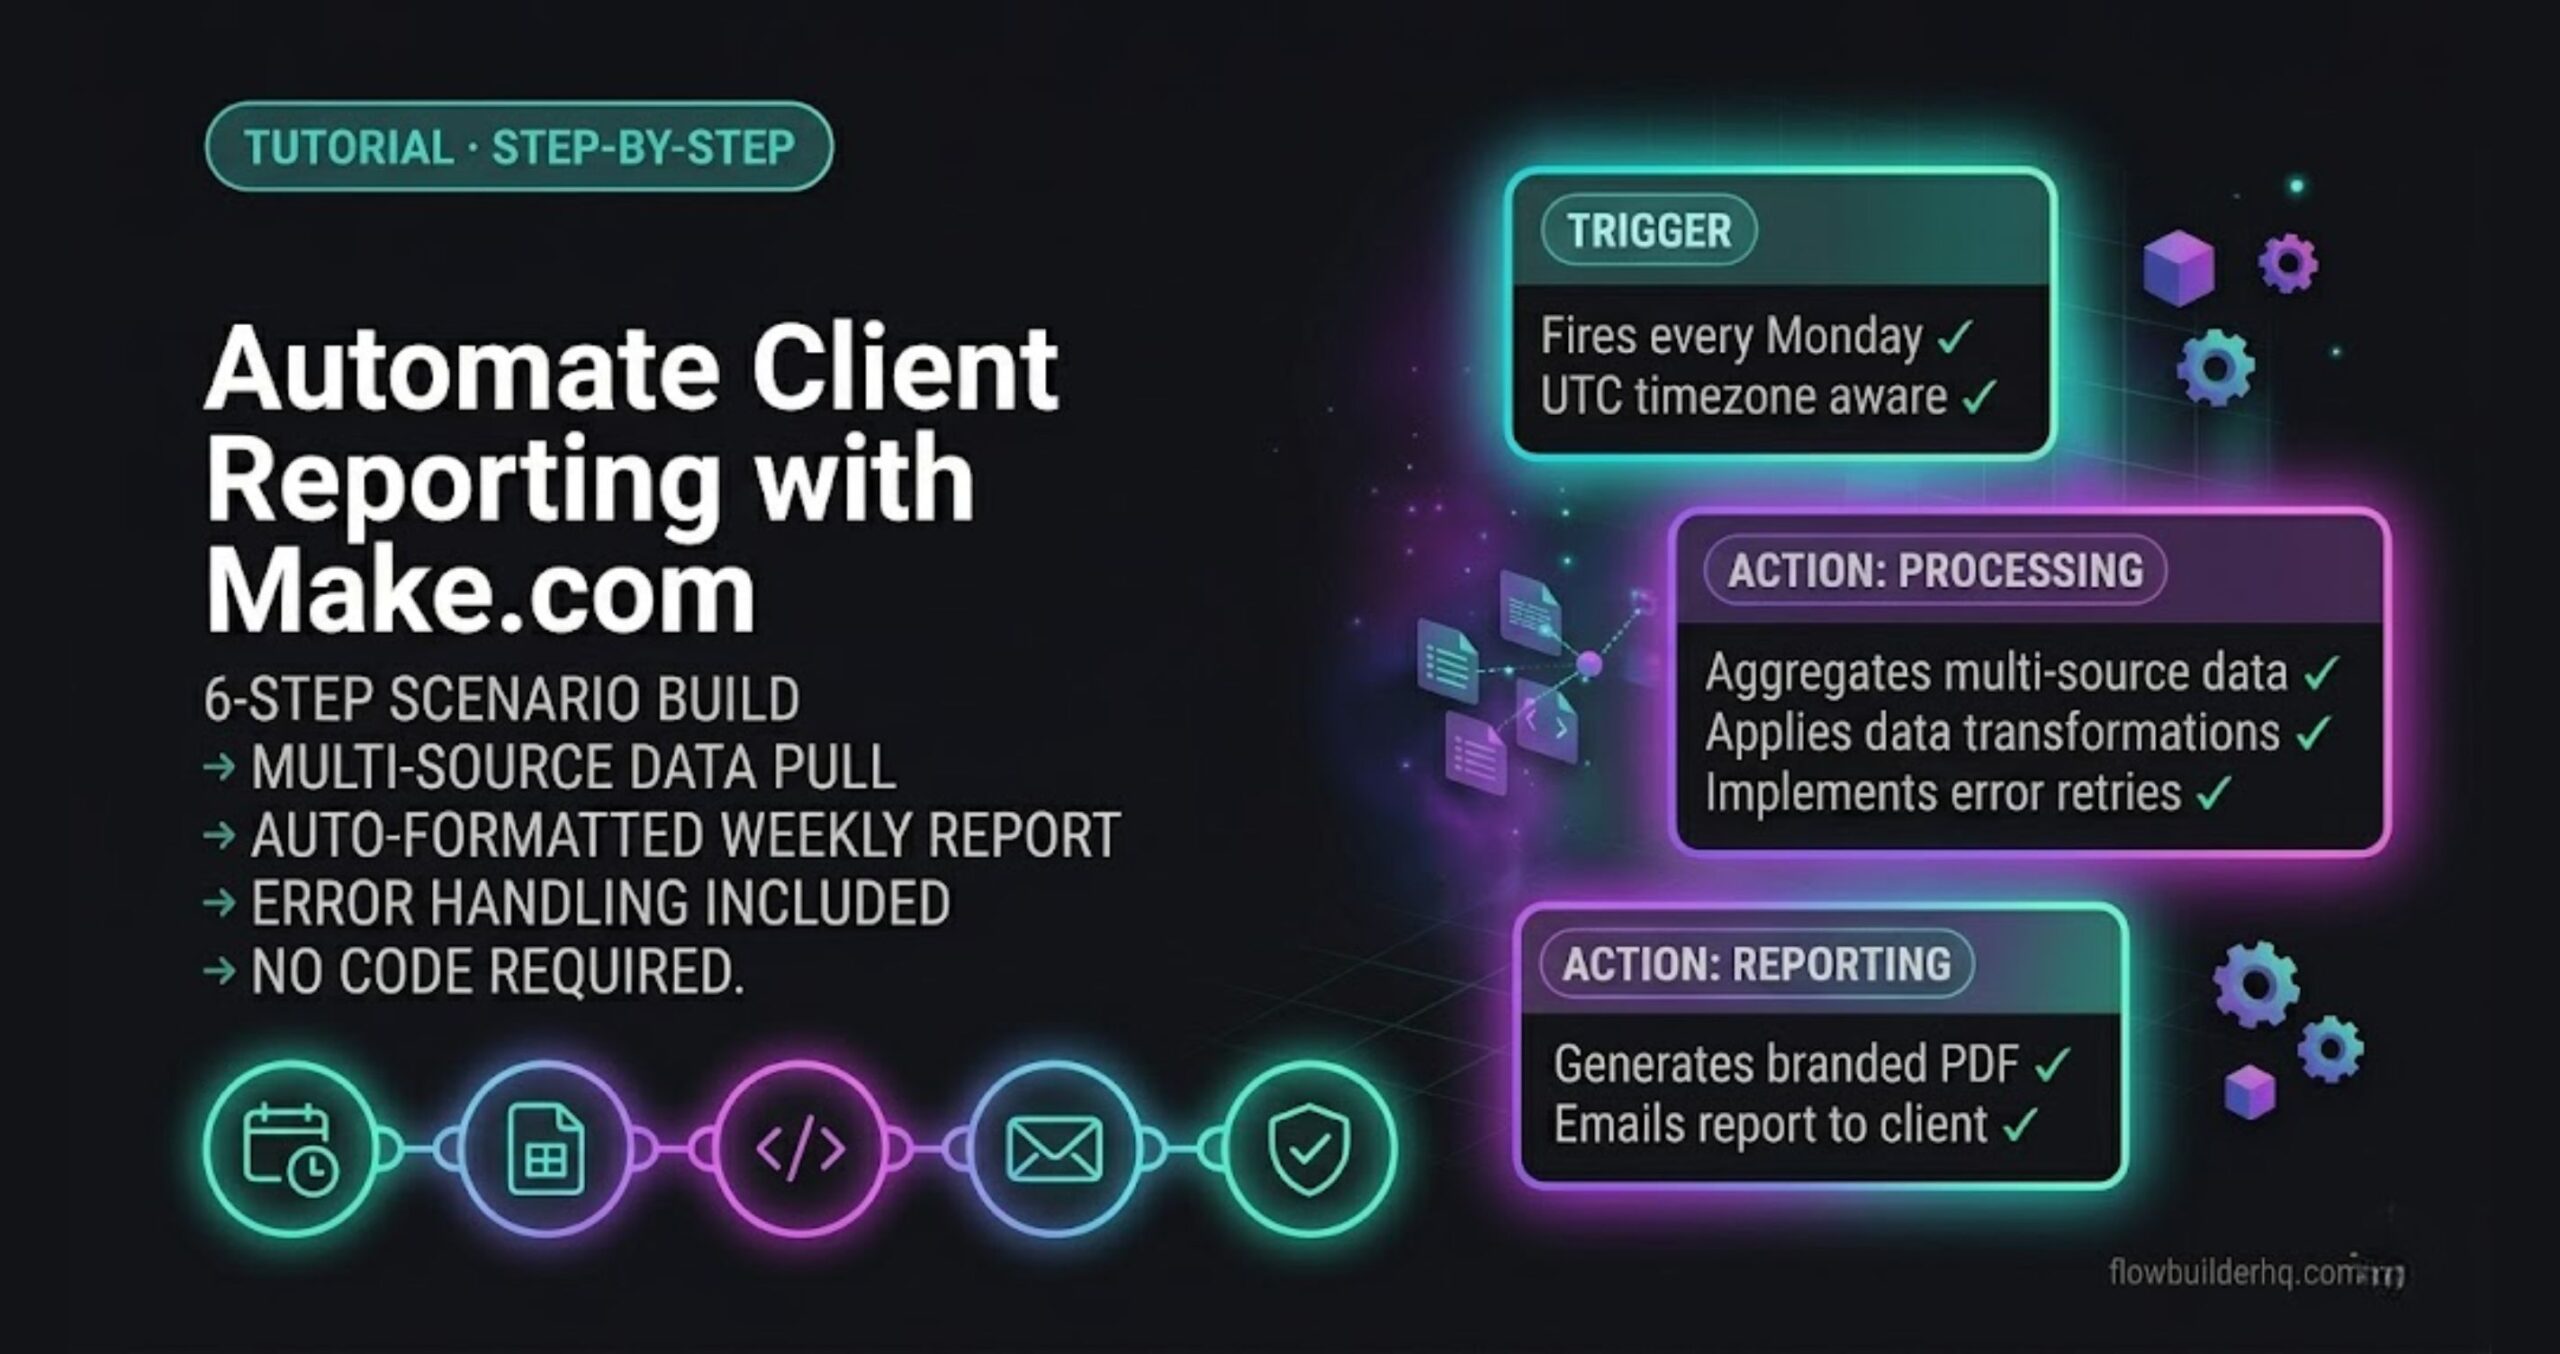
Make aggregates these values using Array Aggregator and Math modules. The scenario then composes a formatted summary and sends it to your email — or to a private Slack channel if you prefer a dashboard feel. Our Google Sheets reporting automation tutorial has the exact module chain for pulling and formatting this data.
For a broader review process that includes reflection prompts and task planning, see how to automate your weekly business review end to end.
Revenue Tracking Without a Spreadsheet Open
Every time Stripe logs a payment, Make updates a Google Sheet row with the amount, client name, date, and project type. Add a SUMIF formula in the sheet to calculate monthly revenue by client and project type. You can see your revenue picture at any point without opening a tool manually — Make keeps it updated in real time.
If you want to go deeper on using Google Sheets as a lightweight database layer, the Make.com + Google Sheets database setup tutorial is worth reading alongside this.
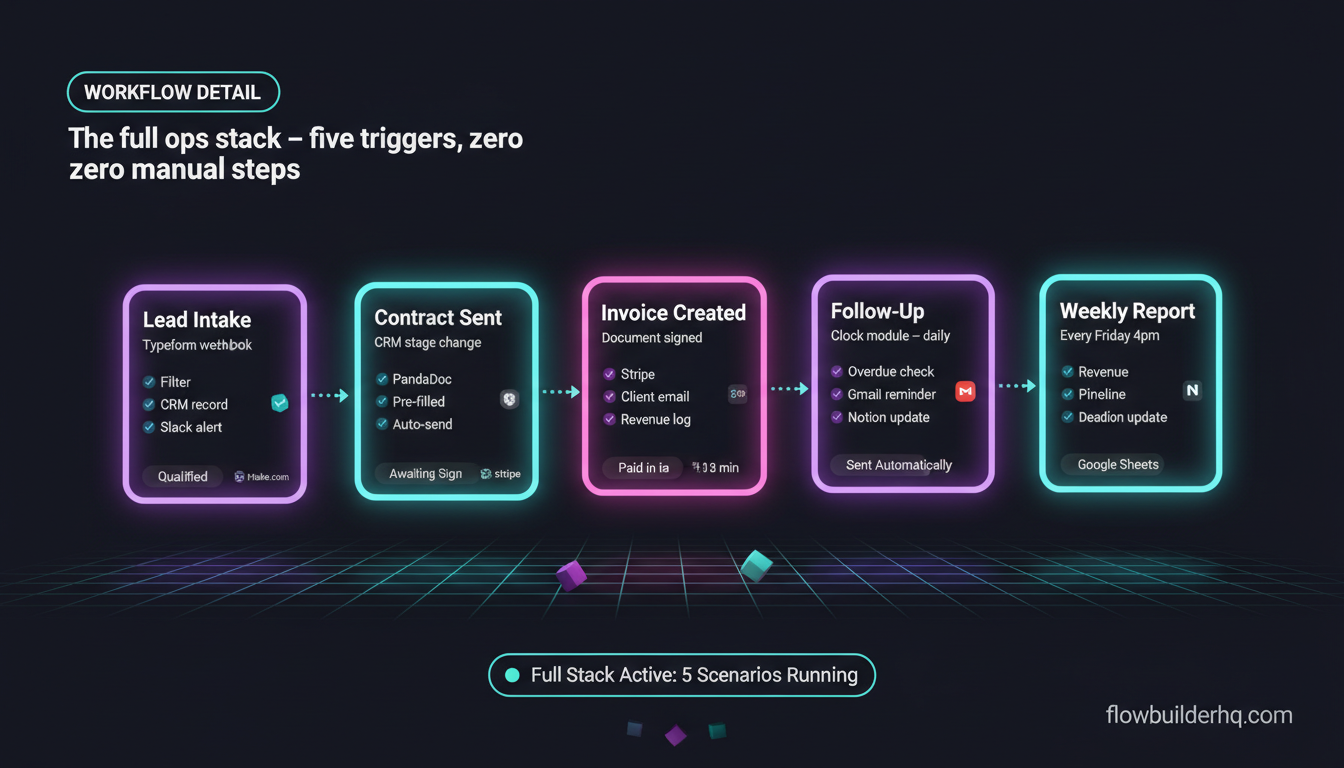
Putting It Together: Your Full Ops Stack
Here’s the full picture in one place:
| Operation | Trigger | What Happens Automatically |
|---|---|---|
| New lead form submission | Typeform / Tally webhook | Filter → CRM record → confirmation email → booking link → Slack alert |
| Client approved | CRM stage change | Contract created and sent → invoice created on sign |
| Deliverable submitted | Project tracker status change | Feedback request email → project record updated |
| Invoice overdue | Daily clock trigger | Polite reminder email sent from Gmail |
| Payment received | Stripe webhook | Revenue log updated in Google Sheets |
| Every Friday 4pm | Clock trigger | Weekly summary email: revenue, leads, pipeline, upcoming deadlines |
This stack runs on Make.com’s Core plan at $9/month. For a typical freelance operation with 5-15 active clients, the total operation count per month stays well within the Core plan’s limits. If you want to understand exactly how Make’s operation counting works before committing, our Make.com pricing breakdown cuts through the confusion.
What If You Want a Cheaper Starting Point?
If your integrations are simpler — you’re not using advanced filtering, multi-branch routing, or aggregators — Albato is worth a look as a budget alternative. Albato’s Pro plan runs $25/month and covers the core connection types (forms, CRMs, email, Slack). It doesn’t match Make’s visual scenario builder or logic depth, but for a freelancer who needs three or four simple automations and wants to keep costs minimal, it’s a legitimate option. See our Make.com alternatives breakdown for a fuller comparison of where Albato fits versus other tools in this space.
Error You Will Definitely Hit (and How to Fix It)
The most common point of failure in this full stack is the CRM update module timing out when it follows a filter. If you’re using HubSpot and the “Create/Update Contact” module fires immediately after a filter, you’ll occasionally see a 429 Too Many Requests error during bursts of form submissions.
Fix: add a “Sleep” module between the filter and the CRM module, set to 2 seconds. This rate-limits the requests without requiring any code. Make.com’s official help documentation covers rate limiting behaviour per app — worth checking for your specific CRM integration. For a broader look at what breaks in Make scenarios and how to handle it, our error handling tutorial covers the patterns that show up most often.
How to Automate Your Freelance Business Operations Without Hiring Anyone: The Short Version
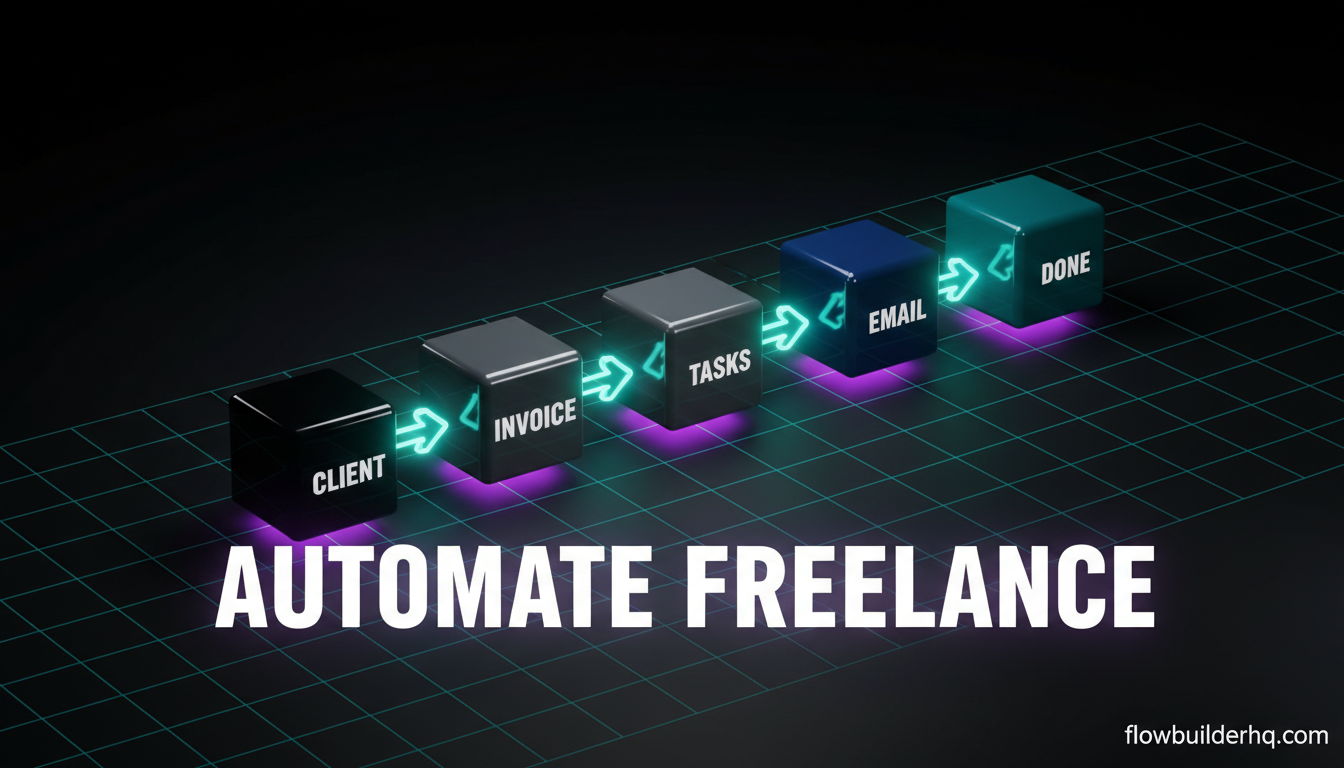
Build four scenario types in Make.com: intake + qualification, contract + invoicing, project follow-up, and weekly reporting. Connect them to your existing tools — your form, CRM, project tracker, invoicing app, and Google Sheets. Each scenario runs independently but feeds data into the same central records. The result is an ops layer that works 24/7, costs less than $10/month, and removes roughly 8-12 hours of weekly admin from your plate without a single hire.
You’re not replacing human judgment. You’re replacing the mechanical repetition that surrounds it — the copy-paste, the manual triggers, the “I keep forgetting to send that.” That’s what automation is actually for. And for a one-person business, it’s the closest thing to a free employee you’ll ever find.
Ready to build? Start with Make.com’s free plan — 1,000 operations/month, no credit card required. If you’re starting from scratch and want a complete beginner walkthrough before building any of the above, our first Make.com scenario tutorial is the right place to start.
And if you’re still deciding whether Make is the right tool for your specific workflow, our full Make.com review for 2026 gives you the honest picture — including where it falls short.
Building this yourself? Get the workflow pack.
5 ready-to-import n8n workflows — lead capture, invoicing, content repurposing, onboarding, social posting. Free.