How to Automate Proposal Sending with Make.com (Trigger-to-PDF-to-Email Workflow)
If you’re still manually assembling proposals, dropping them into a PDF tool, and emailing them one by one — that process is costing you hours every week. This tutorial builds a complete workflow that shows how to automate proposal sending with Make.com: from a CRM stage change or form submission, all the way to a branded PDF landing in your prospect’s inbox. No manual prep. No copy-paste errors. No forgetting to send.
The stack used here: Make.com as the automation engine, HubSpot as the CRM trigger source, a PDF generation service, and Gmail (or any SMTP) for delivery. You can swap pieces out — the logic stays the same regardless of whether your trigger is a Typeform submission, a HubSpot deal stage change, or a webhook from another tool.
Before starting, make sure you have a Make.com account (the free Make.com plan covers this workflow easily), and that your CRM is connected. If you haven’t linked Make.com to HubSpot yet, work through how to connect Make.com to HubSpot first — that connection is the foundation of the trigger.
What This Workflow Actually Does
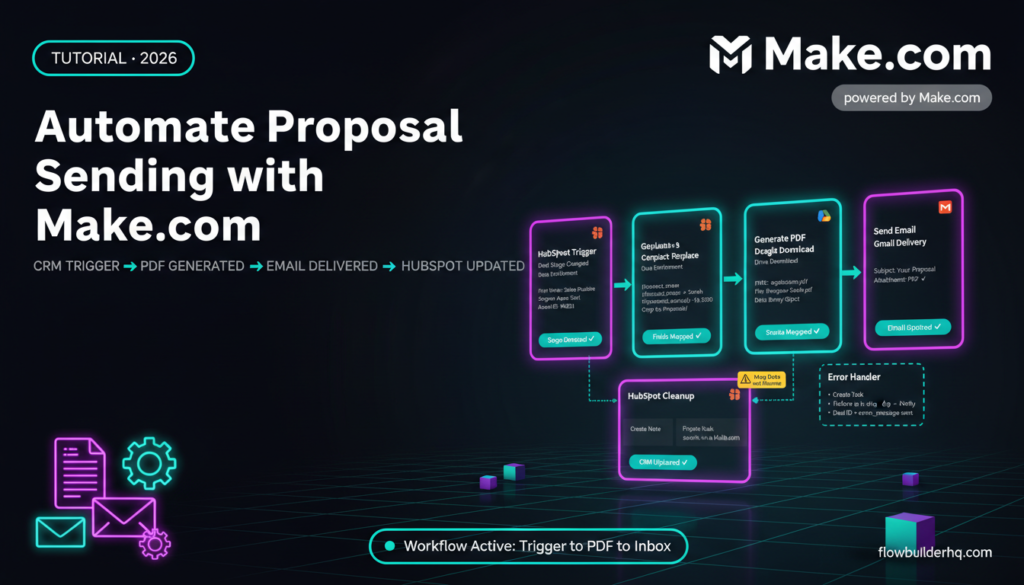
Here’s the full trigger-to-delivery chain:
- A HubSpot deal moves to the “Proposal Sent” stage (or a form submission fires a webhook)
- Make.com catches that event and pulls the relevant contact and deal data
- A proposal template is populated with the contact’s name, company, service details, and pricing
- A PDF is generated from that populated template
- The PDF is emailed to the prospect with a personalized message
- HubSpot gets updated — deal note added, follow-up task created
That entire chain runs in under 60 seconds from trigger to delivered email. And it runs identically whether it’s your fifth proposal this week or your fiftieth.
Step 1: Set Up Your HubSpot Trigger in Make.com
Open Make.com and create a new scenario. Add the first module: search for HubSpot CRM and select Watch Deal Stage Changes as your trigger. You’ll need to authenticate your HubSpot account if you haven’t already.
Configure the trigger:
- Pipeline: Select your sales pipeline (e.g., “Sales Pipeline”)
- Stage: Set this to “Proposal Sent” — or whatever stage name you use in your pipeline
- Limit: Set to 1 for testing, increase once the scenario is verified
If you’re using a form submission as your trigger instead (Typeform, Tally, a custom form), add a Webhooks > Custom Webhook module instead and grab the webhook URL. Either way, the modules downstream are identical. For a deeper look at webhook-based triggers, the Make.com webhooks tutorial covers the mechanics in detail.
Run the trigger once manually with a test deal in HubSpot to confirm Make.com receives the payload. You should see deal ID, contact ID, deal name, and stage in the output bundle.
Step 2: Fetch Full Contact and Deal Data
The trigger gives you IDs, but you need actual data — name, email, company, the service they’re interested in, deal value. Add two modules after the trigger:
Module 2: HubSpot CRM > Get a Contact
Map the Contact ID from the trigger output into the Contact ID field. This returns all contact properties you’ve set up in HubSpot: first name, last name, email, company, phone.
Module 3: HubSpot CRM > Get a Deal
Map the Deal ID from the trigger output. This returns deal name, amount, close date, any custom properties you’ve added (like “Service Type” or “Package Name”).
If you’ve built out a clean HubSpot pipeline, you likely have custom deal properties that store the specific services or deliverables the prospect is buying. Pull those here. If your pipeline setup needs work, setting up a HubSpot sales pipeline properly is worth doing before this automation — garbage in, garbage out.
Step 3: Populate Your Proposal Template
There are two common approaches here. Pick the one that fits your existing setup.
Option A: Google Docs + PDF conversion
Create a Google Doc proposal template with placeholders like {{contact_name}}, {{company}}, {{service_description}}, {{proposal_amount}}, {{date}}. Keep one master copy in a “Templates” folder.
In Make.com:
- Google Drive > Copy a File — copy the template into a “Proposals” folder, naming it something like
Proposal - {{contact_name}} - {{date}} - Google Docs > Replace Text in a Document — map each placeholder to the corresponding data from your HubSpot modules. Replace
{{contact_name}}with the name from Step 2,{{proposal_amount}}with the deal amount, and so on. - Google Drive > Download a File — download the now-populated document as a PDF (set the MIME type to
application/pdf)
Option B: HTML-to-PDF service (faster, cleaner output)
If you want more design control, use an HTML-to-PDF API like PDF.co or pdfmonkey.io. Build your proposal as an HTML template, pass the variable data via a Make.com HTTP module, and get back a PDF URL or binary. This approach gives you pixel-perfect branded proposals — worth the extra setup if proposal aesthetics matter to your clients.
For most service businesses, Option A is fast to implement and produces professional-enough output. Option B is better if you’re sending high-stakes proposals where design is part of the pitch.
Step 4: Send the Proposal Email
Now the PDF exists. Time to deliver it.
Add a Gmail > Send an Email module (or use any SMTP module if you’re on a custom domain). Map these fields:
- To: Contact email from Step 2
- Subject: Something like
Your proposal from [Your Business Name] — {{deal_name}} - Content: A short, personalized message. Use the contact’s first name from the HubSpot data. Keep it two to three sentences — this isn’t a newsletter.
- Attachments: Map the PDF file (binary data) from the previous module here
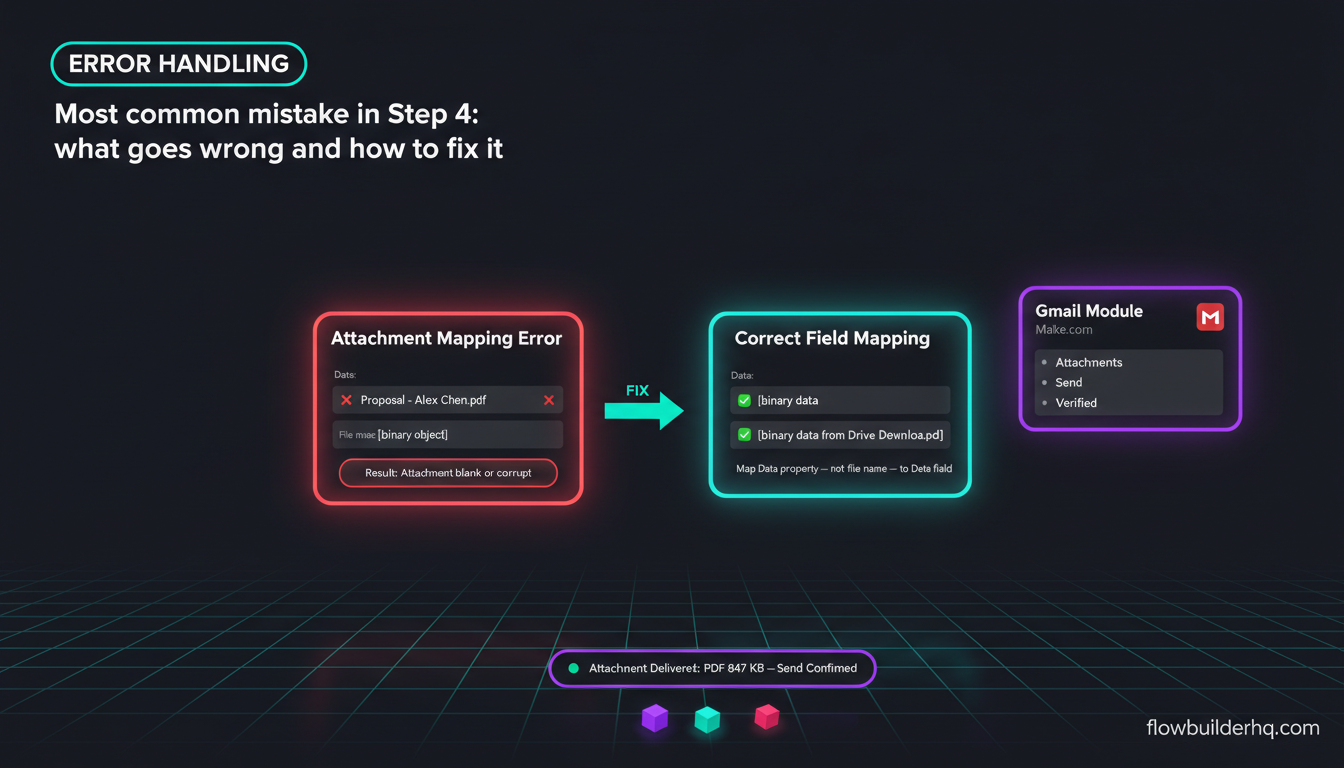
One error you’ll likely hit: if you’re using Google Drive’s “Download a File” output, Make.com passes this as a binary file object. In the Gmail attachment field, map the Data property from the download module, not the file name. The file name goes in the File name field of the attachment. Getting these two fields crossed is the most common mistake here — the email sends, but the attachment is blank or corrupt.
This is also a good point to think about whether your overall client communication flow is solid. If you want proposal sending to slot into a broader onboarding sequence, the full client onboarding automation workflow shows how these pieces connect downstream.
Step 5: Update HubSpot After Sending
The proposal went out. Now close the loop in your CRM automatically.
Add two more modules:
Module 6: HubSpot CRM > Create a Note
Associate this note with the contact and deal IDs from the trigger. Set the note body to something like: Proposal automatically sent on {{current date}} via Make.com workflow. PDF attached.
Module 7: HubSpot CRM > Create a Task
Create a follow-up task assigned to yourself (or your team member). Set the due date to 3 days from now using Make.com’s date functions: {{addDays(now; 3)}}. Title it “Follow up on proposal — {{contact_name}}”.
This means when you check HubSpot the next morning, every deal that triggered a proposal has a note confirming the send and a follow-up task already on the calendar. That’s the difference between a pipeline you trust and one you have to manually verify.
If you want to extend this further into automated invoicing once a deal closes, automating invoices with Make.com picks up where this workflow ends.
Step 6: Add an Error Handler
Any workflow hitting external APIs will eventually fail — a HubSpot property returns empty, Google Drive has a momentary timeout, the PDF export errors out. Without error handling, Make.com stops the scenario silently and you don’t know a proposal wasn’t sent.
Right-click the Gmail module (or whichever module is most likely to fail in your setup) and select Add error handler. Choose Resume and add a fallback action — at minimum, an email to yourself flagging which deal ID failed and why.
Better: add a Slack or Gmail notification module on the error path that sends you a message: “Proposal automation failed for deal ID {{deal_id}} — {{error_message}}. Check and send manually.” This way, nothing slips through without you knowing.
Make.com’s free and Core plans both support error handlers — you don’t need a higher tier for this feature.
Step 7: Test the Full Scenario End-to-End
Before turning this on for real deals:
- Create a test deal in HubSpot with your own email address as the contact
- Move it to the “Proposal Sent” stage
- Run the Make.com scenario manually using Run once
- Check that the email arrives with the correct PDF attached
- Verify the note and task were created in HubSpot
- Open the PDF and confirm all the placeholders were replaced correctly
Common issues at this stage:
- Empty placeholders in the PDF: The HubSpot property name in your Make.com mapping doesn’t match what HubSpot actually returns. Check the exact property name in HubSpot’s contact/deal settings and re-map.
- PDF attachment shows as 0 bytes: You’re mapping the file name instead of the file data. Go back to Step 4 and double-check the attachment field mapping.
- Scenario triggers but no email sent: Check whether Gmail authentication expired. Re-authenticate the Gmail module in Make.com’s connections panel.
Once the test passes cleanly, turn scheduling on. Set the scenario to run on a schedule (every 15 minutes works for most use cases) or leave it on instant trigger if your HubSpot plan supports real-time webhooks.
Scaling This Workflow
Once the core works, there are two directions to extend it.
Multiple proposal templates: Add a Router module after Step 2. Create branches based on a deal property like “Service Type” — one branch for “Consulting”, another for “Done-for-You”, another for “Retainer”. Each branch points to a different Google Doc template. The rest of the workflow stays the same. Each client segment gets a proposal that looks like it was written specifically for them.
Proposal tracking: Use a URL shortener or tracking pixel service to create a unique link inside the proposal that fires when the prospect opens it. Make.com can catch that webhook and automatically move the deal to a “Proposal Viewed” stage in HubSpot. Knowing exactly when a prospect opened your proposal changes how you time follow-ups.
For teams and coaches handling multiple client types, this kind of conditional proposal logic pairs well with the broader automation patterns covered in Make.com for coaches and consultants.
Operation Count and Plan Considerations
This scenario uses roughly 7-9 Make.com operations per run (trigger, two HubSpot reads, Google Drive copy, Docs replace, Drive download, Gmail send, two HubSpot writes). On Make.com’s free plan (1,000 ops/month), that’s about 110 proposals per month before you hit the limit. The Core plan at $9/month gives you 10,000 ops — well over 1,000 proposals monthly, which covers most solopreneurs. For a full breakdown of what each plan costs at volume, see Make.com pricing explained.
If you’re comparing this approach against building the same thing in Zapier, the operation math is very different. Make.com vs Zapier pricing at scale shows exactly why Make.com wins on cost for multi-step workflows like this one.
How to Automate Proposal Sending with Make.com: The Full Picture
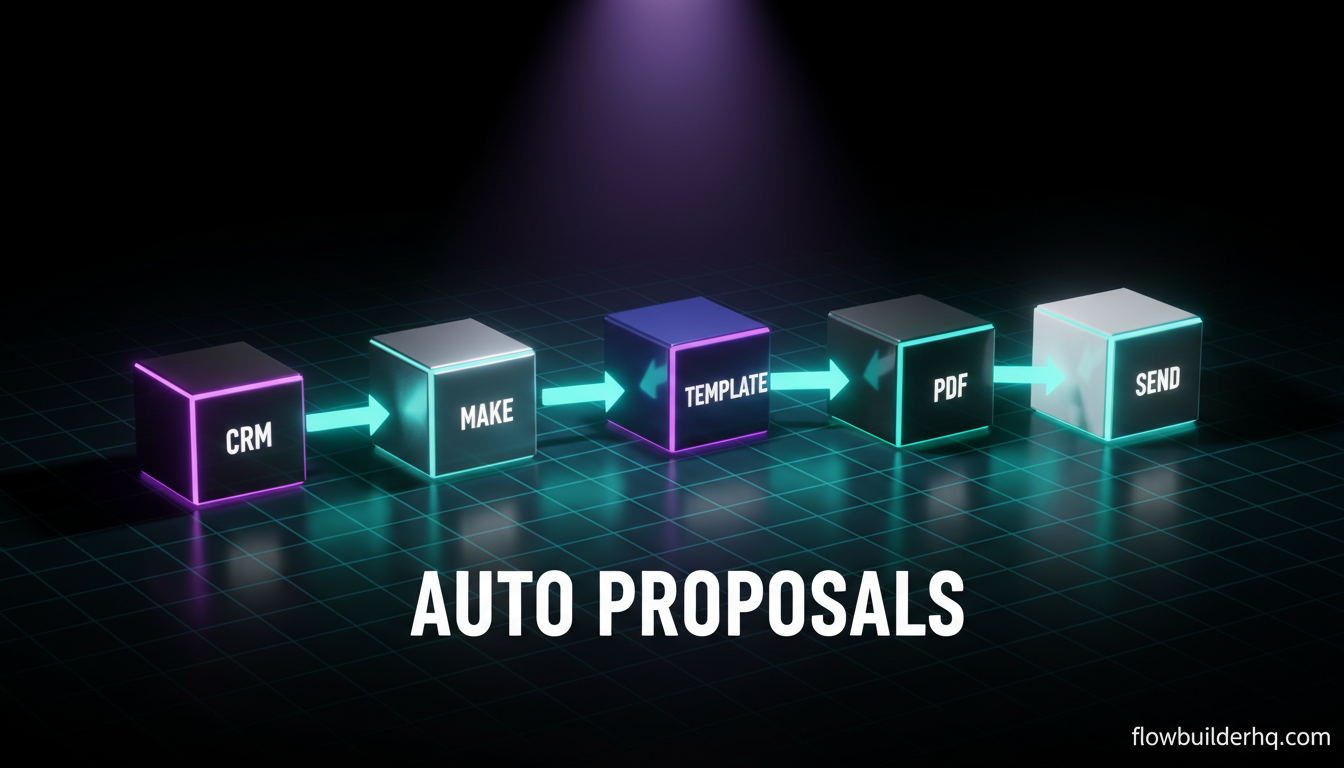
The workflow covers every step of how to automate proposal sending with Make.com: CRM trigger, data enrichment, dynamic PDF generation, personalized email delivery, and CRM cleanup. Once built, it runs without intervention. A prospect hits the right stage in your pipeline and a branded, personalized proposal is in their inbox within a minute — no manual assembly, no forgotten sends, no inconsistent formatting.
The build time for this scenario is roughly 2-3 hours including testing. That pays back in the first week of use for most service businesses sending more than two or three proposals per week. For a broader view of what this tool is capable of across a freelance or consulting business, Make.com for freelancers covers the full client workflow picture.
Ready to build it? Start with Make.com’s free plan — you won’t need to upgrade until you’re well past the proof-of-concept stage. If you want a full evaluation of the platform before committing, the Make.com review for 2026 covers what it does well and where it falls short.
For the HubSpot side of this setup — specifically building a pipeline that feeds clean, consistent data into your automation — HubSpot’s official CRM documentation and the Google Drive API documentation are the two reference points worth bookmarking. And if you’re relying on Make.com’s scenario logic for error handling and routing, Make.com’s error handling documentation explains every handler type in detail.
Building this yourself? Get the workflow pack.
5 ready-to-import n8n workflows — lead capture, invoicing, content repurposing, onboarding, social posting. Free.