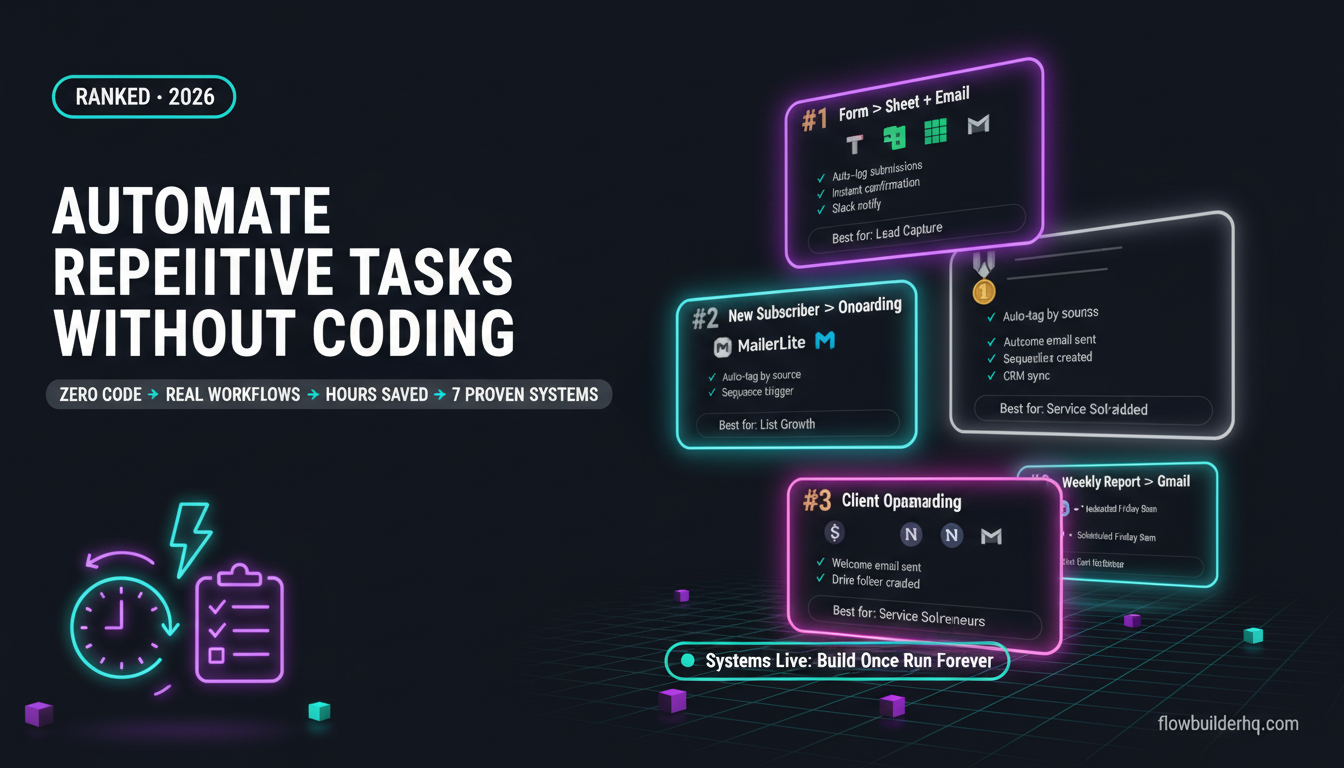
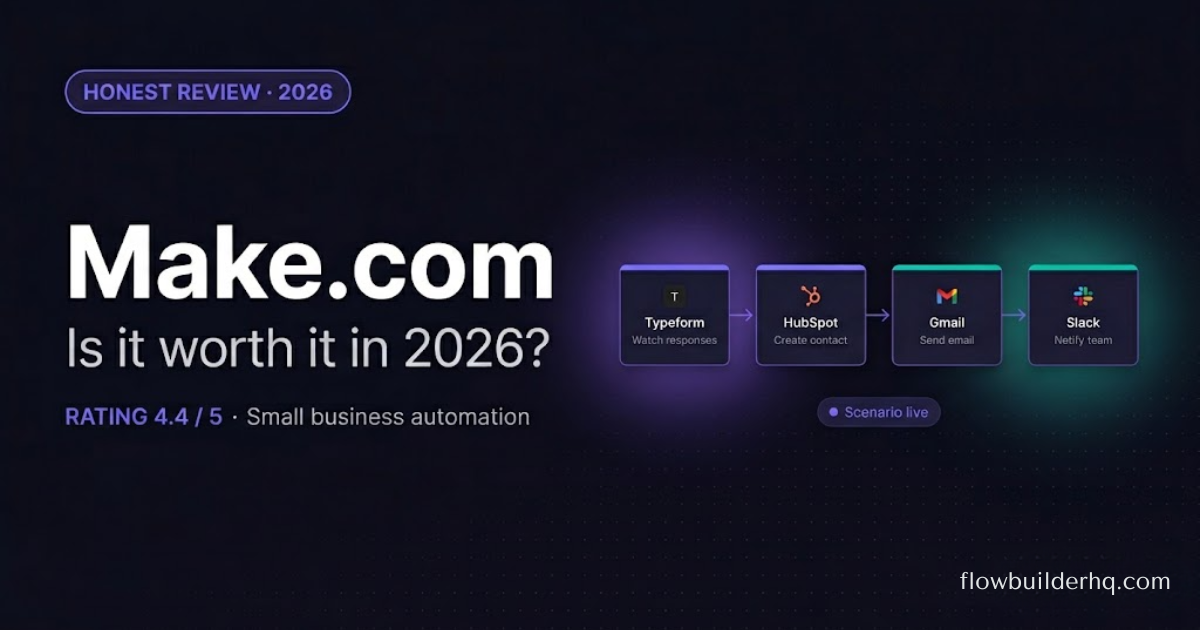
7 Make.com Scenario Templates for Small Business (Ready to Import)
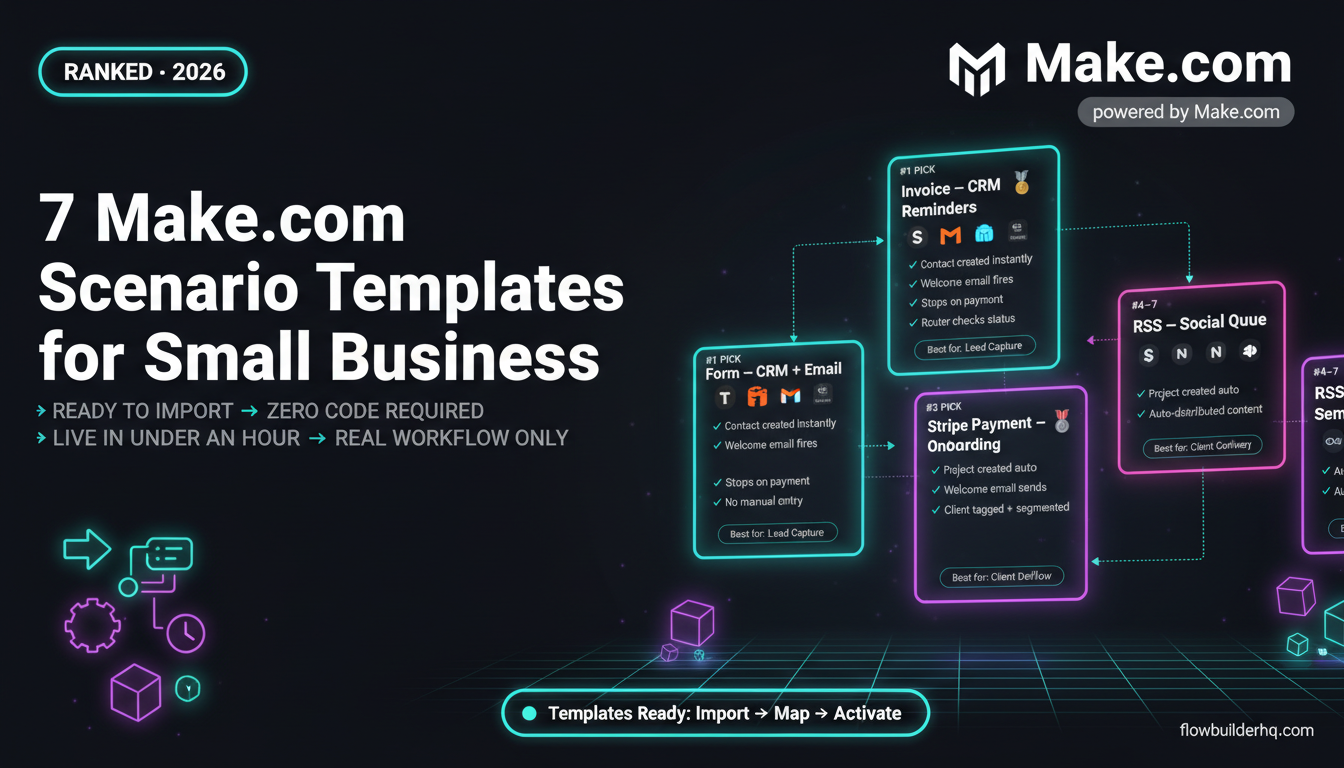
Make.com scenario templates for small business are the fastest way to skip the blank-canvas problem. Instead of building a workflow from scratch, you start with a working structure, swap in your own apps and credentials, and you’re live in under an hour. This list covers seven of the most useful templates — what each one does, where to get it, and the setup notes that actually matter.
All seven templates are available inside Make’s public template library, which you can browse without an account. Once you log in, importing any template is a single click.
A note on scope: these are starting points, not finished products. Every template will need minor edits — your API keys, your field mappings, your logic for edge cases. What they save you is the structural thinking. If you want a full overview of what Make can do before you start, see our Make.com review.
What Makes a Good Small Business Template
The template library has hundreds of options. Most of them fall into one of two categories: novelty demos that look impressive and get used twice, or real operational workflows that run in the background every week. This list is entirely the second category.
The criteria used here: the workflow replaces a task a solo operator or small team actually does manually on a recurring basis, the apps involved are common (not niche), and the setup requires no custom code. Every template on this list passes those three filters.
Before committing to Make’s paid plans, it helps to understand exactly what you’re getting for the money. The Make.com pricing breakdown covers plans, operation counts, and where costs actually add up.
Template 1: New Form Submission → CRM Contact + Welcome Email
What It Does
This is the most-used template category in Make’s library, and for good reason. When someone fills out a Typeform, Jotform, or Google Form, the scenario creates a contact in your CRM (HubSpot, Notion, Airtable — your choice) and immediately fires a welcome or confirmation email through Gmail or MailerLite. The whole chain takes under two seconds.
Why It Matters
Manual contact entry is the task that eats 20 minutes at a time and always gets delayed when you’re busy — which is exactly when new leads come in. Automating this means no lead waits 48 hours for a reply because you were heads-down on client work.
Setup Notes
- Connect your form tool using its official Make module (Typeform and Jotform both have native modules).
- Map each form field to the corresponding CRM field. Don’t skip optional fields — gaps cause silent failures later.
- Add a Filter module between form trigger and CRM step if you want to exclude test submissions (filter by email domain or a specific test flag).
- For the email step, use a template variable for the submitter’s first name. If the name field is blank, the fallback should be “Hi there” — not an empty space.
For the full client onboarding version of this pattern (including contract and payment steps), see this Make.com client onboarding workflow.
Template 2: New Invoice Created → Payment Reminder Sequence
What It Does
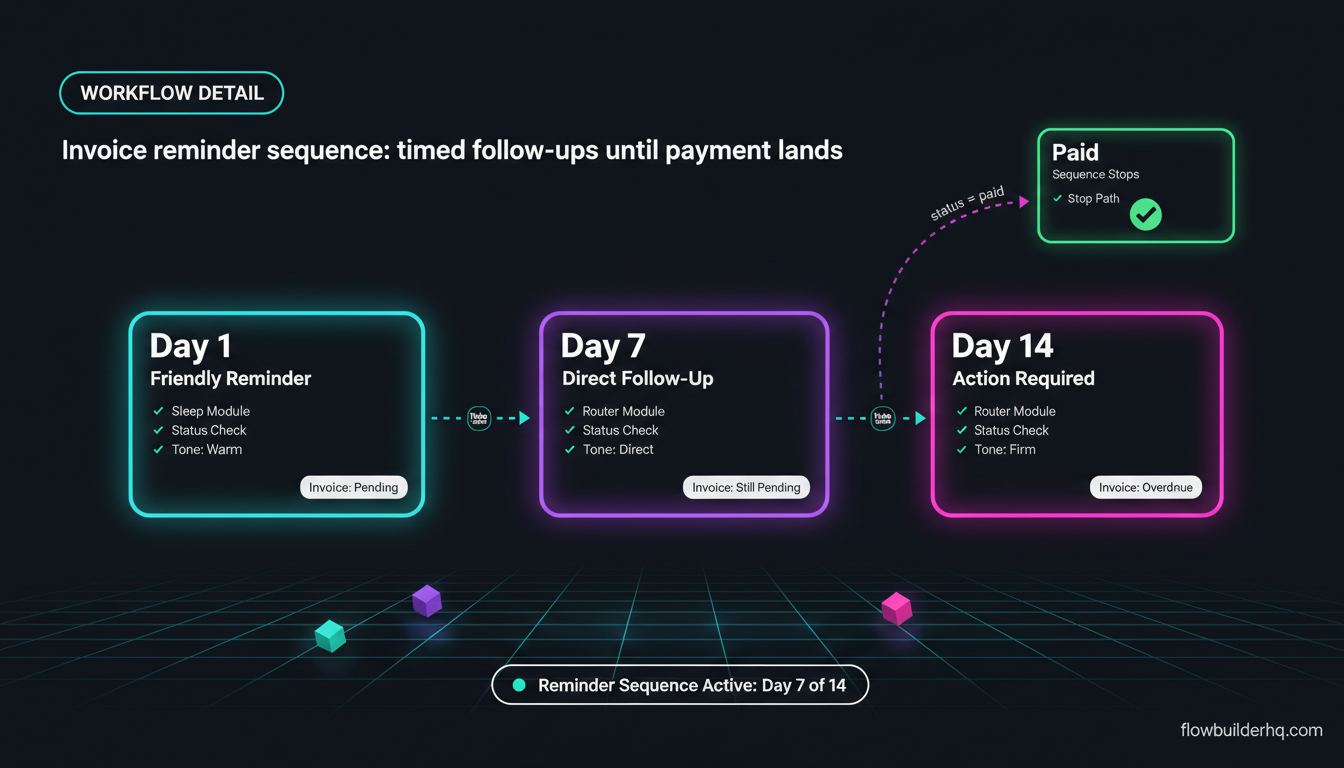
When an invoice is created in Stripe, PayPal, or a tool like FreshBooks, this scenario watches for the “payment pending” status and sends timed follow-up emails — day 1, day 7, day 14 — until the invoice is marked paid. Once paid, the sequence stops. No chasing manually, no awkward “just following up” emails written at 11pm.
Why It Matters
Late invoices are a cash flow problem, not just an admin annoyance. An automated reminder sequence that stops the moment payment lands is more professional than a human-sent follow-up and more reliable than hoping clients remember.
Setup Notes
- Use Make’s built-in Sleep module to create the delay between reminders. Set it in hours, not days, to avoid timezone edge cases.
- Add a Router module to check invoice status before each email sends. If status = “paid,” route to a “stop” path (a no-op or a “thank you” email).
- The email tone should get slightly firmer with each message. Day 1: friendly reminder. Day 7: direct. Day 14: action required.
- Test the full sequence with a dummy invoice before going live. The most common failure is the status-check filter not matching the exact string your payment app returns.
The full build for this, including Stripe and PayPal connection steps, is covered in the Make.com invoicing automation guide.
Template 3: RSS Feed → Social Media Post Queue
What It Does
This scenario watches an RSS feed (your blog, a curated source, a podcast feed) and when a new item appears, it formats a social post and adds it to a Buffer queue or posts directly to LinkedIn, Facebook, or Twitter/X via their respective Make modules. Optional: route the item through an OpenAI module first to rewrite the post in your brand voice.
Why It Matters
Content distribution is the task that solopreneurs skip when they’re busy — which means the content that took three hours to create gets seen by 40 people. This template makes distribution automatic and consistent without requiring you to touch a scheduler.
Setup Notes
- Set the scenario schedule to every 1-4 hours depending on your publishing frequency. Don’t check every 15 minutes for an RSS feed that updates weekly.
- Use Make’s Text Parser module to strip HTML tags from the RSS description field before passing it to your social platform.
- If you’re routing through OpenAI, write a tight system prompt: specify tone, length, and whether you want a CTA or hashtags. Vague prompts produce vague posts.
- Buffer’s Make module is cleaner than direct social API connections if you want a human review step before anything goes live.
For a more detailed walkthrough of the social posting workflow, including multi-platform routing, see how to automate social media posting with Make.com.
Template 4: New Email with Attachment → Document Filed in Google Drive + Slack Alert
What It Does
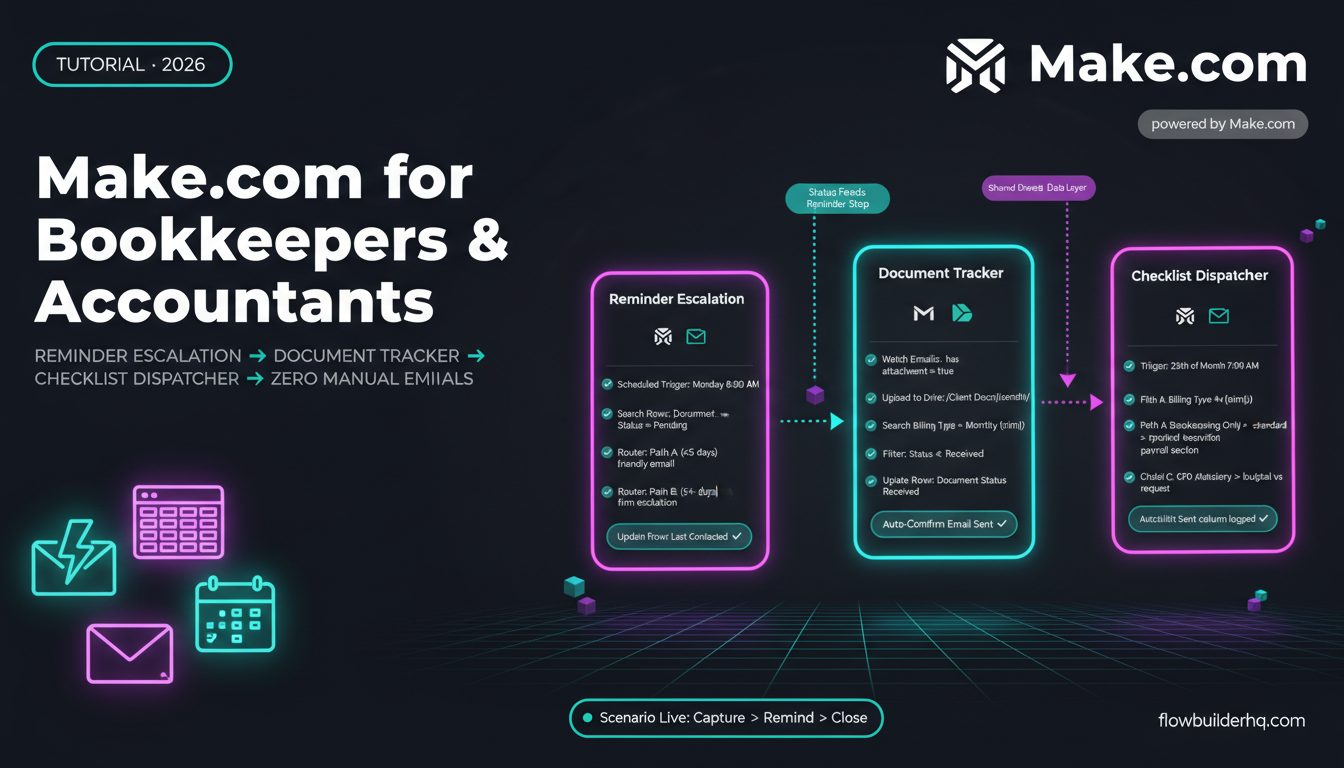
This scenario monitors a Gmail inbox (or label) for emails with attachments. When one arrives, it saves the attachment to a specific Google Drive folder — organized by sender domain or email subject — and sends a Slack message or email alert to whoever needs to know. Accountants, operations leads, and anyone who receives contracts or invoices by email will use this constantly.
Why It Matters
Documents sent by email end up scattered across inboxes unless someone moves them manually. That someone is usually you, and it happens inconsistently. This template creates a reliable paper trail without the filing discipline requirement.
Setup Notes
- Use a Gmail label trigger rather than watching your entire inbox. Create a label called “AutoFile” and manually apply it (or use a Gmail filter to auto-apply it) to emails worth capturing.
- The Google Drive module needs a dynamic folder path. Use Make’s string functions to build the path from email metadata — sender domain works well as a subfolder organizer.
- If the attachment is a PDF invoice, consider adding a Pdfco or Adobe PDF Services module to extract key fields (amount, date, vendor) and log them to an Airtable or Google Sheet.
- The Slack alert should include: sender name, file name, and a direct Drive link. Three variables, one useful message.
Template 5: New Typeform Response → Proposal PDF Sent by Email
What It Does
A prospect fills out a discovery or intake form. The scenario takes their answers, populates a proposal template (via Google Docs or a PDF tool like Pdfco), generates a PDF, and emails it to the prospect — all without you touching anything. The prospect gets a customized document in minutes, not days.
Why It Matters
Proposal turnaround time correlates directly with win rate. If you can send a relevant, personalized proposal within minutes of an inquiry, you’re operating faster than most agencies and consultants who take 24-72 hours. This template closes that gap.
Setup Notes
- Build your proposal template in Google Docs with placeholder text like
{{client_name}}and{{project_scope}}. Make’s Google Docs module replaces these via “Replace Text” actions. - After replacing the placeholders, export the doc to PDF using the Google Drive “Export File” module. This keeps everything in your Google ecosystem without third-party PDF tools.
- Send via Gmail with the PDF attached. Add a BCC to yourself so you have a record of every proposal sent.
- Add an error handler to the scenario so that if the PDF step fails, you get a Slack or email alert — not a silent failure.
The full step-by-step build for this workflow — including the Google Docs template setup — is in the post on automating proposal sending with Make.com.
Template 6: Blog Post Published → Content Repurposing Queue
What It Does
When a new post goes live on WordPress (or another CMS with an RSS feed or webhook), this scenario pulls the content, routes it through an AI module to generate platform-specific versions — a LinkedIn post, three tweet variations, a short email newsletter blurb — and saves them to a Notion or Airtable database for review and scheduling.
Why It Matters
Most solopreneurs publish a piece of content and get maybe 20% of the distribution value it could generate. Repurposing is the other 80%, and it’s the first thing that gets skipped when time is short. This template handles the generation step automatically so you only need to review and approve.
Setup Notes
- Use a WordPress webhook trigger (available via Make’s WordPress module) rather than RSS polling. Webhooks fire immediately on publish; RSS can lag 15-60 minutes.
- Write separate AI prompts for each output format. A LinkedIn post prompt is different from a tweet prompt — different length, different tone, different CTA structure. Don’t try to do it in one prompt with conditional instructions.
- Store outputs in Airtable with a “Status” field set to “Draft.” Your review process becomes: open Airtable, read, change status to “Approved,” post. Three steps, done.
- If you’re using Claude via Anthropic’s API for the generation step, the Anthropic API documentation covers rate limits and token pricing that’ll affect your per-scenario operation costs.
For the complete build with module-by-module instructions, see how to automate content repurposing with Make.com.
Template 7: New Stripe Payment → Client Onboarding Sequence
What It Does
When a payment clears in Stripe, this scenario fires a multi-step onboarding sequence: it creates a project in your project management tool (Asana, Trello, Notion), sends the client a welcome email with login credentials or next steps, adds them to your email list with a specific tag, and optionally creates a Slack channel for the project. All triggered by a single payment event.
Why It Matters
The gap between “payment received” and “client feels like they’ve started” is where buyer’s remorse lives. A fast, organized onboarding sequence that kicks off automatically the moment payment clears eliminates that gap. The client feels taken care of. You didn’t do anything manually.
Setup Notes
- Filter by Stripe payment status
payment_intent.succeeded— notcharge.succeeded. The latter can fire before payment is confirmed in some edge cases. - Use Stripe metadata to store the product or service name so your scenario can customize the welcome email based on what was purchased. One template, multiple products.
- For the email list step, tag the new subscriber with the product name so you can send targeted sequences. Generic “new customer” tags lose segmentation value fast.
- Add a delay of 2-5 minutes before the welcome email sends. Instant emails can feel jarring; a brief pause makes them feel more human.
If you’re building out the full client workflow beyond just onboarding, the post on Make.com for coaches and consultants covers the wider automation stack worth adding. Freelancers specifically should also check out Make.com for freelancers for templates tailored to client-based work.
How to Import a Make.com Template
The process is the same for every template:
- Go to Make’s template library at make.com/en/templates.
- Search by app name, use case, or keyword.
- Click a template to preview the scenario map and the apps it uses.
- Click “Use Template” — you’ll be prompted to log in or create a free account.
- Connect your accounts for each app in the scenario (OAuth flow for most apps).
- Map your specific fields (contact fields, folder paths, email addresses).
- Run once manually using “Run once” button to test the flow.
- Activate the scenario.
The free plan gives you 1,000 operations per month — enough to run and test most of these templates before you need to upgrade. Make.com Core is $9/month and covers most small business use cases. Pro is $16/month if you need more operations or advanced features. See the full Make.com pricing guide for the operation math at different volumes.
If you’re not yet sure Make is the right fit versus other tools, the Make.com vs Zapier comparison covers the pricing difference at scale, and n8n vs Make.com is worth reading if self-hosting is on the table. For a broader look at the tool landscape, the no-code automation tools roundup covers the main options for solo operators.
For most small business owners, Make’s template library covers 80% of the workflows you’ll actually use. The remaining 20% — the edge cases, the multi-step conditionals, the webhook-heavy custom flows — you’ll build from scratch. But these seven are a solid place to start.
Ready to get started? Create a free Make.com account and import your first template today.
Building this yourself? Get the workflow pack.
5 ready-to-import n8n workflows — lead capture, invoicing, content repurposing, onboarding, social posting. Free.