Make.com for Virtual Assistants: Automate Client Tasks Without More Hours
If you’re a VA running client work across three or four accounts, you already know the problem: the admin around the actual work is eating you alive. Status update emails, file-routing, task logging, deadline reminders — none of it pays, and all of it takes time. Make.com for virtual assistants solves exactly this. The visual scenario builder lets you automate client delegation tasks without writing a line of code, and without the steep learning curve that kills most automation projects before they ship.
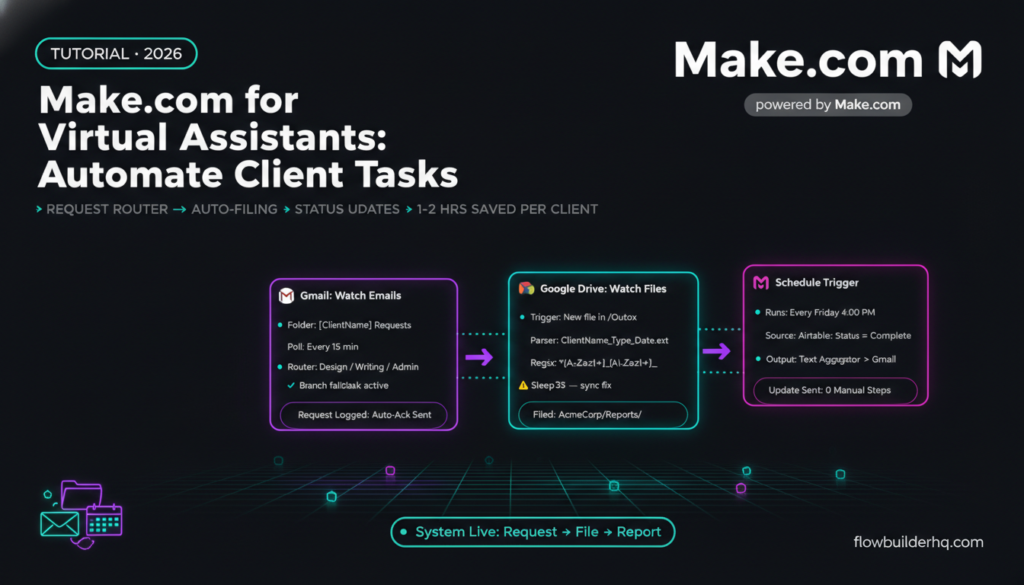
This tutorial builds three real Make.com scenarios a VA can deploy today: a client request router, an auto-filing system for deliverables, and an automated status update workflow. Each one removes a manual touchpoint from your day. Combined, they give you back roughly one to two hours per client per week — hours you can bill, not spend chasing down acknowledgments.
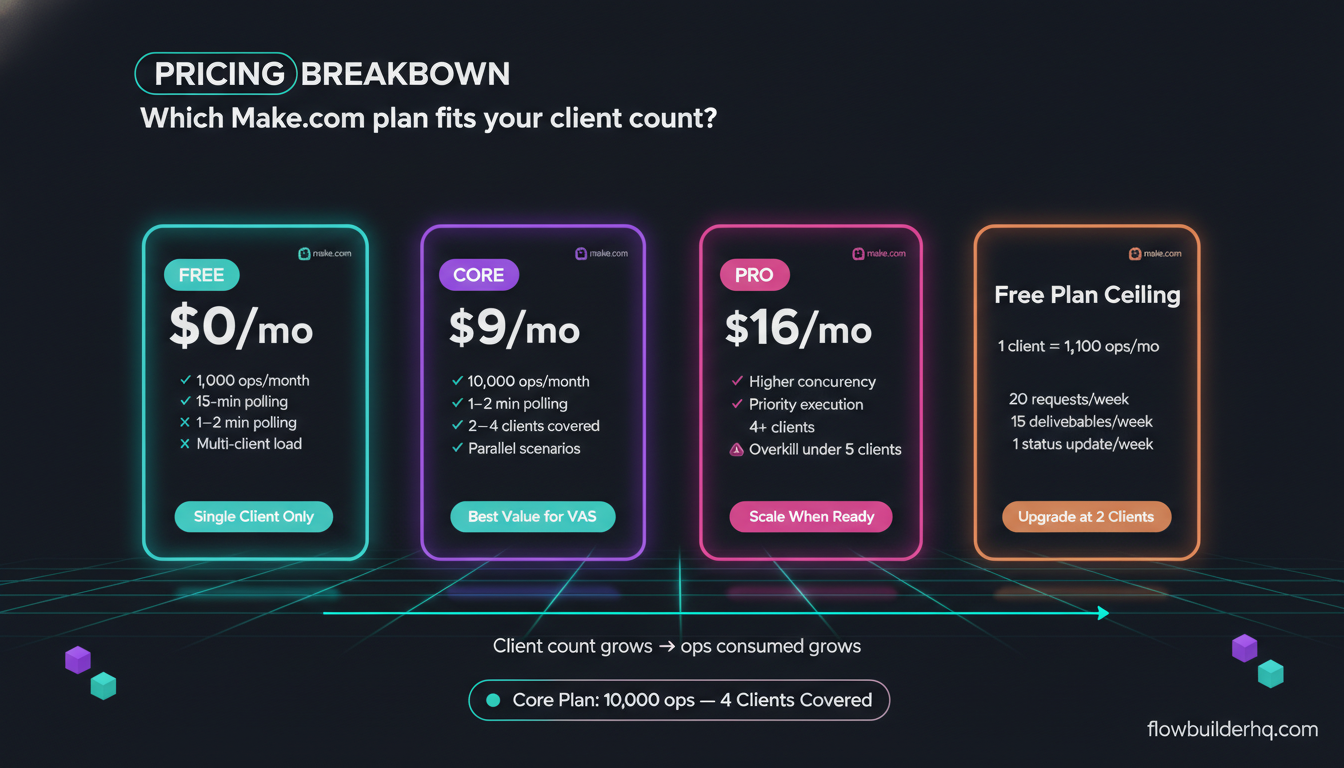
Start with Make.com’s free plan — 1,000 operations per month, no credit card needed. That’s enough to run all three workflows for one or two clients before you need to think about upgrading.
Why VAs Get More Out of Make.com Than Most Users
Most automation tutorials assume you’re building for your own business. As a VA, you’re building for someone else’s — often multiple someone elses. That changes the requirements fast. You need multi-client logic, clean handoffs, and zero ambiguity about which output belongs to which client. Make.com’s visual canvas handles this better than text-based tools because you can see the entire flow at once and trace exactly where a record is going.
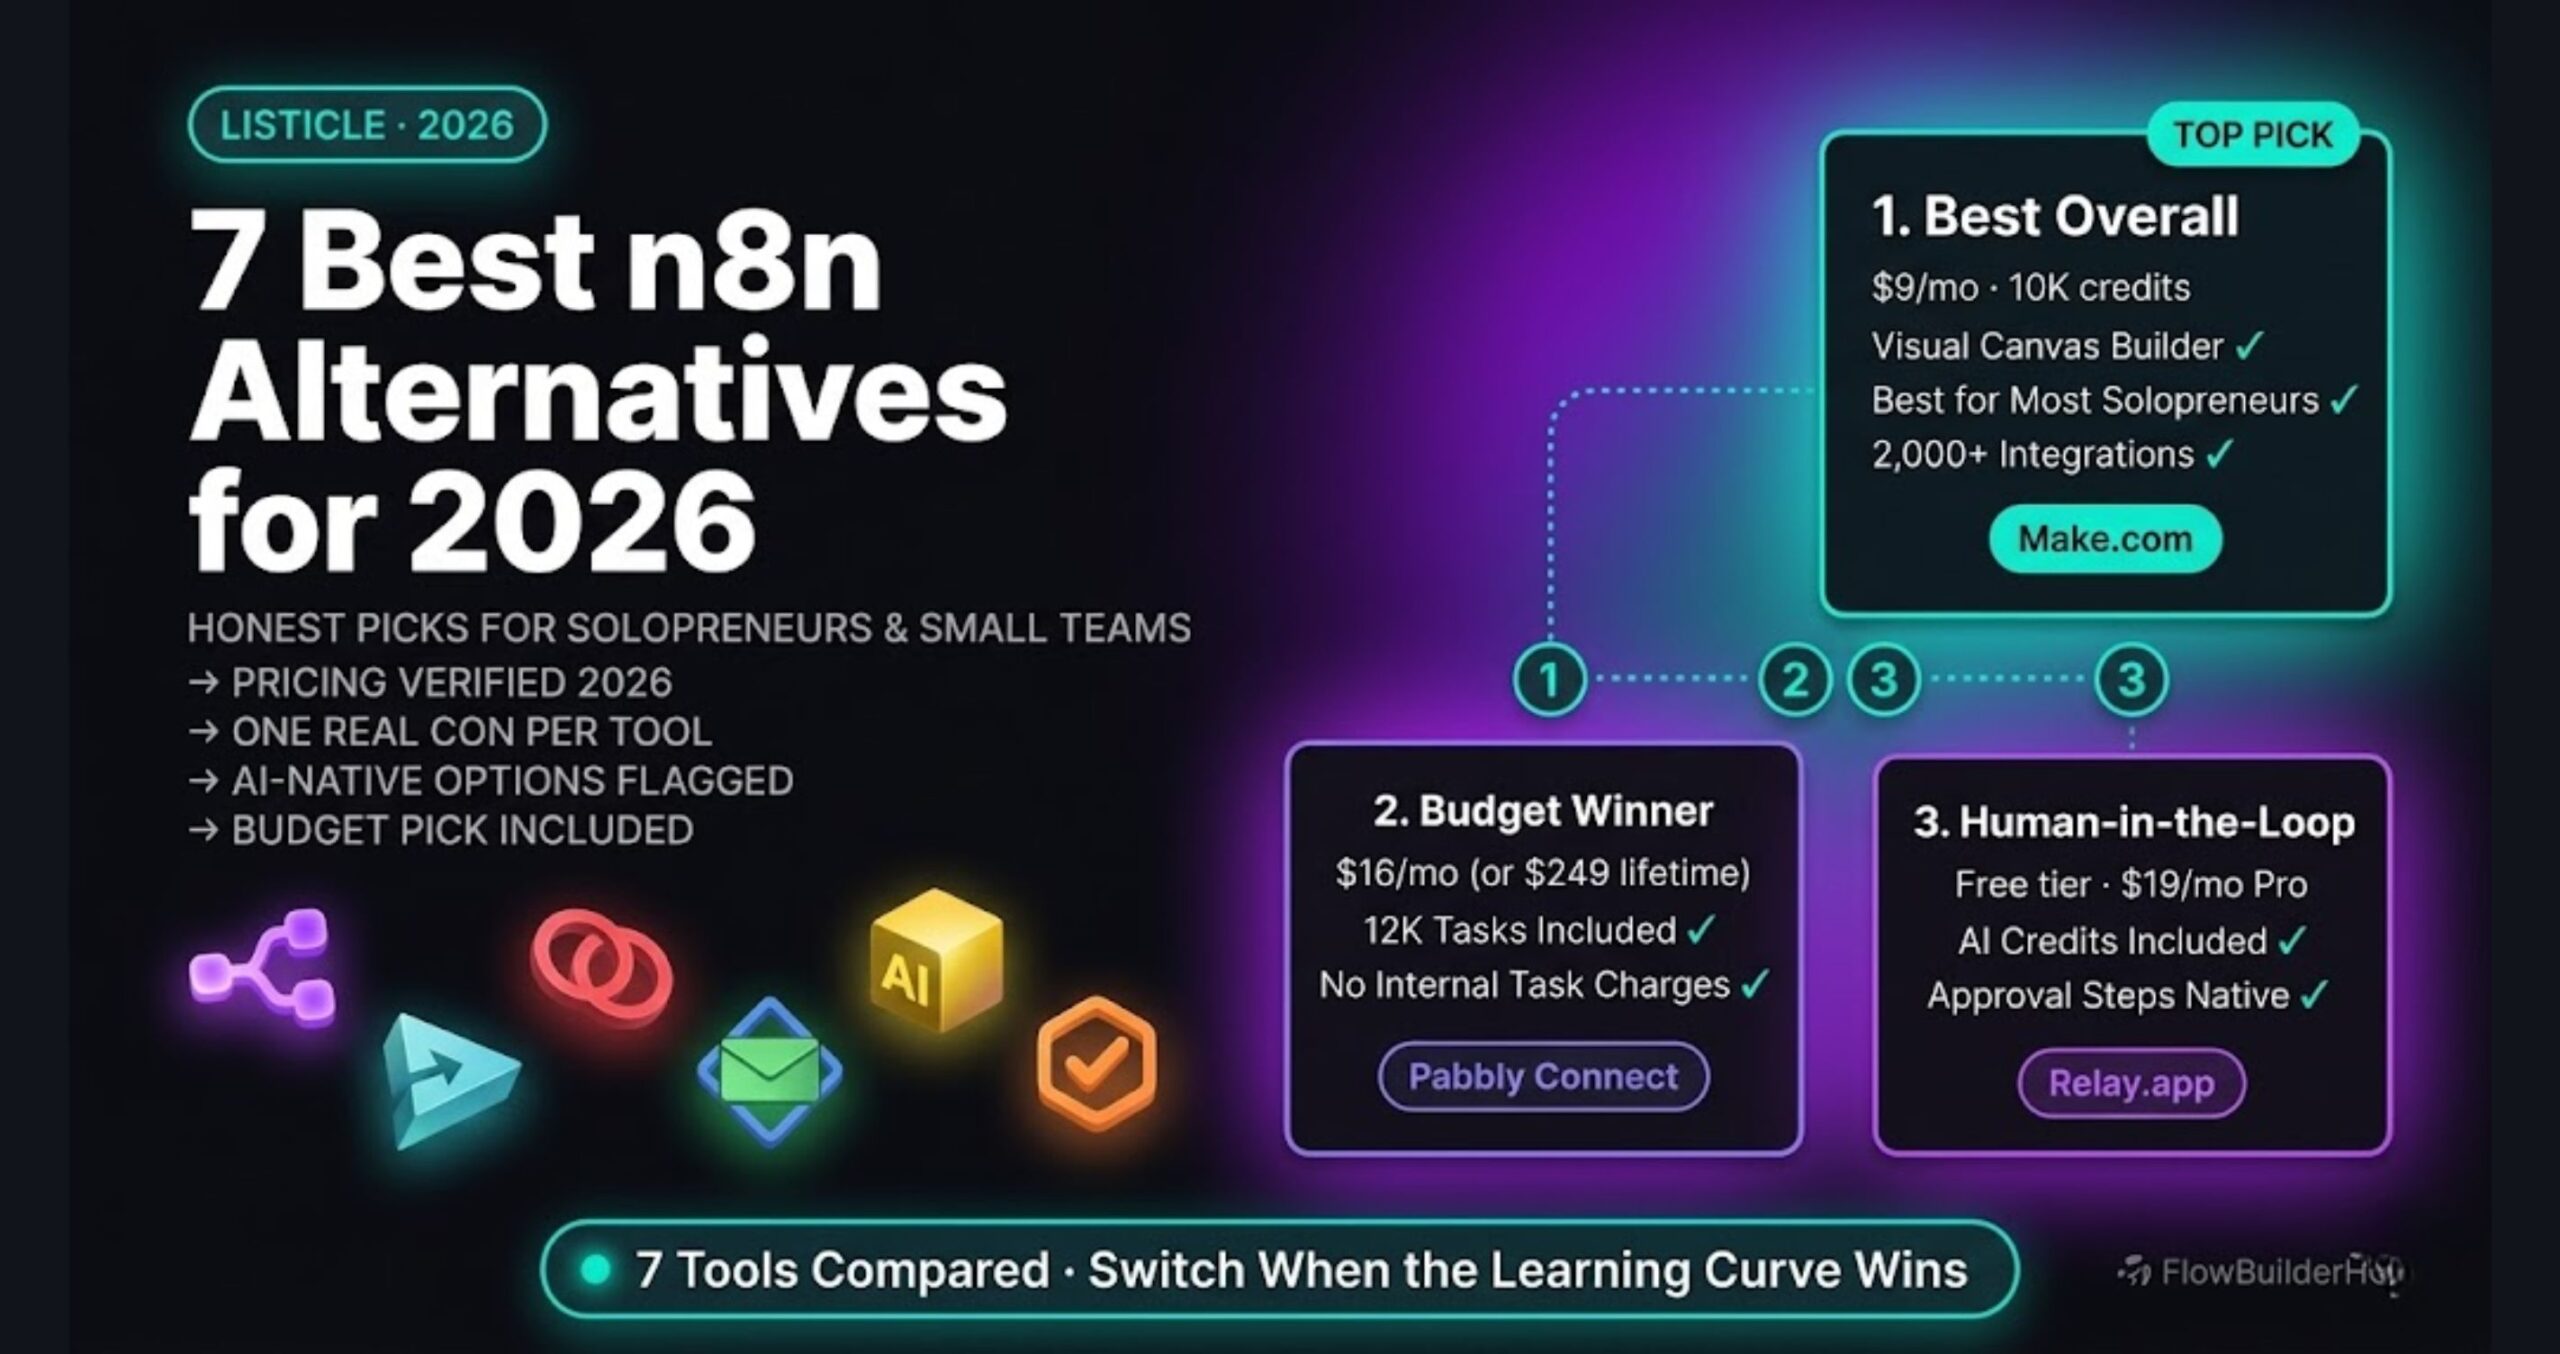
The multi-step workflow builder in Make.com is built around modules you drag, connect, and configure — no JSON, no function syntax to memorize. For non-developer VAs, that’s the entire case closed. Compare that to something like n8n, which is free to self-host but assumes you’re comfortable with JavaScript expressions and a more code-adjacent interface.
Make.com also has native integrations with virtually every tool a VA client stack includes: Gmail, Google Drive, Notion, Airtable, Slack, Trello, Asana, ClickUp, and HubSpot. You’re connecting apps your clients already use, not asking them to change their stack.
What You Need Before You Build
- A Make.com account (free plan works for this tutorial)
- Access to the client’s Gmail or shared inbox
- A shared Google Drive folder structure (or Notion/Airtable — covered in each scenario)
- A Slack workspace or email account for status updates
- About 90 minutes to build all three scenarios the first time
You’ll also want to map out your client’s existing workflow before touching Make.com. Open a doc, list every manual touchpoint in a typical week — every “received your files, I’ll get started,” every Google Drive folder you navigate to manually, every status ping you send on a Friday. That list becomes your automation backlog. Start with the highest-frequency items first.
Scenario 1: Client Request Router
The goal here is simple: when a client emails or submits a form with a new task request, Make.com categorizes it, logs it to your project management tool, and sends an auto-acknowledgment — without you touching it.
Step 1: Set the Trigger
Create a new scenario. Add a Gmail: Watch Emails module as your trigger. Set the folder to your VA inbox or a dedicated client label (e.g., [ClientName] Requests). Set polling to every 15 minutes on the free plan, or every 1–2 minutes on Core ($9/month).
If your clients submit requests via a form instead of email, swap this for a Typeform: Watch Responses or Google Forms: Watch Responses trigger. The Typeform-to-Make.com intake workflow covers this in detail if you want the full form-based version.
Step 2: Parse the Request Type
Add a Router module. This is the core logic piece. You’ll create branches for each task category — for example: Design, Writing, Research, Admin.
Set each branch filter using the email subject or body. For example:
- Branch 1 filter:
Subject contains "design" OR body contains "graphic" - Branch 2 filter:
Subject contains "write" OR body contains "content" - Branch 3 (fallback): no filter — catches everything else
The fallback branch matters. Without it, uncategorized requests fall through and disappear silently. Add a Gmail: Send an Email module on the fallback branch that notifies you to manually categorize the request.
Step 3: Log to Your Task Manager
On each categorized branch, add the relevant task-creation module. If your client uses Airtable, add an Airtable: Create a Record module. Map these fields from the email:
- Task Name:
{{subject}} - Client: hardcoded to the client name for this scenario
- Category: hardcoded to the branch label (e.g., “Design”)
- Request Body:
{{text body}} - Date Received:
{{date}} - Status: “New”
If your client uses Notion instead, the Make.com + Notion integration handles record creation with nearly identical field mapping. Swap the Airtable module for Notion: Create a Database Item and map the same values.
Step 4: Send the Acknowledgment
After the task log step on each branch, add a Gmail: Send an Email module addressed to the sender. Keep the message short:
Got your [Category] request — I’ve logged it and will confirm the timeline within [X hours]. No need to follow up.
Clients love this. It removes the “did you get my email?” message that would otherwise interrupt your actual work. The whole acknowledgment goes out in under a minute with no manual involvement.
Common Error and Fix
The most common failure point in this scenario: the Gmail trigger returns no data because the label filter is case-sensitive. If you set the filter to [ClientA] Requests but the label in Gmail is [clienta] requests, Make.com won’t match it. Fix: go to Gmail, check the exact label name including capitalization, and copy-paste it into the module rather than typing it fresh.
Scenario 2: Auto-Filing Deliverables to Google Drive
Every time you complete something for a client — a document, a graphic, a report — it needs to land in the right folder. Doing this manually across four clients and a dozen deliverable types is a slow death. This scenario routes files automatically based on naming conventions you already use.
Step 1: Trigger on File Upload
Use Google Drive: Watch Files in a Folder as your trigger. Point it at your “Outbox” or “To File” folder — the place you drop finished work before it gets organized. Set it to poll every 15 minutes.
The scenario watches for new files, then acts on each one as a separate bundle. This matters if you drop multiple files at once — Make.com processes them individually, which means each file gets routed correctly even in a batch upload.
Step 2: Extract Client and Type from Filename
Add a Text Parser: Match Pattern module. Use a regex to pull the client code and file type from the filename. If your naming convention is ClientName_Type_Date.ext (e.g., AcmeCorp_Report_2026-02.pdf), your regex would be:
^([A-Za-z]+)_([A-Za-z]+)_Group 1 captures the client code. Group 2 captures the file type. Map these as variables for the next step.
If you don’t use a naming convention yet, now is the time to start one. This is the only prerequisite the scenario has. Consistent filenames make everything downstream automatic.
Step 3: Route to the Right Folder
Add a Router with branches for each client. Each branch filter checks whether Group 1 (client code) matches the client name. Then inside each branch, add a Google Drive: Move a File module pointing to that client’s folder.
Inside the client branch, you can add a second router to sort by file type if you want deliverables split into subfolders (e.g., /AcmeCorp/Reports/, /AcmeCorp/Graphics/). Use Group 2 as the filter condition.
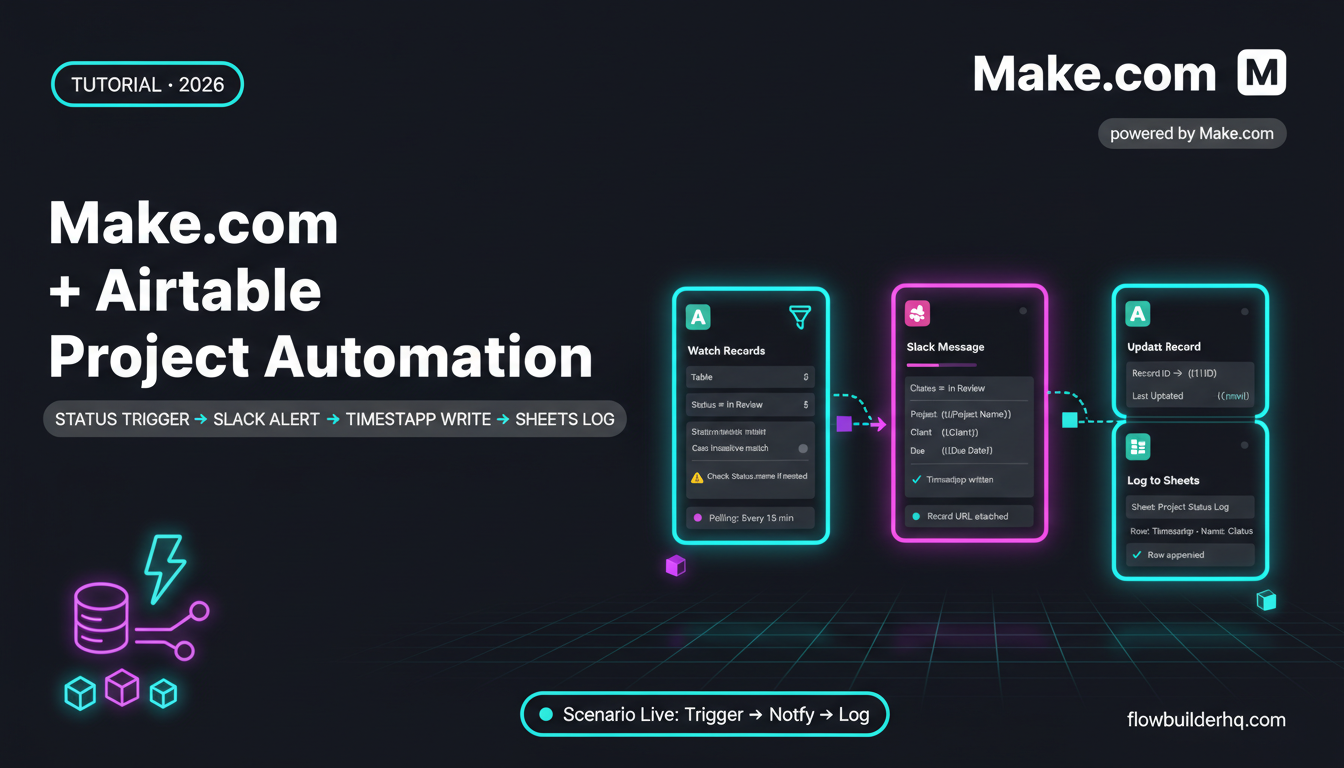
For a deeper look at how to use Make.com with Google Drive and Google Sheets for project tracking, the Make.com + Airtable project management guide shows a similar routing pattern you can adapt.
Step 4: Log the Filed Deliverable
After the Move module, add an Airtable: Create a Record (or Notion database item) to log what was filed, when, and where. Fields:
- Deliverable Name:
{{filename}} - Client: from Group 1
- Type: from Group 2
- Filed To: the Drive folder URL
- Date Filed:
{{now}}
This log becomes your deliverable history. When a client asks “can you send me everything you filed in February?” you export the filtered Airtable view instead of hunting through Drive.
Common Error and Fix
The Move module sometimes throws a 404 - File Not Found error when the source file hasn’t fully synced to Google Drive before Make.com polls it. Fix: add a Sleep module (set to 30 seconds) between the trigger and the Text Parser. This gives Drive time to register the file before the scenario tries to act on it. It sounds too simple, but it eliminates about 90% of these timing errors.
Scenario 3: Automated Client Status Updates
Status updates are relationship maintenance. Clients don’t ask “how’s it going?” because they doubt you — they ask because silence creates anxiety. This scenario sends a weekly summary to each client automatically, pulling from your task log so the data is always accurate.
Step 1: Schedule the Trigger
Use a Schedule trigger. Set it to run every Friday at 4:00 PM (or whatever your end-of-week send time is). No external app needed — Make.com’s built-in scheduler handles this.
Step 2: Pull This Week’s Completed Tasks
Add an Airtable: Search Records module pointing to your task log. Filter for:
- Status = “Complete”
- Client = [Client Name]
- Date Completed = this week (use a formula:
{{formatDate(now; "YYYY-MM-DD")}}for the end date, and subtract 7 days for the start)
This returns all tasks completed for that client in the current week as an array of bundles. If you manage multiple clients, duplicate this scenario for each one — or use a Router on the client name and run parallel branches, one per client.
Step 3: Format the Update
Add a Text Aggregator module to concatenate all returned task names into a single list. Set the separator to a line break. The output looks like:
- Drafted social captions for March
- Edited product description batch (22 items)
- Updated press contact spreadsheet
Then add a Gmail: Send an Email module. Build a clean template:
Hi [Client Name],
Here’s a quick summary of what I completed this week:
{{aggregated task list}}
Next week I’ll be working on: [Next Steps — either hardcoded or pulled from “In Progress” records].
Let me know if anything needs adjusting. Talk soon.
The whole email goes out without you writing a word. If you want to add next steps dynamically, add a second Airtable search for Status = “In Progress” and aggregate those records separately.
Step 4: Log That the Update Was Sent
Add a final Airtable: Update a Record module that sets a “Last Status Update Sent” date field on each client’s contact record. This gives you a simple audit trail — if a client says they never received an update, you can check the field and know exactly when the last one went out.
For a related approach to automating client reporting in more detail, the automated client reporting workflow covers a dashboard-style output you can layer on top of this.
Common Error and Fix
The Airtable date filter breaks if your date fields store timestamps instead of plain dates. Make.com will try to compare 2026-02-14T09:30:00.000Z against 2026-02-14 and fail silently — returning zero records even when tasks exist. Fix: use the formatDate function on both sides of the comparison to strip timestamps down to YYYY-MM-DD format before filtering.
Connecting the Three Scenarios Into a System
Run these three scenarios together and you’ve built a delegation system, not just a collection of automations. Requests come in and get logged automatically. Deliverables get filed and logged automatically. Status updates go out automatically. Your manual involvement drops to the actual work — which is what clients pay for.
The real ROI shows up at scale. One client is manageable manually. Three or four clients, each with daily requests and weekly reporting, is where manual processes break. These scenarios don’t break — they run every time, on schedule, with consistent output.
If you want to extend this system further, the HubSpot + Make.com client portal build adds a CRM layer so you can track client communication history alongside your task log. And if you’re running into quota limits on the free plan as your client count grows, the Make.com pricing breakdown shows exactly when upgrading to Core ($9/month) or Pro ($16/month) makes financial sense.
Make.com for Virtual Assistants: Plan and Pricing Reality
Here’s the honest math. Make.com’s free plan gives you 1,000 operations per month. Each scenario run uses one operation per module executed. The three scenarios above run roughly:
- Request Router: ~6 ops per request (trigger + router + task log + email)
- Auto-filing: ~5 ops per file (trigger + parser + router + move + log)
- Status update: ~8 ops per client per week (schedule + search + aggregate + email + update)
For one client with 20 requests/week, 15 deliverables/week, and one status update: roughly 275 ops/week, or 1,100/month. You’ll hit the free plan ceiling with one active client. For two or more clients, Core at $9/month (10,000 ops) covers you comfortably. Pro at $16/month adds more scheduling flexibility and higher concurrency if you’re running parallel scenarios for multiple clients simultaneously.
That’s $9/month to remove 5–8 hours of admin work per client per week. The math doesn’t require much thought.
For a full breakdown of how Make.com stacks up on cost against other tools in the space, the Make.com vs Zapier cost comparison is worth reading — especially if any of your clients currently use Zapier and you’re considering whether to migrate their automations.
Who This Works For (and Who It Doesn’t)
This system works best if your clients use standard tools — Gmail, Google Drive, Airtable, Notion, Slack. If a client is entirely inside a proprietary platform that doesn’t have a Make.com integration or a webhook endpoint, you’ll hit walls fast. Check Make.com’s integration library before committing to build anything — native integrations are far more stable than workarounds.
It also works best if you have at least some consistency in how clients send requests and name files. If every client uses a different format for everything, you’ll spend more time configuring branches than the automation saves. In that case, spend one week standardizing the inputs first — even a simple intake form and a filename convention — then build the scenarios on top of that consistency.
If you’re earlier in your VA business and still figuring out which tasks repeat most often, the workflow automation prioritization framework is a good starting point before you build anything in Make.com.
For VAs who are already running smoothly on the basics and want to push further, the real automation workflows that save hours post covers seven more scenarios worth adding to your stack once these three are live.
Build the First Scenario This Week
Don’t plan all three at once. Pick the one that costs you the most time right now — for most VAs, that’s the request acknowledgment — and build that scenario first. Get it running for one client. Verify it works for a week. Then add the filing automation. Then the status update.
Incremental deployment beats big-bang launches every time. Each scenario you add compounds the time savings without compounding the risk. If one breaks, the others keep running. You fix one thing, not three.
Make.com’s official scenario documentation covers error handling, execution history, and incomplete executions in detail — worth bookmarking for when something doesn’t behave as expected. And if you want a checklist of the most common automation mistakes that sink these builds before they go live, the workflow automation mistakes post is the fastest 10-minute read you can do before hitting publish on any scenario.
Ready to build? Create your free Make.com account here and start with the request router — it’s the fastest scenario to ship and the one with the most immediate visible impact for your clients.
Building this yourself? Get the workflow pack.
5 ready-to-import n8n workflows — lead capture, invoicing, content repurposing, onboarding, social posting. Free.