How to Use HubSpot Deals Pipeline as a Solopreneur Project Tracker
Most solopreneurs who sign up for HubSpot do it because someone told them they needed a CRM. Then they look at the Deals pipeline and think: “I don’t have a sales team. This isn’t for me.” So they ignore it and go back to a spreadsheet or a Notion board that slowly falls apart.
Here’s the thing — the HubSpot Deals pipeline is one of the most underused project management tools available to solopreneurs, and it costs nothing on the free plan. You’re not using it to close deals in the traditional sense. You’re using it to track work in motion: client projects, retainer deliverables, product launches, and consulting engagements.
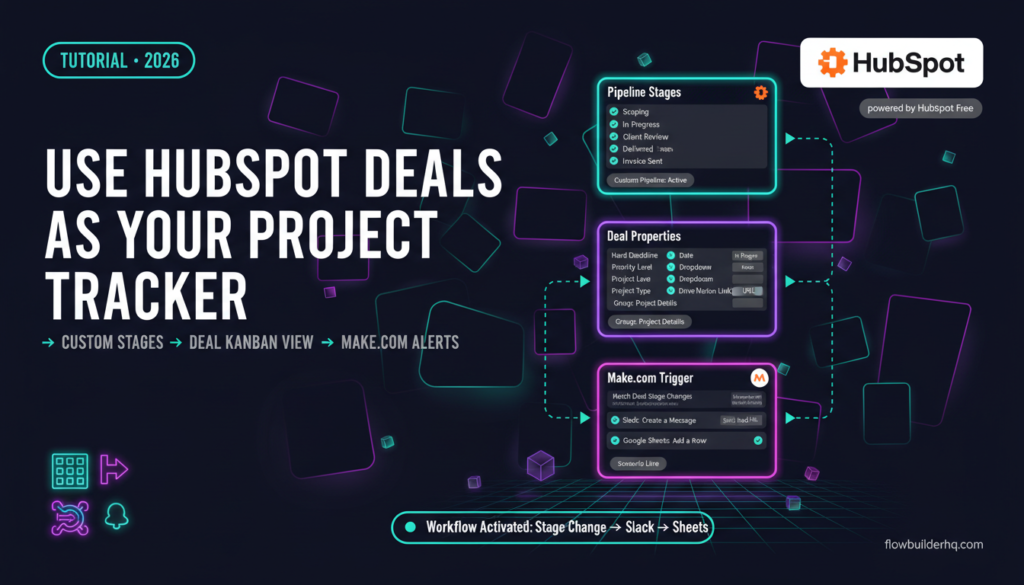
This tutorial shows you exactly how to use HubSpot Deals pipeline as a solopreneur project tracker — with custom stages, custom deal properties as project fields, and a Make.com automation that fires when a project status changes. No sales team required.
If you haven’t set up HubSpot yet, start with the HubSpot CRM setup tutorial for solopreneurs before continuing here.
Why the Deals Pipeline Works Better Than You’d Expect
HubSpot’s Deals object is built around the concept of a record moving through stages. That’s exactly what a project does. A client engagement starts somewhere (“Scoping”), moves through phases (“In Progress”, “Under Review”), and ends somewhere (“Delivered”, “Invoiced”). The Deals pipeline maps to that naturally.
What makes it genuinely useful for solopreneurs:
- Every deal can be linked to a Contact and a Company — so your client relationship stays connected to the work
- You can add custom properties to any deal — deadline, deliverable type, retainer cycle, whatever you need
- The Kanban board view gives you a real-time visual of every active project
- Activity logging (notes, calls, emails) all live on the deal record — no context-switching to find out what happened
- The free plan supports this fully — no paid upgrade needed for the core setup
The Notion CRM vs HubSpot Free comparison covers the tradeoffs if you’re still deciding which tool to commit to. But if you’re already using HubSpot for contacts, staying in the same tool for project tracking is the right call.
Step 1: Create a Dedicated Project Pipeline
Don’t repurpose your default “Sales Pipeline.” Create a separate pipeline specifically for projects. This keeps client acquisition separate from delivery work — two very different workflows.
- In HubSpot, go to CRM → Deals
- Click the pipeline selector at the top left (it usually says “Sales Pipeline” by default)
- Select Manage Pipelines
- Click Create Pipeline
- Name it something clear: “Client Projects”, “Active Retainers”, or “Launch Pipeline” — whatever matches your work
Now define your stages. This is where most people use the default sales stages (“Appointment Scheduled”, “Qualified to Buy”) — which make zero sense for project work. Delete them all and build stages that reflect how your work actually moves.
Example Stage Sets by Solopreneur Type
For service-based solopreneurs (copywriters, designers, consultants):
- Scoping
- Proposal Sent
- In Progress
- Client Review
- Revision
- Delivered
- Invoice Sent
- Closed / Won
For retainer-based solopreneurs:
- Onboarding
- Active — Month [N]
- Renewal Due
- On Hold
- Offboarded
For product or launch-based solopreneurs:
- Idea / Validated
- Building
- Pre-Launch
- Live
- Post-Launch Review
Set the “probability” percentage for each stage to something that makes logical sense or just set them all to 0% — the percentage field is a sales metric that doesn’t apply here, but HubSpot requires it. It won’t affect your workflow.
Step 2: Add Custom Deal Properties as Project Fields
Out of the box, HubSpot deals track Deal Name, Amount, Close Date, and Pipeline Stage. That’s the sales model. For project tracking, you need different fields.
Here’s how to add custom properties:
- Go to Settings → Properties
- Select Deal properties from the object dropdown
- Click Create property
Create a property group called “Project Details” to keep these fields organized. Then add the following properties based on your work type:
| Property Name | Field Type | Used For |
|---|---|---|
| Project Type | Dropdown | Copywriting / Design / Strategy / Coaching |
| Deliverable Description | Multi-line text | What’s actually being built or delivered |
| Hard Deadline | Date | Client-facing due date |
| Internal Deadline | Date | Your buffer date before the hard deadline |
| Retainer Cycle | Dropdown | Monthly / Quarterly / One-time |
| Priority Level | Dropdown | High / Medium / Low |
| Billable Hours Estimated | Number | Time estimate for billing or capacity planning |
| Drive/Notion Link | Single-line text (URL) | Link to project folder or doc |
Once created, these properties appear on every deal record. You can also add them to the deal card view on the Kanban board so they’re visible without opening each record.
The HubSpot lead tracking guide for solopreneurs without a sales team uses a similar approach to custom properties — the same logic applies here to project records.
Step 3: Configure Your Kanban Board View
The Kanban board is where you’ll actually manage projects day-to-day. By default it shows Deal Name, Amount, and Close Date on each card. Change this.
- Open your project pipeline in Deals view
- Click the gear icon on any deal card (or find Edit columns / Customize cards in the board settings)
- Select up to 4 properties to display: Deal Name, Hard Deadline, Priority Level, and Project Type are a solid default set
- Save
Now every card in your Kanban shows the fields that matter. You can drag cards between stages to update project status, and every stage change is timestamped in the deal’s activity log automatically.
One thing to watch: HubSpot sorts deals by create date by default. You can change this to sort by Hard Deadline (your custom property) — click the sort dropdown at the top of any column and select your custom date property. This makes the “what’s due next” question answerable at a glance.
Step 4: Create a Deal for Each Active Project
Each client project, retainer cycle, or launch initiative gets its own deal record. The naming convention matters — be consistent. Inconsistent naming makes filtering and reporting useless later.
A solid naming convention: [Client Name] — [Project Type] — [Month/Quarter]
Examples:
Acme Corp — Brand Strategy — Q2 2026Personal — Course Launch — May 2026Rivera — Monthly Retainer — June 2026
Fill in your custom properties on creation. Associate the deal with the relevant Contact and Company records. Add a note to the deal with any kickoff context — this becomes your project brief attached to the record.
The Amount field: use it for the project value or retainer fee. Even if you’re not tracking “sales”, this field feeds into HubSpot’s built-in reporting, which gives you a revenue-by-stage view that doubles as a billing pipeline overview.
Step 5: Build a Make.com Automation for Stage-Change Notifications
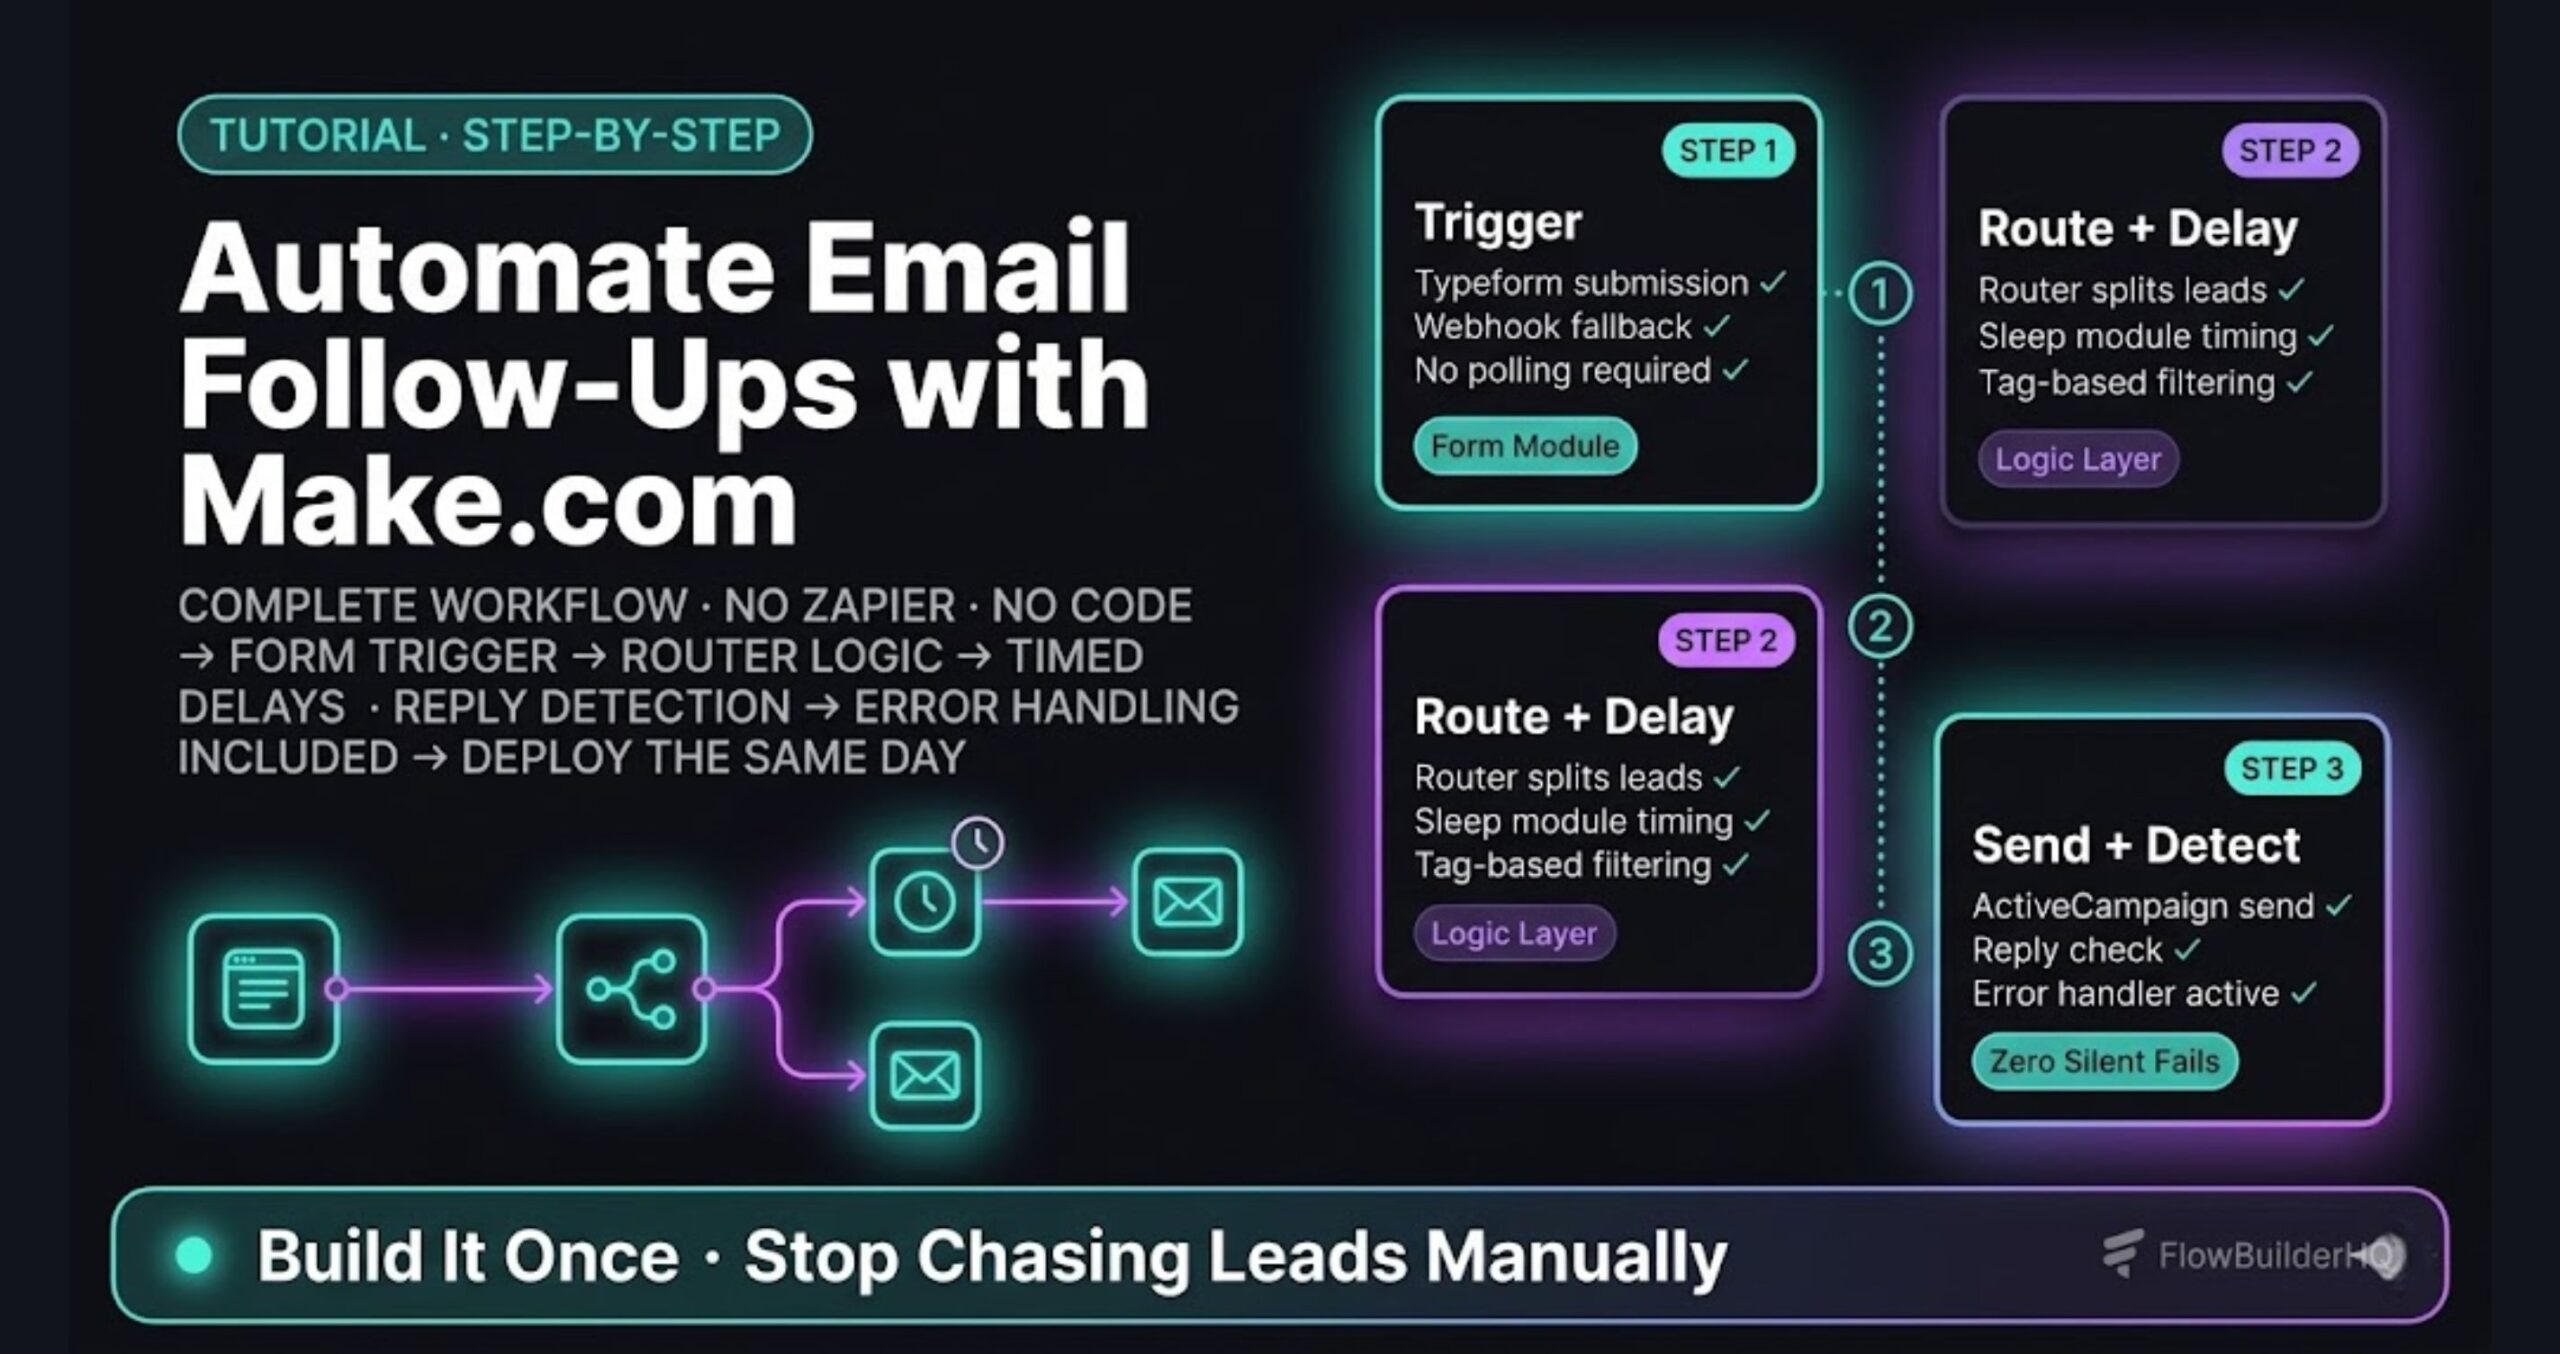
This is where the setup goes from useful to actually operational. When a project moves to a new stage — say, from “In Progress” to “Client Review” — you want something to happen automatically. A Slack message. A task created. An email sent. A Google Sheet updated.
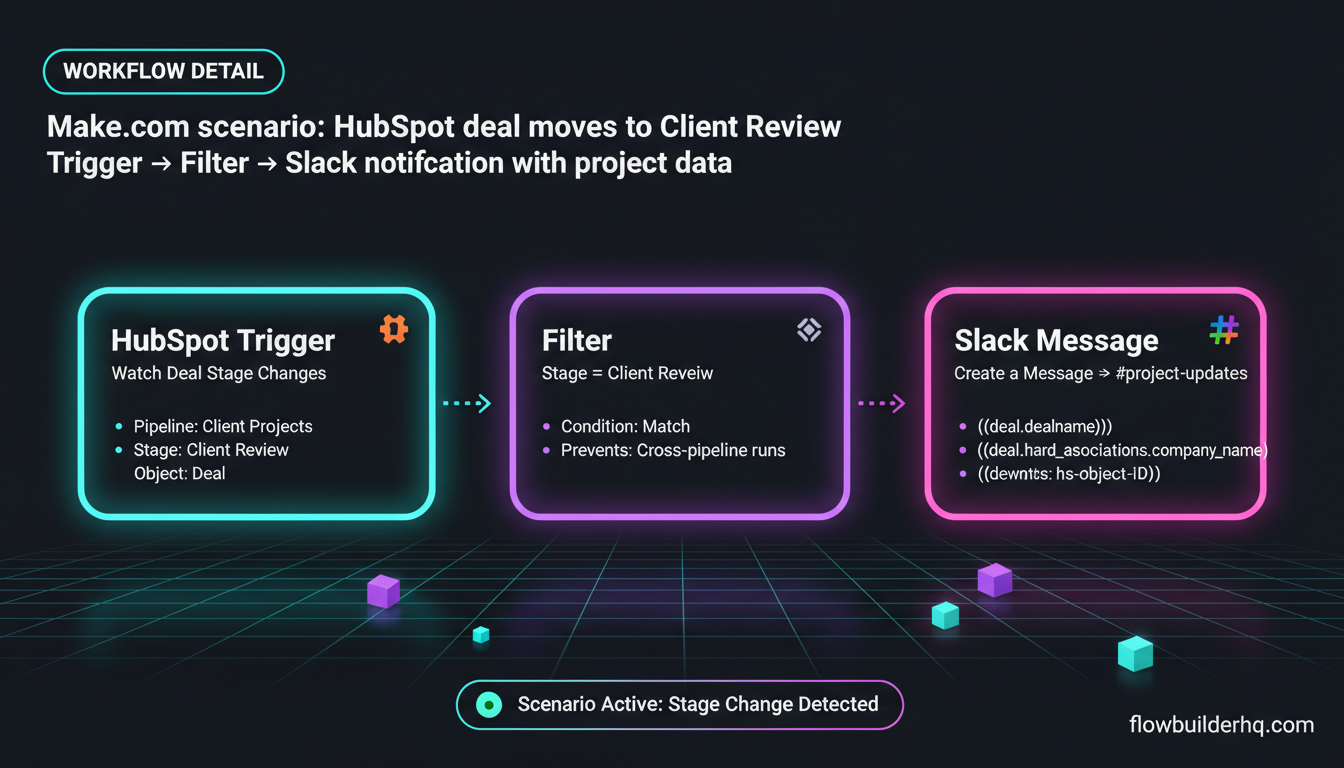
Here’s a complete Make.com scenario: when a HubSpot deal moves to “Client Review”, send a Slack notification with the project name, the hard deadline, and a direct link to the HubSpot deal record.
Before starting, make sure you have Make.com connected to HubSpot — the connection setup is covered in detail there.
Build the Scenario
- In Make.com, create a new scenario
- Add trigger module: HubSpot → Watch Deal Stage Changes
- Select your “Client Projects” pipeline
- Set the trigger to fire when stage changes to: Client Review
- Add a Filter between trigger and next module:
Stage = Client Review(this prevents the scenario running on unrelated pipeline stages if you have multiple pipelines connected) - Add module: Slack → Create a Message
- Set the channel to your work channel or a dedicated
#project-updateschannel
In the Slack message text, use Make.com’s dynamic field mapping to pull HubSpot deal data:
🔁 Project moved to Client Review

*Project:* {{deal.dealname}}
*Client:* {{deal.associations.company.name}}
*Hard Deadline:* {{deal.hard_deadline__c}}
*HubSpot Record:* https://app.hubspot.com/contacts/[YOUR_PORTAL_ID]/deal/{{deal.hs_object_id}}
Replace [YOUR_PORTAL_ID] with your actual HubSpot portal ID, found in your HubSpot account URL. The custom property internal name (hard_deadline__c) may differ — check your exact property name in HubSpot’s Property Settings.
For a deeper look at building Slack notification scenarios, the Make.com Slack notification tutorial covers filters and message formatting in detail.
Extend the Scenario: Log to Google Sheets
Add a second module after the Slack message: Google Sheets → Add a Row. Log every stage change to a running project status sheet with columns: Deal Name, Stage, Change Date, Client, Deadline.
This gives you a historical audit trail of how long projects spend in each stage — useful for pricing and capacity planning. The Google Sheets reporting automation guide has the full setup for writing data from external triggers to Sheets.
Common Error: Property Names Don’t Match
The most frequent issue when mapping HubSpot deal properties in Make.com: the field names in Make.com’s module don’t match your custom property internal names.
Fix: In HubSpot, go to Settings → Properties → Deal Properties. Click on your custom property. The “Internal name” is shown below the label — it looks like hard_deadline__c or project_type__c. Use that exact internal name when referencing custom properties in Make.com’s HTTP module or in any field mapping that involves dynamic data.
If you’re using Make.com’s native HubSpot modules (not HTTP), the custom properties sometimes appear in the “Additional Properties” field as a JSON object. Map them using the dot notation: {{1.properties.hard_deadline__c.value}}.
Step 6: Build Additional Automations for Other Stage Transitions
The stage-change trigger pattern is repeatable. Build one scenario per meaningful transition, or build one scenario that handles multiple transitions with Router modules branching by stage name.
High-value automations to add:
- “Invoice Sent” stage → Create a task in your task manager (via Make.com to Notion or Airtable): “Follow up on invoice in 5 days”
- “Delivered” stage → Send client a templated email via Gmail or HubSpot’s email tool with a feedback request
- “Renewal Due” stage → Slack reminder to reach out about retainer renewal
- Any stage change → Update a row in Google Sheets project dashboard
If you’re running a client-facing onboarding workflow alongside this, the client onboarding automation tutorial shows how to chain HubSpot triggers with downstream Make.com workflows for a complete delivery pipeline.
For the Notion integration specifically, using Make.com with Notion covers how to create and update database records from external triggers — the same pattern applies when HubSpot is the trigger source.
Step 7: Use HubSpot Reports to Track Project Throughput
HubSpot’s free plan includes basic deal reporting. Create a custom report to answer:
- How many projects did I deliver this month?
- What’s my average deal size per project type?
- How long do projects sit in “Client Review” before moving forward?
Go to Reports → Reports → Create report. Select “Deals” as the data source. Filter by your “Client Projects” pipeline. Group by stage or close date.
The “time in stage” data isn’t natively shown in HubSpot Free, but your Google Sheets audit log (built in Step 5) fills that gap — each row has a timestamp, so you can calculate duration in a pivot table.
If you want a deeper look at how HubSpot’s free plan compares to paid tiers for features like this, the HubSpot Free vs Paid breakdown is worth a read before deciding whether to upgrade.
What This Setup Can’t Do
This approach works well, but it has real limits. HubSpot Deals isn’t a project management tool — it’s a CRM with pipeline views. What you’re trading for the free price and CRM integration:
- No subtasks or task dependencies. If your projects have multi-step internal workflows, you’ll need a separate task tool (Notion, Airtable, or a proper PM tool) linked to the deal.
- No time tracking. The “Billable Hours Estimated” property you added is a static field — there’s no timer or time-log functionality in HubSpot Free.
- No client-facing portal. Your client can’t log in and see project status. This is internal-only.
- Deal limit on Free tier. HubSpot Free doesn’t restrict the number of deals, but reporting and automation features are limited compared to paid plans.
If you need more than HubSpot’s pipeline can give you, the best CRM options for solopreneurs in 2026 includes tools built specifically for service delivery rather than sales tracking.
The Full Stack This Connects To
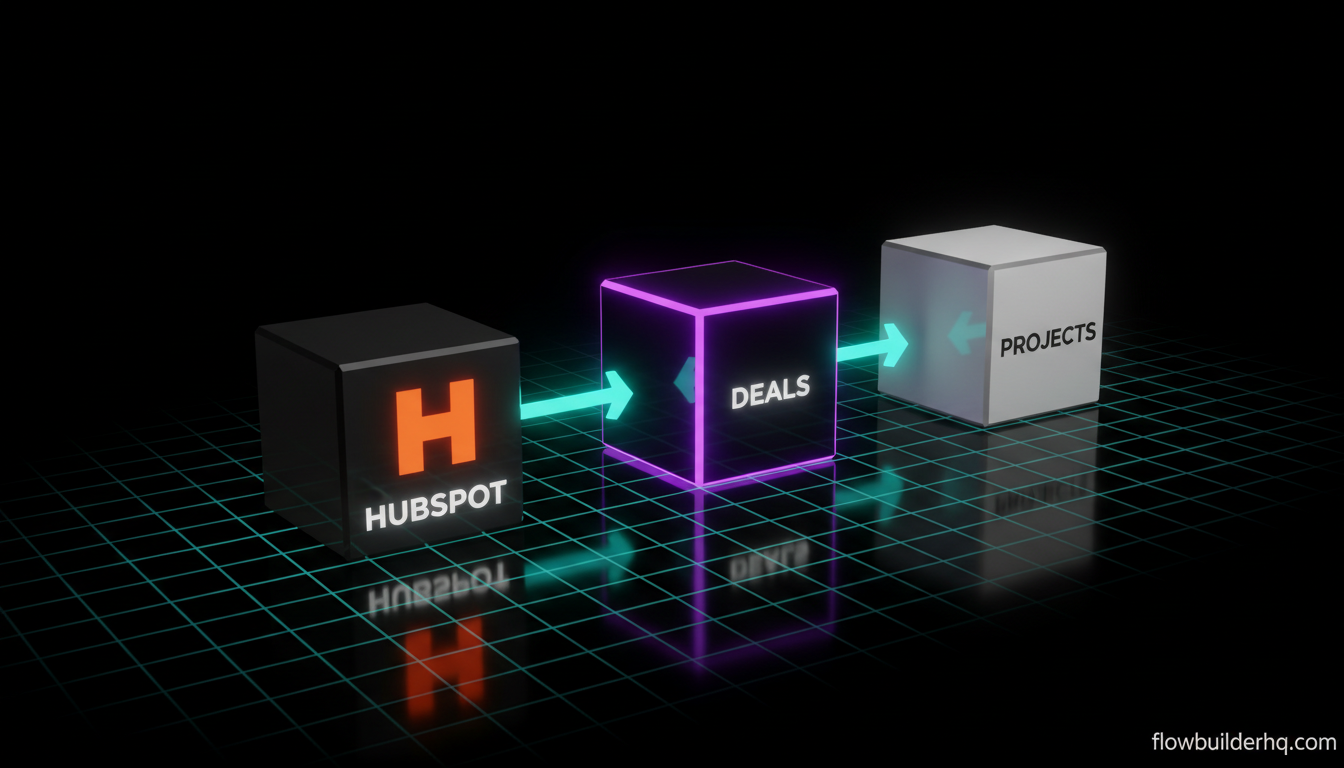
This setup sits at the intersection of two workflows: your CRM layer (HubSpot) and your automation layer (Make.com). Together they handle the full project lifecycle without manual status updates or separate tools for tracking versus doing.
HubSpot holds the record. Make.com moves information when the record changes. You spend time on the work, not on updating a dashboard.
If you’re building out the rest of your solopreneur stack around this, the 2026 solopreneur tech stack guide shows how CRM and automation tools fit alongside your other tools — and what to cut.
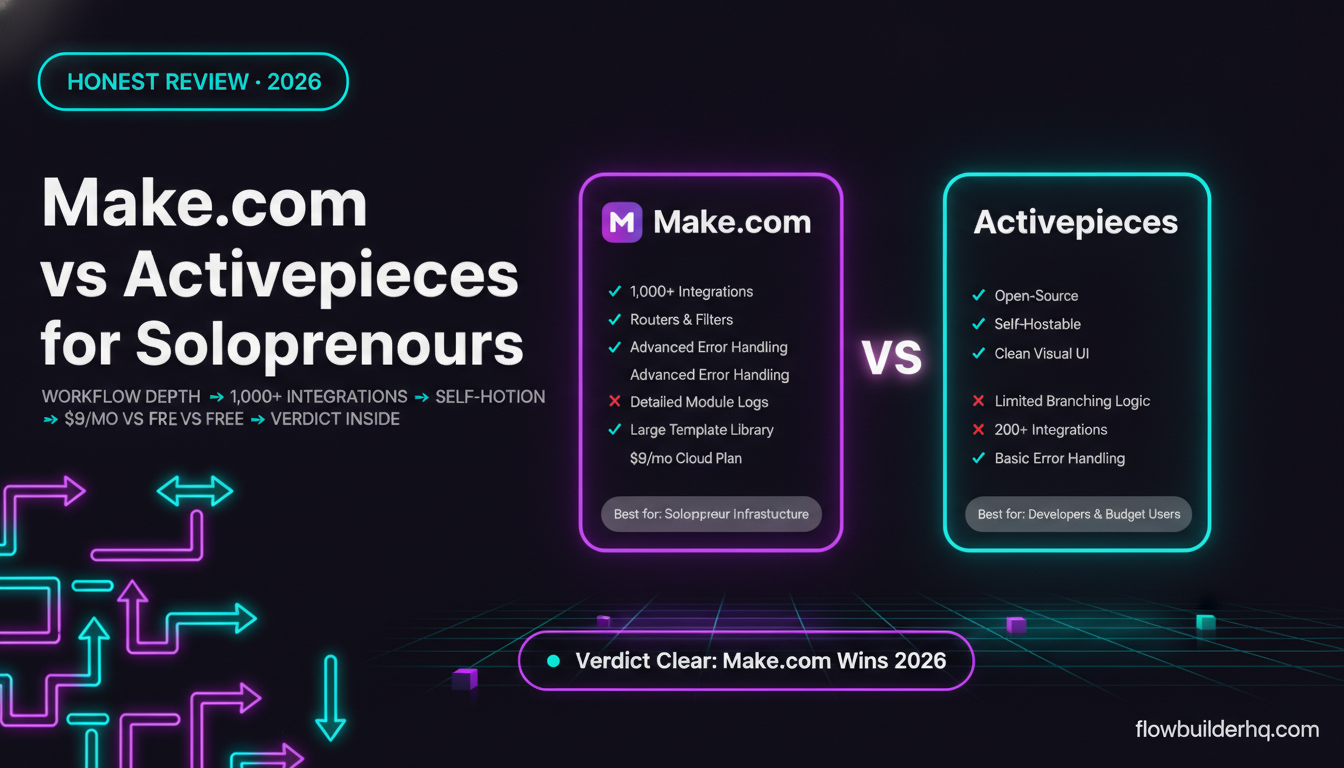
For the automation side, our full Make.com review covers what the free and paid plans actually get you, so you can decide whether the Core plan at $9/mo is worth it once your scenario count grows. You can sign up for Make.com at Make.com to follow along with the automations in this tutorial.
The setup described in this tutorial runs entirely on HubSpot Free and Make.com’s free tier (1,000 ops/month). Stage-change automations are low-volume — a busy solopreneur running 10 active projects might trigger 50-100 scenario runs per month. Well within free limits.
You can read more about workflow automation mistakes solopreneurs commonly make to avoid the traps that turn a clean setup like this into a maintenance headache over time.
Building this yourself? Get the workflow pack.
5 ready-to-import n8n workflows — lead capture, invoicing, content repurposing, onboarding, social posting. Free.