How to Automate Google Sheets with Make.com Step by Step (Your Free Database Layer)
You already have Google Sheets. It’s sitting there, free, connected to your Google account, and probably holding some version of your client list, lead log, or content calendar right now. The only thing it can’t do on its own is act on data — add rows when something happens, send alerts when a field changes, or pull information from another tool without you copying and pasting it.
That’s where Make.com fills the gap. Knowing how to automate Google Sheets with Make.com step by step turns a passive spreadsheet into an active system that updates itself, notifies you, and feeds other tools — without you touching it. No Airtable subscription. No database setup. No code.
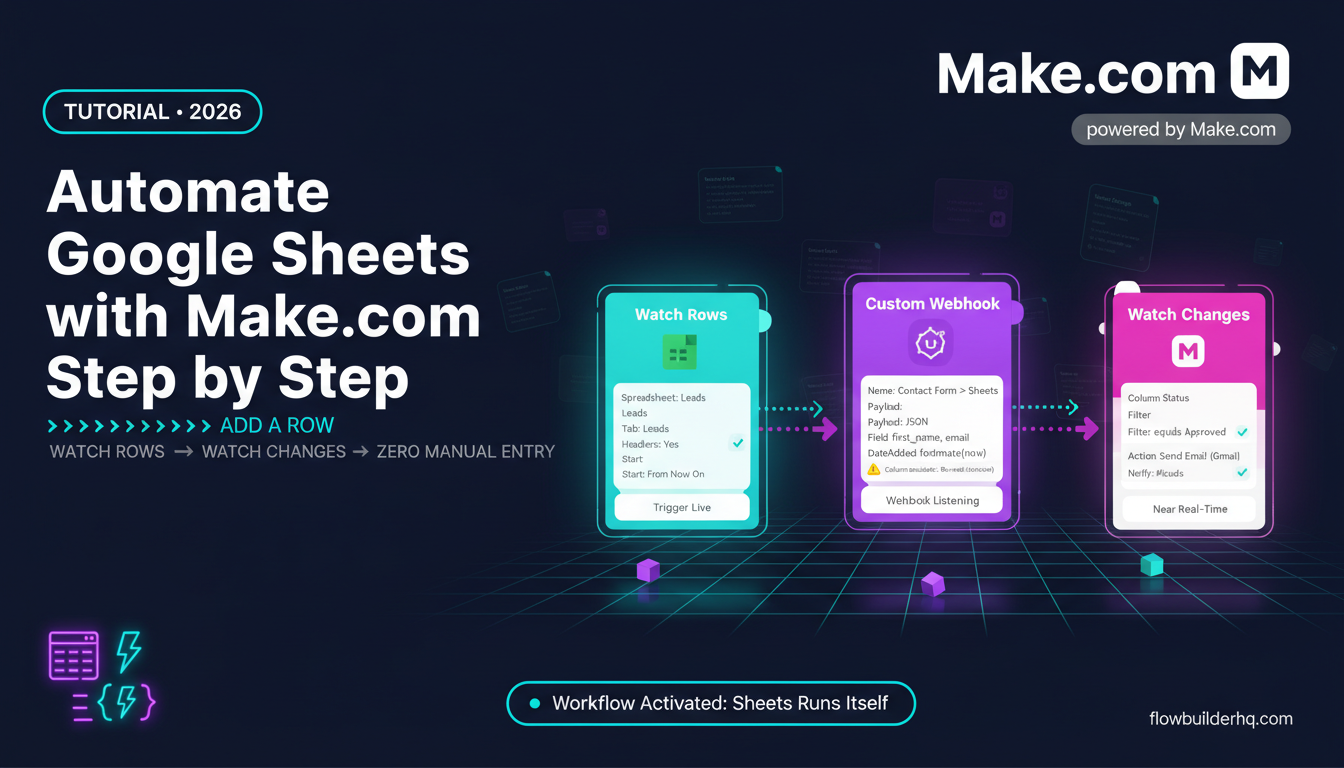
This tutorial walks through three complete workflows: reading rows as triggers, writing new data to a sheet, and watching a cell for changes. These are the building blocks for every Google Sheets automation you’ll ever build in Make.com.
Why Google Sheets Is Enough (If You Wire It Correctly)
Airtable is excellent. It’s also $20 per seat per month on the Team plan, and most solopreneurs don’t need relational tables — they need a clean place to store and retrieve flat data. Google Sheets does that for free, and Make.com’s native Google Sheets module handles every common operation: search rows, add rows, update rows, get rows, watch rows, watch changes, clear rows. That’s a real database interface.
If you want the full argument on when Sheets beats Airtable and when it doesn’t, read our breakdown of Make.com vs Airtable for solopreneurs — the pricing math alone justifies the read. But for the purposes of this tutorial, assume Sheets is your database and Make.com is the engine connecting it to everything else.
Make.com’s free plan gives you 1,000 operations per month. The Core plan is $9/month. For most solopreneurs running three to five scenarios, that’s the ceiling. Start your Make.com account here if you don’t have one yet.
Before You Build: Set Up Your Sheet the Right Way
Make.com reads your Google Sheet using the first row as headers. If your headers are messy, your automation is messy. Before you touch Make.com, do this in your spreadsheet:
- Row 1 is headers only. No merged cells. No blank columns between headers. Each header should be a single word or short phrase:
FirstName,Email,Status,DateAdded. - No blank rows in the middle of your data. Make.com’s “Watch Rows” module stops at the first blank row it hits. One gap kills your trigger.
- Give your sheet a named tab. Don’t leave it as “Sheet1.” Name it something like
LeadsorContentCalendar. You’ll reference this in every module. - Create a separate “Processed” or “Status” column if you plan to use Watch Rows. This column lets you mark which rows Make.com has already handled, so you don’t reprocess old data after a scenario runs again.
With the sheet prepped, open Make.com and create a new scenario.
Workflow 1: Watch New Rows and Send a Slack Notification
Use case: someone fills out a Typeform, Tally, or any form that appends a row to Google Sheets. You want a Slack message every time a new lead lands.
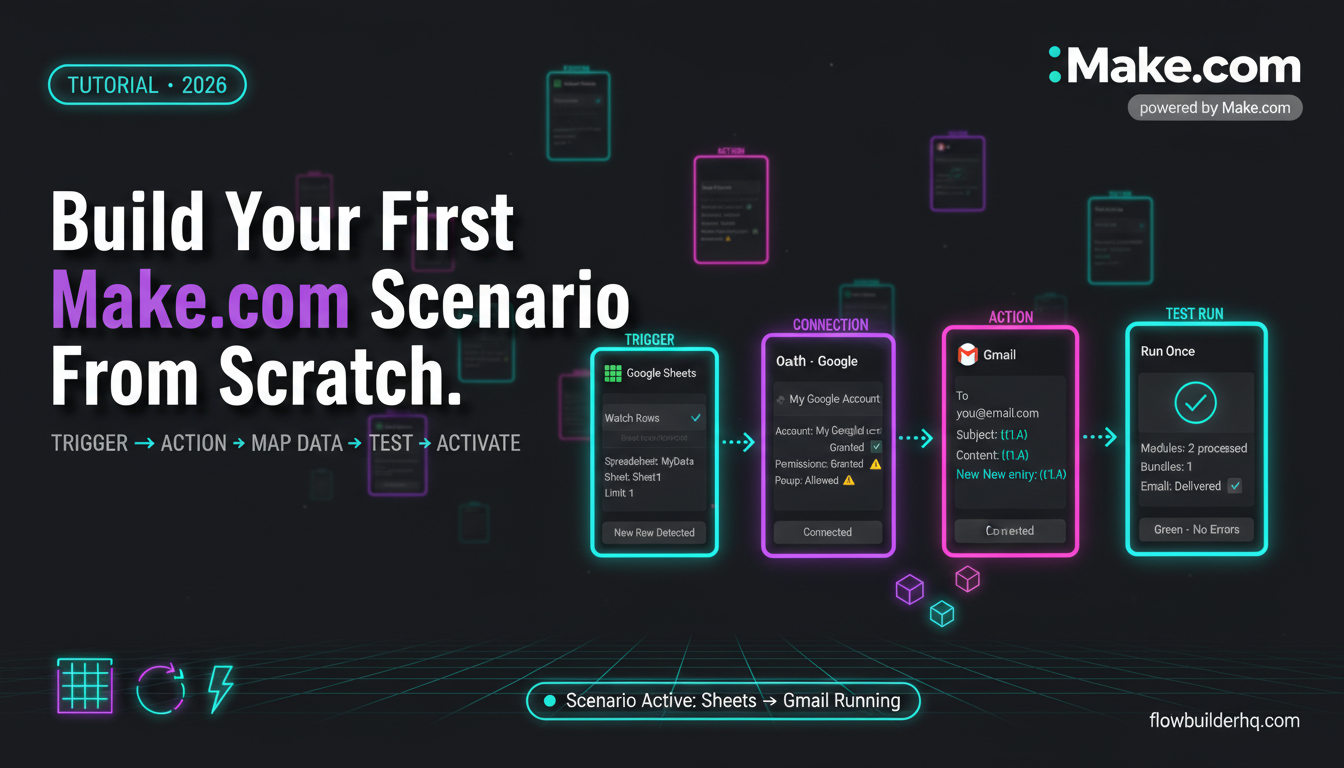
Step 1: Add the Trigger Module
- In your new Make.com scenario, click the large + to add your first module.
- Search for Google Sheets and select it.
- Choose Watch Rows as the trigger type.
- Connect your Google account when prompted. Make.com will ask for permission to access Sheets — grant it.
- In the module settings, select your Spreadsheet from the dropdown. Then select your named Sheet tab (e.g.,
Leads). - Set Table contains headers to Yes. Make.com will read Row 1 as field names.
- For Where to start, choose From now on if you don’t want to process historical rows. Choose All only on a test sheet — otherwise every existing row fires on first run.
- Set a reasonable Maximum number of returned rows — 10 to 20 is sensible for most scenarios.
Step 2: Add the Slack Module
- Click the + after the Google Sheets module to add a second module.
- Search for Slack and choose Create a Message.
- Connect your Slack workspace.
- Set the Channel to wherever you want the notification (e.g.,
#leads). - In the Text field, use Make.com’s variable panel to pull in values from the Google Sheets module. Example message:
New lead: {{1.FirstName}} {{1.LastName}} — {{1.Email}} — Source: {{1.Source}}. The1.prefix refers to Module 1’s output.
Step 3: Test and Activate
- Click Run once to test. Make.com will check your sheet for new rows.
- Add a test row to your sheet manually, then run again. Confirm the Slack message fires.
- If it works, click Save and set the scenario to On with your preferred schedule. Every 15 minutes is the minimum on the free plan.
Common error here: “No results found” on the first test run. This happens when Where to start is set to From now on and no new rows exist yet. Add a row, run again — it resolves.
If your data is coming from a form rather than manual entry, our tutorial on automating Typeform responses with Make.com shows how to connect the form submission directly instead of using Watch Rows.
Workflow 2: Write Data to Google Sheets from a Webhook
Use case: you have a contact form, checkout, or any external trigger that sends data to a URL. You want that data to land cleanly in your Google Sheet as a new row — no form integration required.
Step 1: Create a Webhook Trigger
- Start a new scenario. Click the + and search for Webhooks.
- Choose Custom Webhook as the trigger.
- Click Add to create a new webhook. Name it something descriptive, like
Contact Form → Sheets. - Make.com generates a unique webhook URL. Copy it.
- Click Save on the webhook module, then click Run once — the scenario is now listening for an incoming POST request.
- Send a test POST to your webhook URL with a JSON body. You can use a tool like a browser-based tester or just trigger your actual form. Make.com shows you the incoming data structure once it receives it.
For a deeper explanation of how webhooks work in Make.com and how to structure your payloads, see our Make.com webhooks tutorial for beginners.
Step 2: Add the Google Sheets “Add a Row” Module
- Click + after the webhook module.
- Search for Google Sheets and choose Add a Row.
- Connect your Google account (if not already connected) and select your spreadsheet and sheet tab.
- Make.com will display each of your header columns as a field to fill in. Map the webhook variables to the correct columns. For example:
FirstName→{{1.first_name}},Email→{{1.email}},DateAdded→{{formatDate(now; "YYYY-MM-DD")}}. - The
formatDate(now; "YYYY-MM-DD")formula is Make.com’s built-in function for inserting today’s date. Use it for any timestamp column — it keeps your sheet sortable.
Step 3: Test the Full Chain
- With the scenario in Run once mode, send another POST to the webhook URL.
- Make.com should process the payload and insert a new row into your sheet.
- Check the sheet directly. Confirm the data landed in the right columns.
Common error: Column mismatch — data lands in wrong columns. This happens when you’ve manually rearranged columns in the sheet after Make.com first read the headers. Fix: click the Google Sheets module in Make.com, scroll to the column mapping section, and click Re-read column structure. Make.com will re-fetch the current header order.
Workflow 3: Watch a Cell Value and Trigger an Action
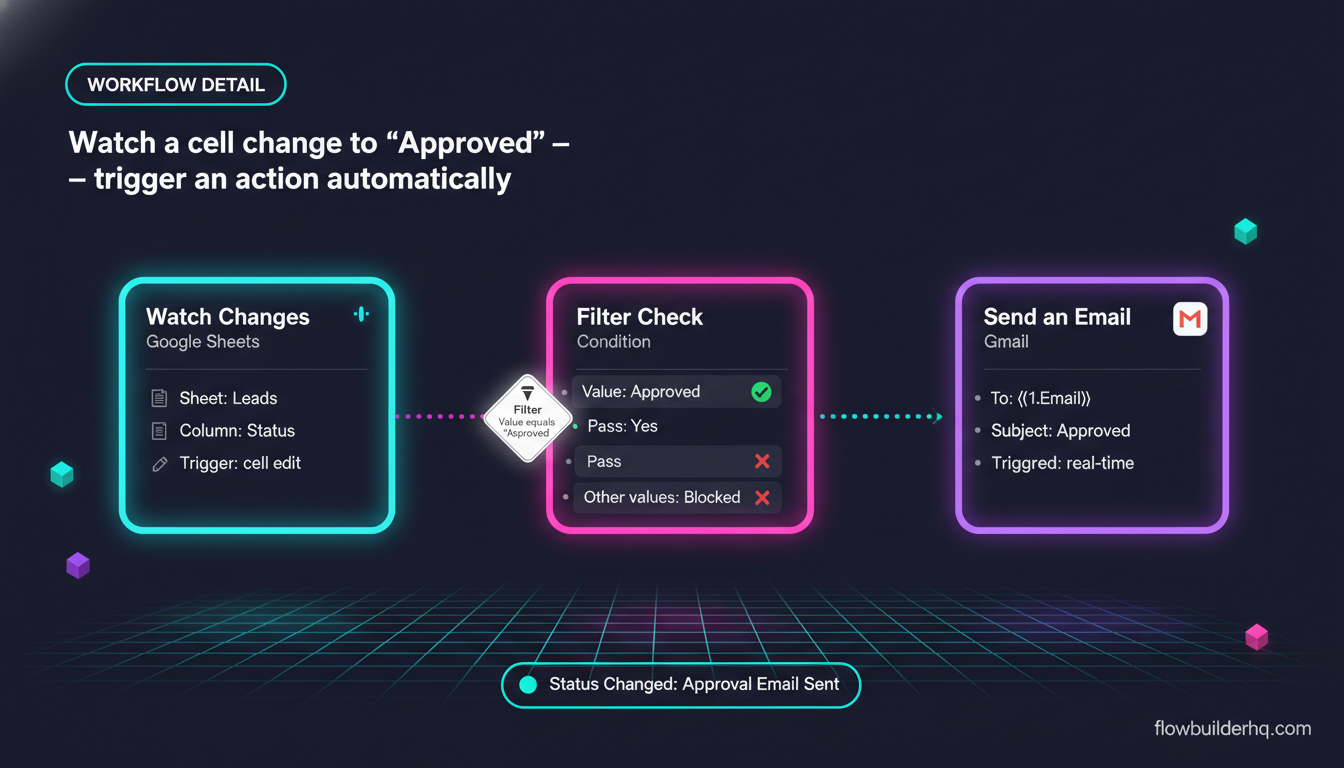
Use case: your sheet has a Status column. When you manually change a cell to Approved, you want Make.com to automatically send a contract or notification. This is the workflow that makes Sheets feel like a real CRM.
Step 1: Use “Watch Changes” Module
- Start a new scenario and add a Google Sheets module.
- This time, choose Watch Changes (different from Watch Rows — this watches for edits to existing cells).
- Connect your account and select your spreadsheet and sheet.
- Set the Column to watch — in this case, your
Statuscolumn.
Important: Watch Changes uses Google’s Sheets API push notifications, which require your Make.com account to have an active webhook endpoint. Make.com handles this automatically, but the scenario must be turned On (not just Run once) for the push to work. Unlike Watch Rows — which polls on a schedule — Watch Changes fires in near real-time.
Step 2: Add a Filter
You don’t want this scenario to fire on every cell edit in the Status column. You only want it to fire when the value becomes Approved.
- After the Watch Changes module, click the small wrench icon on the route between modules and select Set up a Filter.
- Set the condition: Value (from the Watch Changes output) equals
Approved. - Now only edits that result in “Approved” will pass through to the next module.
Step 3: Add Your Action
What happens after the filter passes is up to your workflow. Common choices:
- Send an email via Gmail — use the Gmail module, Send an Email action, mapping the recipient from the row data.
- Create a task in a project tool — map to Notion, Trello, or Asana.
- Update another row in a different sheet — use a second Google Sheets Update a Row module.
- Send a proposal — see how we set this up in our tutorial on automating proposal sending with Make.com.
Common Error: Watch Changes Stops Firing After a Day or Two
This is a known quirk. Google’s push notification channels expire every 7 days and Make.com is supposed to renew them automatically. Sometimes it doesn’t. Fix: open the scenario, click the Watch Changes module, and click Re-establish connection. If it keeps happening, add a Google Sheets push notification re-verification step to your weekly ops check. Alternatively, switch to Watch Rows with a 5-minute polling interval — less elegant but more reliable.
Connecting Sheets to Your Wider Automation Stack
These three workflows are the foundation. Once they’re running, Google Sheets becomes the hub that connects everything:
- Lead log: Form submission → Add Row → Slack notification → Email sequence trigger
- Content calendar: Watch Rows for “Ready to Publish” status → auto-post via social media module
- Client tracker: Watch Changes on “Invoice Status” → trigger payment reminder email
For the social media posting piece, our step-by-step guide on automating social media posting with Make.com walks through the full module chain. For client tracking and onboarding, check out client onboarding automation for solopreneurs — it uses Sheets as the status layer in the same way described here.
If you’re running email follow-ups off your Sheets data, the workflow structure in automating email follow-ups with Make.com maps directly to what you’ve built here — you’re just replacing the Slack module with a Gmail or MailerLite module.
How to Automate Google Sheets with Make.com: Advanced Tips
Use the “Search Rows” Module Before Writing
Before you add a new row, check whether that record already exists. Add a Google Sheets Search Rows module before your Add a Row module. Search by email or a unique ID field. Then use a Router with two routes: one for “record found” (update it) and one for “no record found” (add it). This prevents duplicate rows — one of the most common problems in sheet-based automation.
Timestamp Everything
Add a LastUpdated column to every sheet Make.com touches. In any module that writes data, include {{formatDate(now; "YYYY-MM-DD HH:mm")}} in that column. This gives you an audit trail without building anything complicated. When a row looks wrong, you can see exactly when Make.com last wrote to it.
Lock Your Header Row
In Google Sheets, go to Data → Protect sheets and ranges and lock Row 1. This prevents accidental edits to your headers. One wrong header change breaks every module that references that column — this protection takes 30 seconds and saves hours of debugging.
Stay on the Right Plan
Watch Rows on the free plan polls every 15 minutes. If you need 5-minute polling, you need at least Make.com Core at $9/month. Watch Changes is near-real-time on any paid plan. For a full breakdown of what each plan actually includes, see our Make.com pricing breakdown for 2026.
Also worth knowing: each row processed in a scenario counts as one or more operations depending on how many modules fire. A five-module scenario processing 200 rows = 1,000 operations. That’s your entire free plan in one run. Plan your operation budget before you build. See our analysis of Make.com pricing vs Zapier at scale for a concrete operations cost comparison.
When Google Sheets Isn’t Enough
Sheets handles flat data well. It starts breaking down when you need:
- Relational tables (linking a client to multiple projects to multiple invoices)
- More than ~5,000 rows being processed by automation regularly
- Complex views, filters, and groupings that need to persist
- Role-based permissions on specific fields
At that point, Airtable or a lightweight database like Notion makes sense. But for the majority of solopreneurs building their first automation stack, Google Sheets covers 90% of the use cases — for free. Read our full comparison of Make.com vs Airtable to see exactly where the line is.
For building your first Make.com scenario from scratch if any of the steps above felt unfamiliar, start with how to build a Make.com scenario from scratch — it covers the interface and module logic before you add Sheets to the mix.
Start Here
Google Sheets is already doing more than most solopreneurs realize. The workflows above — Watch Rows, Add a Row, Watch Changes — cover the majority of automation use cases without a single paid database tool. Pick one workflow, build it this week, and watch the manual work disappear.
Make.com’s free plan is enough to start. When you’re ready to scale, Core at $9/month removes the 15-minute polling limit and gives you room to grow. Create your Make.com account and start building — the Google Sheets module is ready to connect the moment you log in.
For more real-world Make.com workflows using Google Sheets as the data backbone, see the Make.com Google Sheets integration tutorial — it covers three additional workflows beyond what’s in this post, including a content calendar automation that runs without you touching it.