How to Automate Client Onboarding with n8n (Step by Step)

What You’ll Be Able to Do
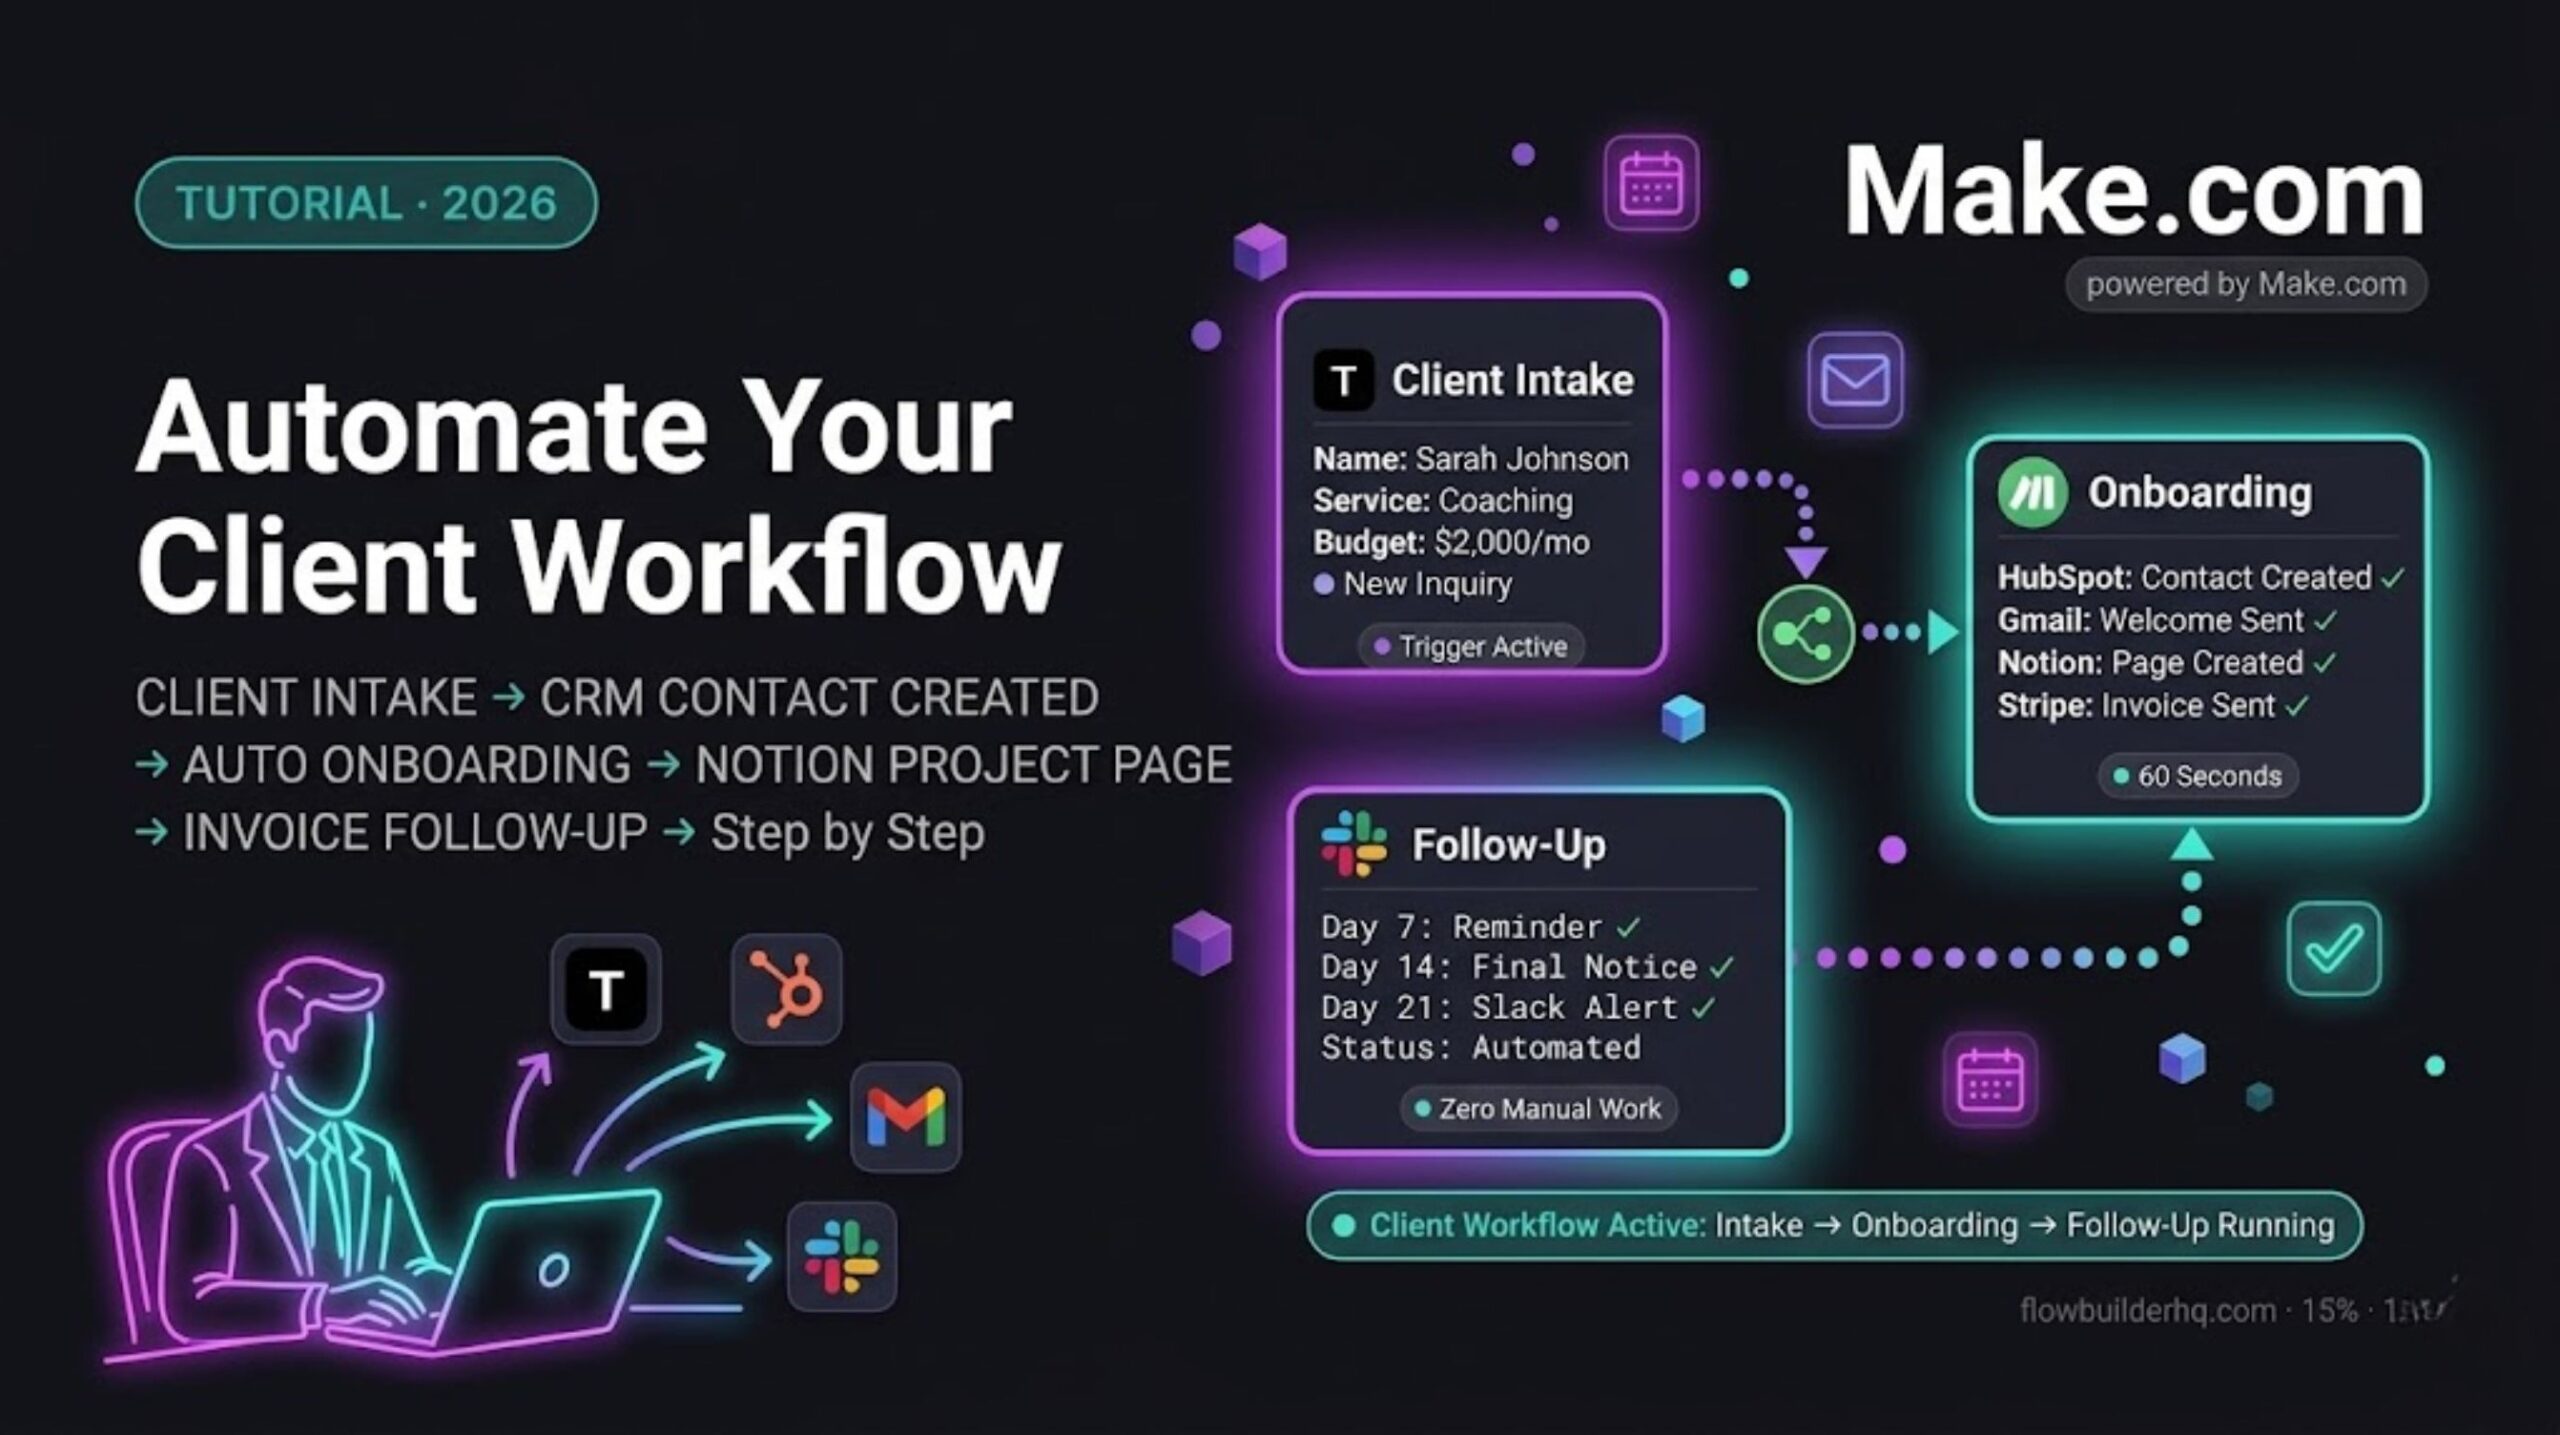
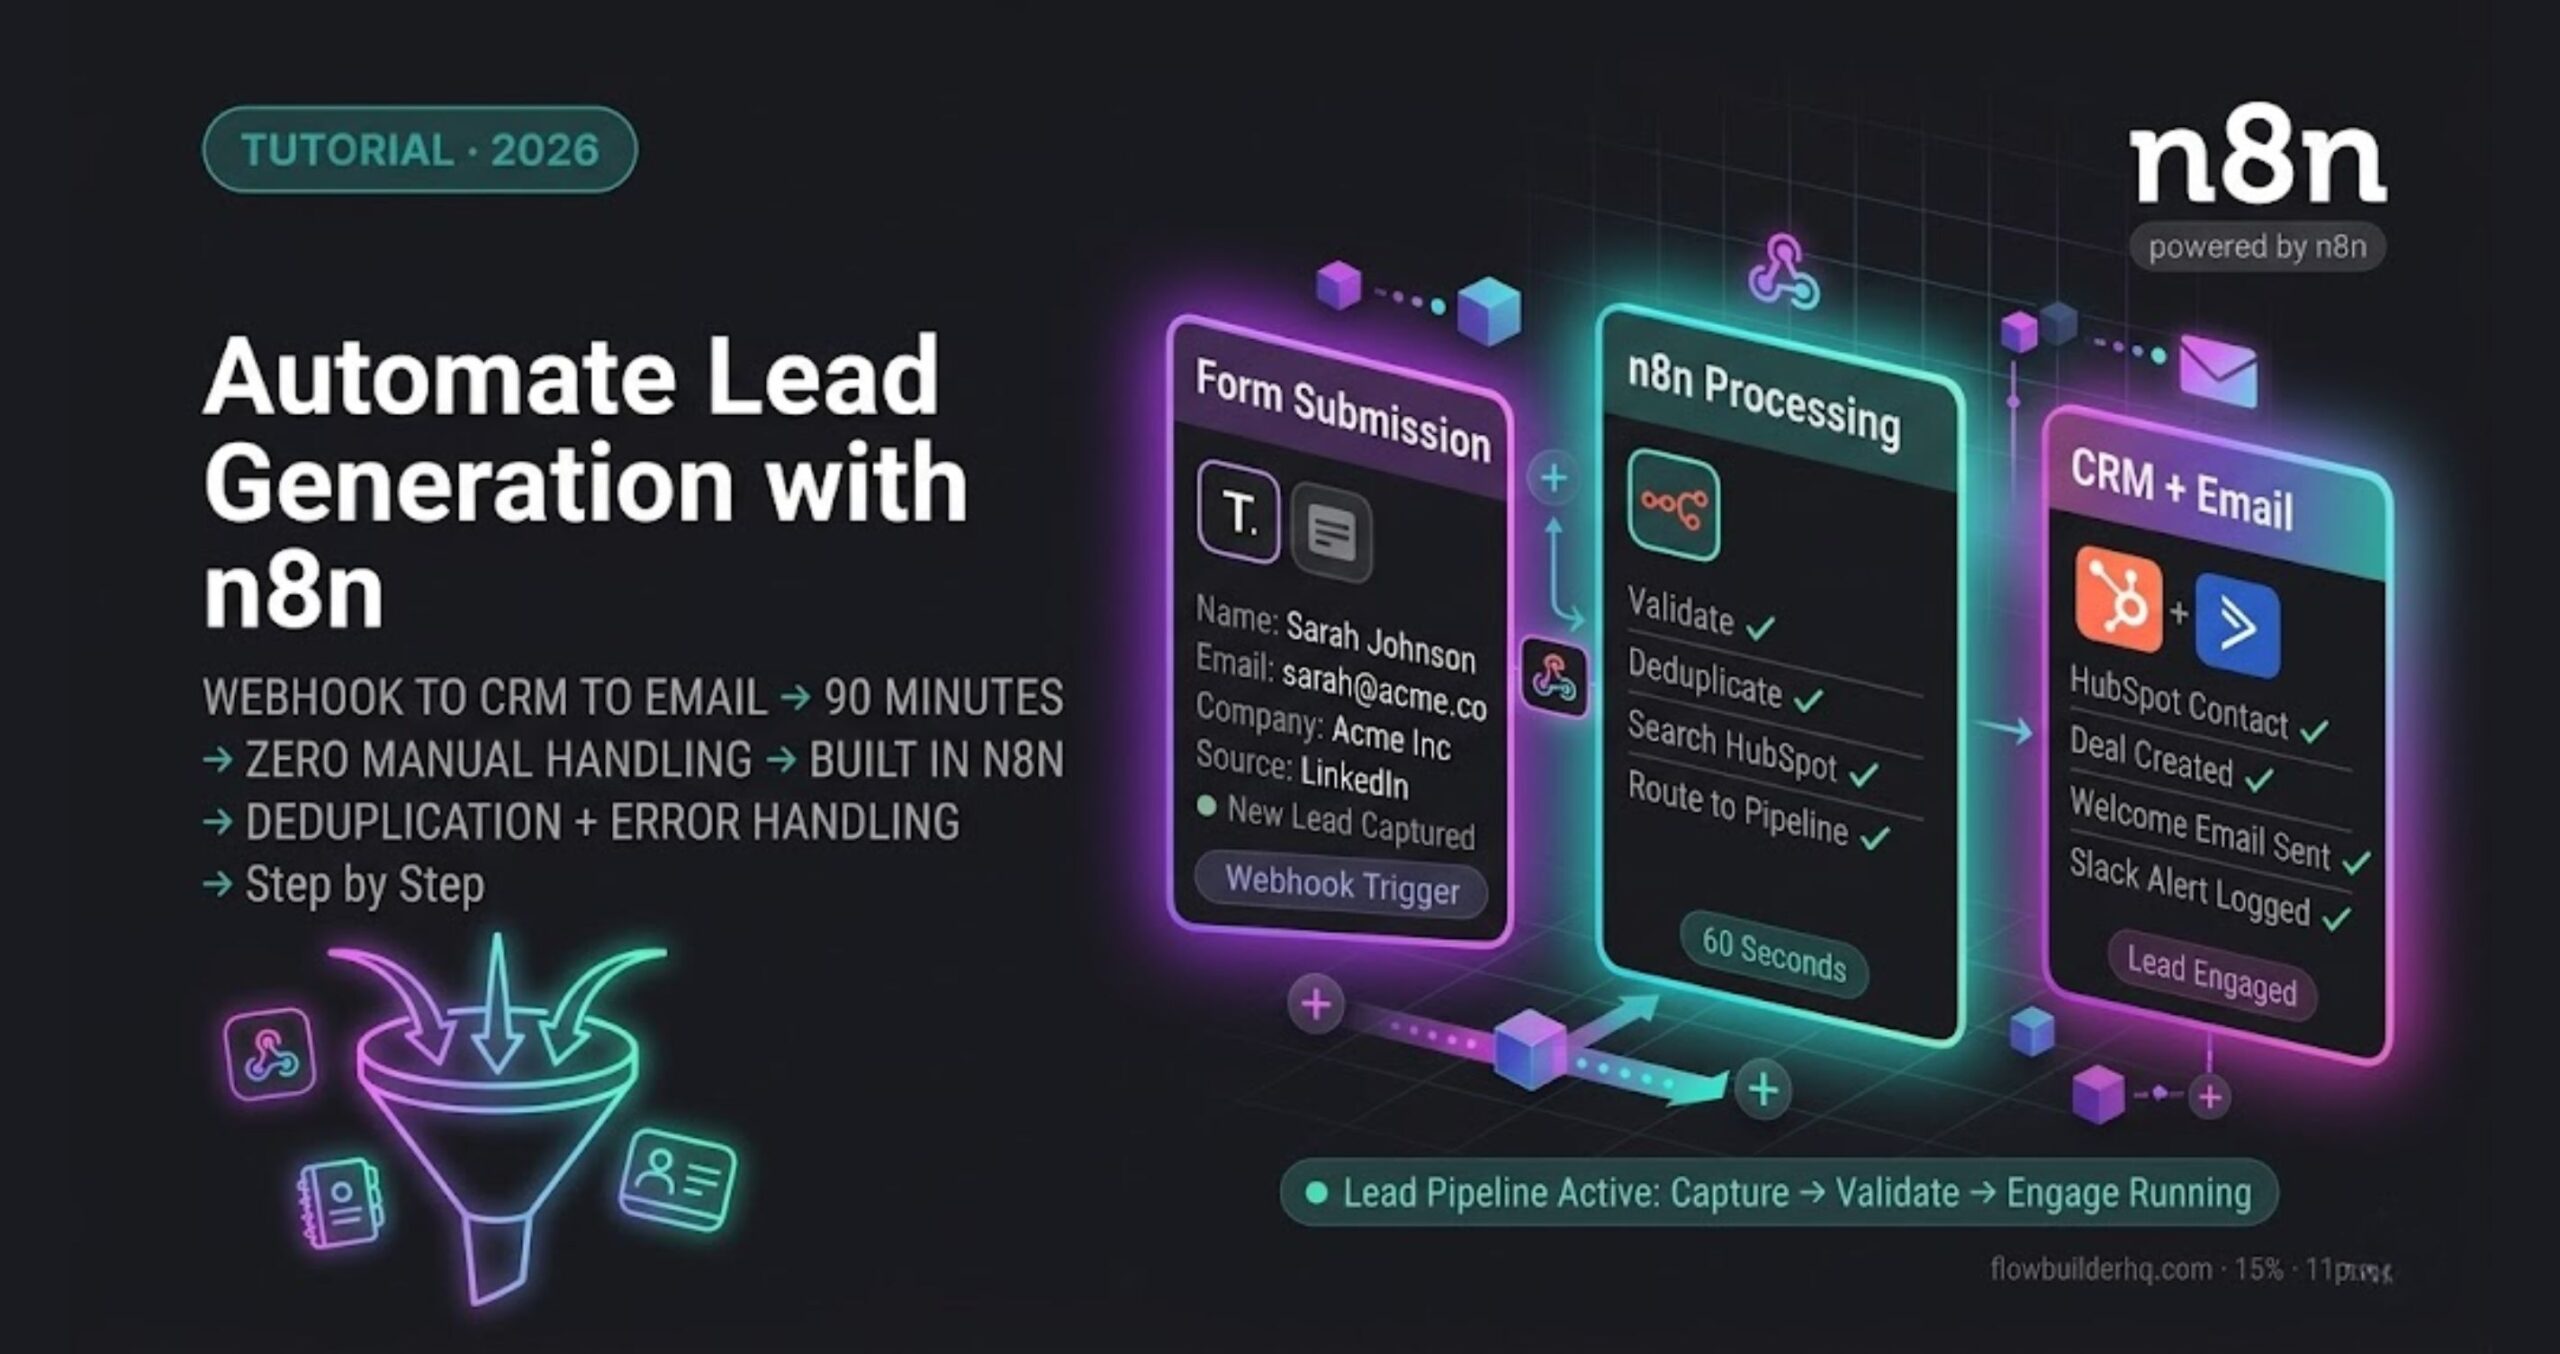
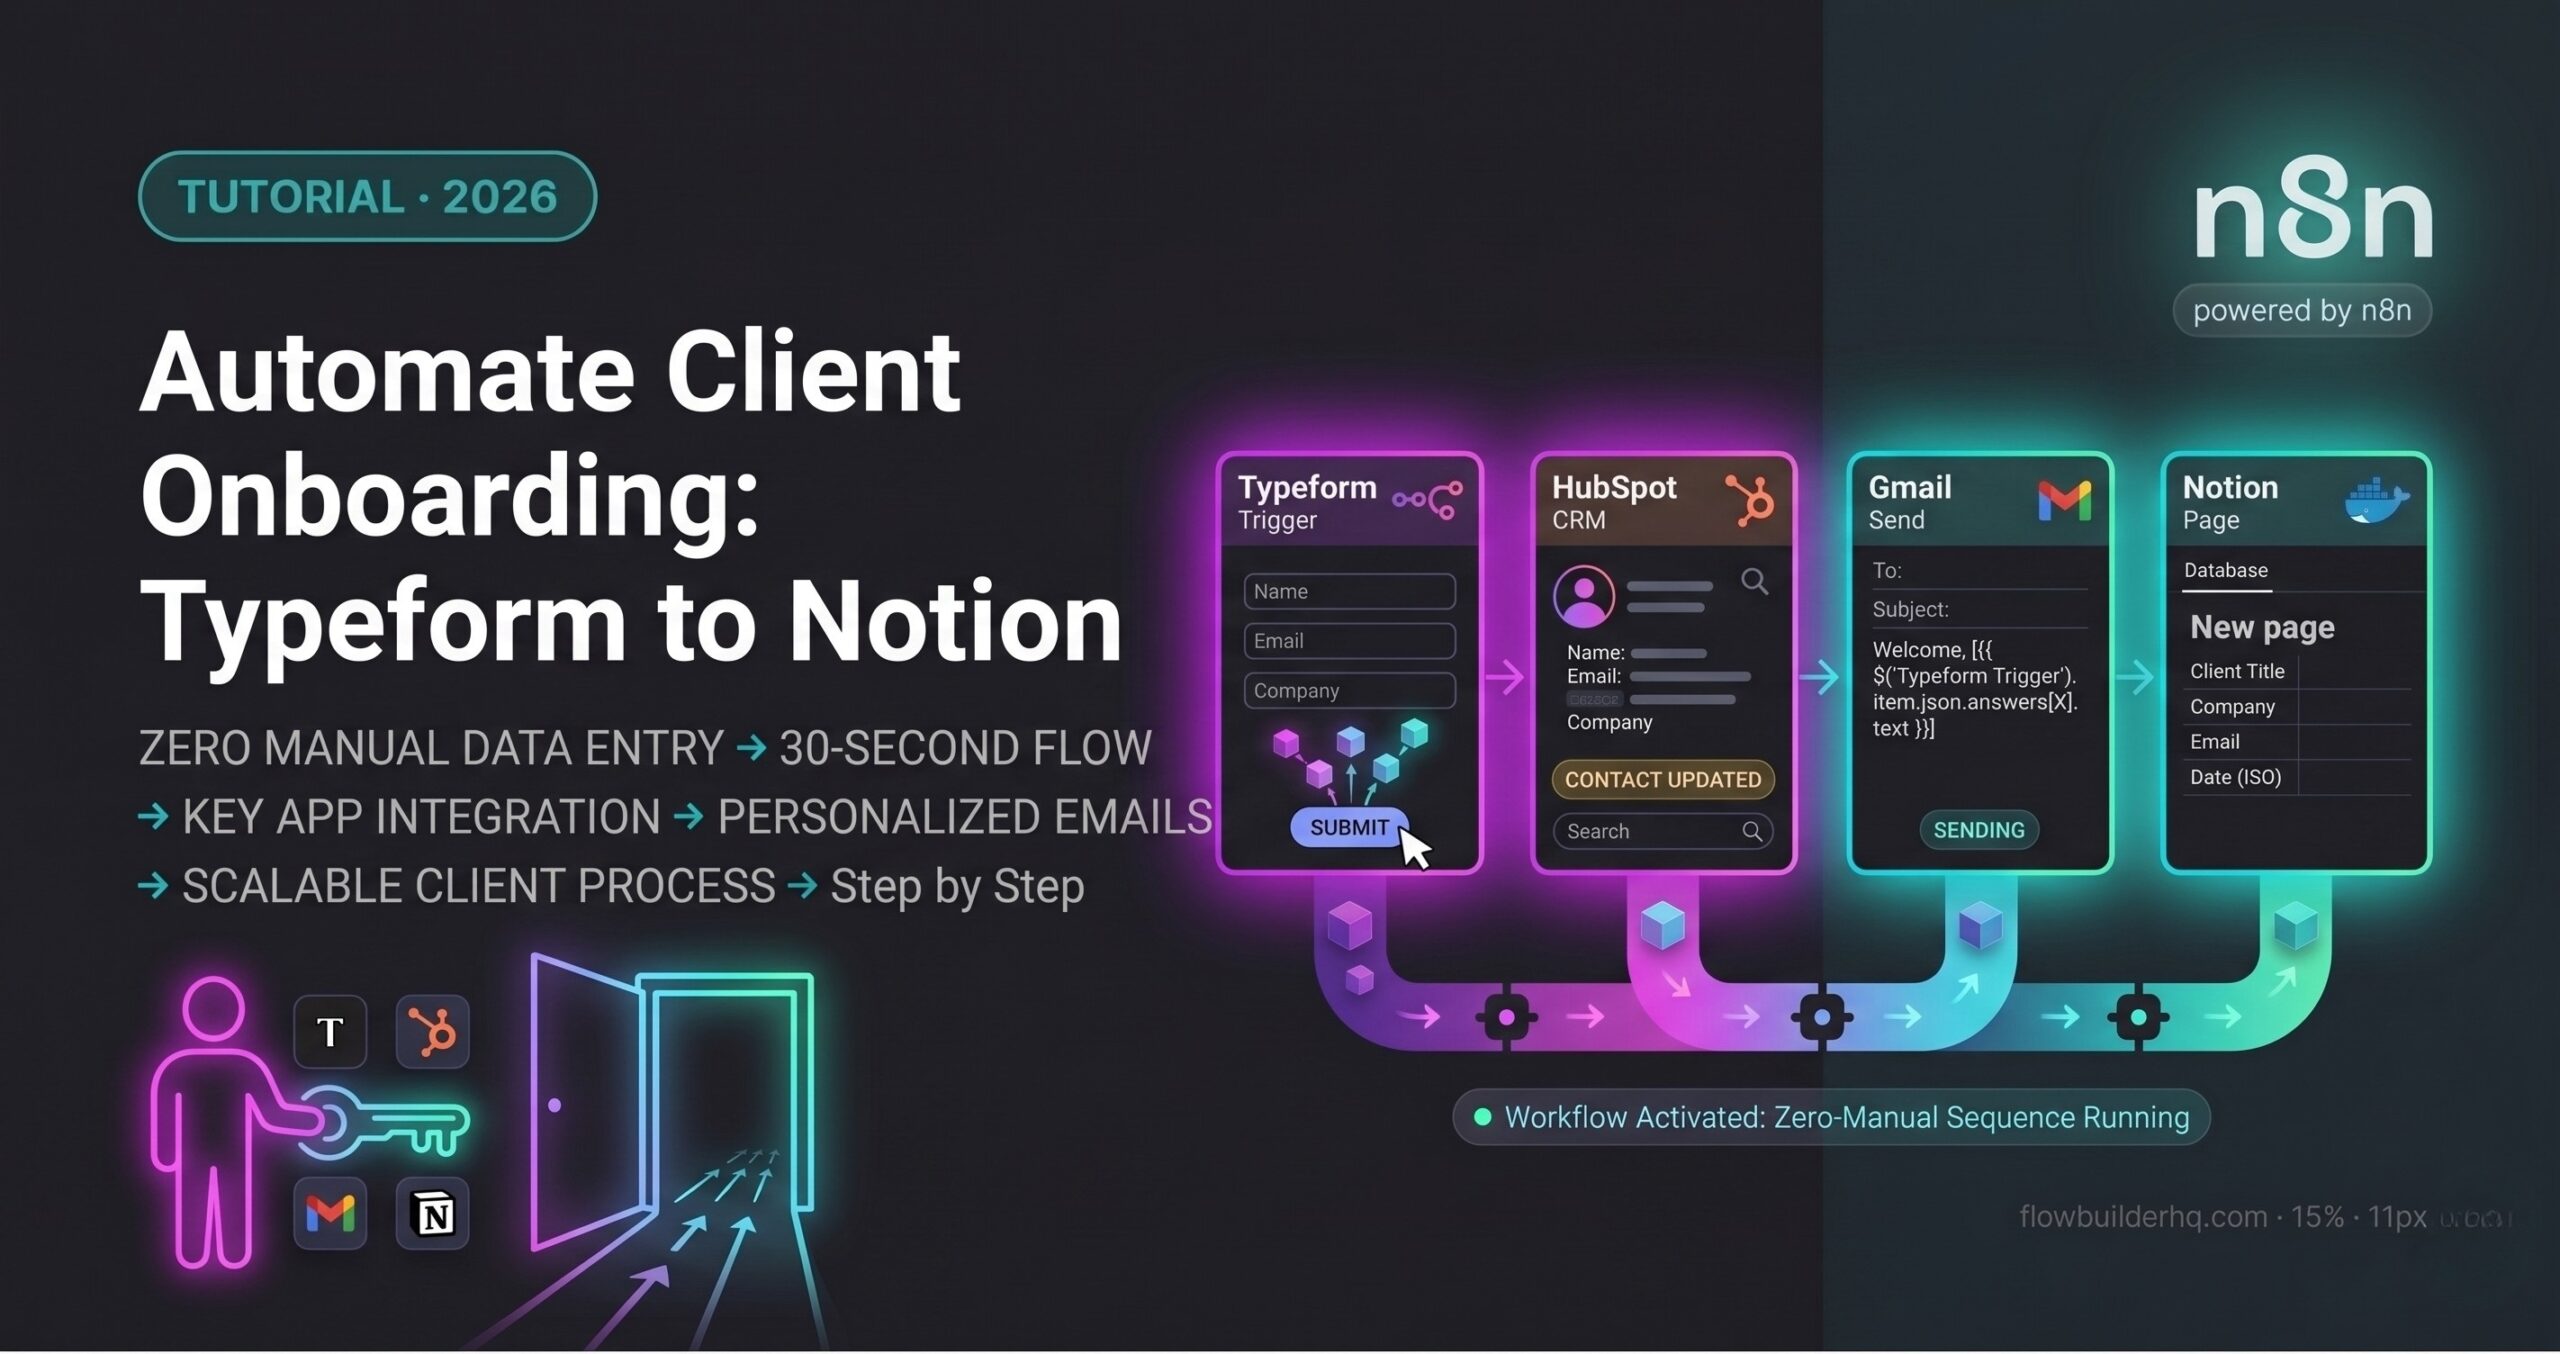
By the end of this, you’ll be able to automate client onboarding with n8n every time a new client submits your onboarding form:
- Captures their details from Typeform
- Creates or updates their contact in HubSpot
- Sends them a personalized welcome email via Gmail
- Generates a dedicated onboarding page in Notion
Zero manual data entry. Zero copy-pasting between tabs. The whole sequence runs in under 30 seconds from form submission.
Time to build: 90 minutes for a first-timer. Faster if you’ve used n8n before.

Prerequisites
Before you start, make sure you have:
- n8n running — either self-hosted or n8n Cloud. This tutorial works for both. If you’re on Cloud, the credential setup is slightly faster.
- A Typeform account — free tier works. You need an existing form with at minimum: client name, email, and company fields.
- HubSpot account — free CRM is fine. You need API access enabled.
- Gmail — connected via OAuth in n8n. Use a business Gmail, not a personal account you care about.
- Notion — a workspace with a database set up for client projects. You need the database ID (grab it from the URL of your Notion database page).
If you’re missing any of these, set them up first. The tutorial assumes all four are ready to connect.
How the Workflow Works
Here’s the full sequence before touching a single node:
- Client submits your Typeform onboarding form
- n8n webhook catches the submission instantly
- HubSpot node checks if the contact exists — creates it if not, updates it if yes
- Gmail node sends a personalized welcome email using the client’s name and company from the form
- Notion node creates a new page in your client database with all their details pre-filled
Every step passes data forward to the next. The client’s name that came in from Typeform is the same name that appears in the HubSpot contact, the Gmail subject line, and the Notion page title — pulled automatically from the original submission.
Step 1 — Create a New Workflow and Add the Typeform Trigger
Open n8n. Click New Workflow. Name it: Client Onboarding — Typeform to HubSpot + Gmail + Notion.
Add your first node:
- Click the + button on the canvas
- Search for Typeform Trigger
- Select it — this is a webhook-based trigger, not a polling node. It fires instantly on submission.
- Connect your Typeform credentials (OAuth — n8n walks you through this on first use)
- Under Form, select your client onboarding form from the dropdown
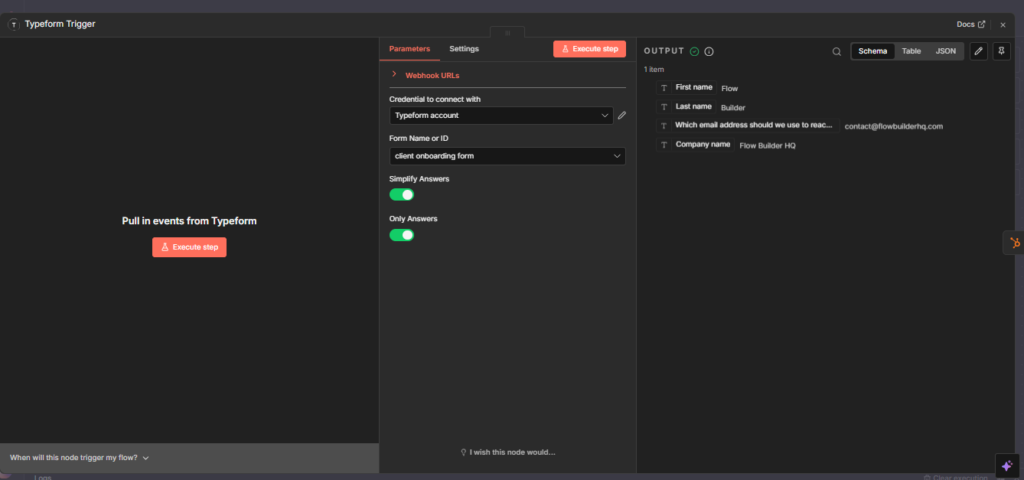
- Click Listen for Test Event
- Go to your Typeform and submit a test response with real-looking data (use your own name and email)
- n8n will catch it and show you the incoming data structure
You’ll see the raw Schema / JSON from Typeform — You’ll see OUTPUT for the first field. Note what field maps to name, email, and company. You’ll reference these in every node that follows.
Common issue here: The Typeform webhook sometimes doesn’t fire on the first test. If n8n is waiting and nothing comes through, go to your Typeform dashboard → Connect → Webhooks, and verify the n8n webhook URL is listed and active. If it’s missing, copy the webhook URL from the n8n node and add it manually.
Step 2 — Create or Update the HubSpot Contact
Add the next node:
- Click + after the Typeform trigger
- Search for HubSpot
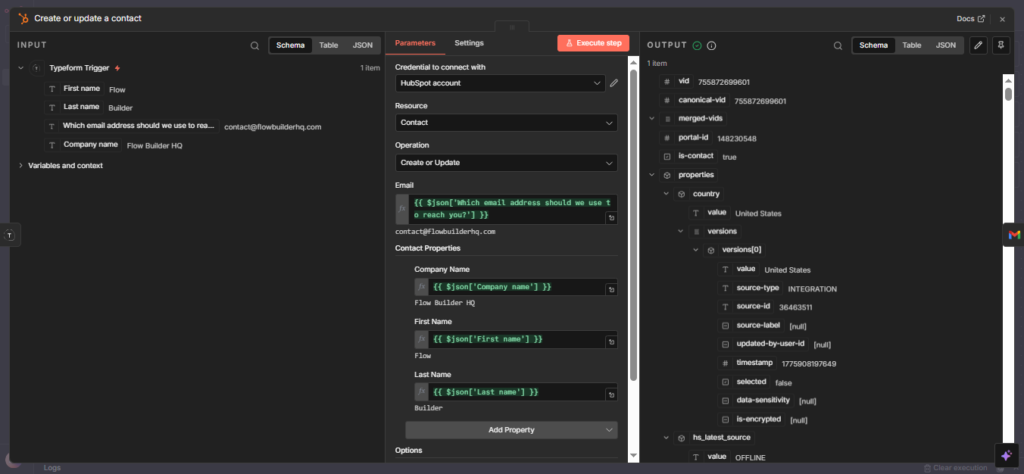
- Select Create or Update Contact — not just “Create.” This prevents duplicate contacts if a client submits twice.
- Connect your HubSpot credentials — you’ll need a Private App token from HubSpot. Go to HubSpot → Settings → Integrations → Private Apps → Create a private app. Give it read/write access to Contacts.
- Map the fields:
- Email: Map to the email field from Typeform output. Click the expression icon
{}and select the correct field from the incoming data. - First Name / Last Name: Map from the first name and and last name fields {{ $json[‘First name’] }} and {{ $json[‘Last name’] }.
- Company: Map directly from the company answer field.
- Email: Map to the email field from Typeform output. Click the expression icon
- Run the node against your test data — you should see a HubSpot contact ID returned in the output.
Common issue here: Property "email" is required error. This means your email field mapping is empty or pointing to the wrong Typeform answer index. Go back to the Typeform trigger output, find the exact path to the email value, and re-map it. The index numbers in answers[] match the order of questions in your form — if you reordered questions in Typeform recently, the indexes shift.
Step 3 — Send the Welcome Email via Gmail
Add the next node:
- Click + after HubSpot
- Search for Gmail → select Send Email
- Connect Gmail via OAuth — sign in with your business account
- Fill in the fields:
- To: Map to the client’s email from the Typeform data (same field you used in HubSpot)
- Subject: Write something like: Welcome aboard, {{ $(‘Typeform Trigger’).item.json[‘First name’] }} — this pulls their first name into the subject line
- Email Type: Select HTML if you want formatted output, Text if you want plain
- Message: Write your welcome email body. Use expressions to personalize: name, company, any next steps specific to their answers.
Keep the email short. Three paragraphs max: what happens next, what they need to do (if anything), and a direct contact line. This is not a marketing email — it’s a confirmation that the process is running.
Insert your actual welcome email copy here before publishing. The structure works — the content needs to match your real onboarding process.
Common issue here: Gmail OAuth scope error — Request had insufficient authentication scopes. Fix: disconnect the Gmail credential in n8n, reconnect it, and make sure you check the Send email scope box during the OAuth flow. It’s easy to miss.
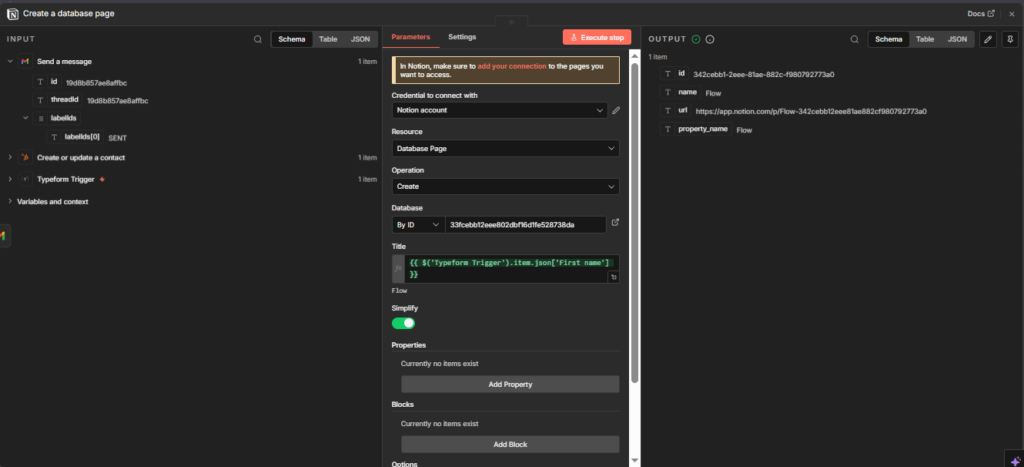
Step 4 — Create the Notion Client Page
Add the final node:
- Click + after Gmail
- Search for Notion → select Create a Page
- Connect your Notion integration — you’ll need to create an integration at notion.so/my-integrations and share your client database with it
- Fill in the fields:
- Database: Paste your Notion database ID (the 32-character string from your database URL)
- Title: Map to the client’s name from Typeform
- Add properties that match your database columns — common ones: Company, Email, Status (set to “New”), Onboarding Date (use
{{ $now.toISO() }})
- Test the node — a new page should appear in your Notion database instantly
Common issue here: Could not find database error. This almost always means the Notion integration hasn’t been shared with the database. Go to Notion → open your client database → click the three dots top right → Connections → Add connection → select your integration. Then re-run the node.
Step 5 — Activate the Workflow
Once all four nodes test successfully:
- Click Save top right
- Toggle the workflow from Inactive to Active (top right switch)
- Submit a real test through your Typeform
- Check HubSpot, Gmail sent items, and Notion — all three should update within 30 seconds
If the workflow runs but one node silently fails, check the Executions tab in n8n. Every run is logged with the full input/output at each node. This is where you debug in production.
What This Workflow Does Not Handle (Yet)
Duplicate form submissions. The HubSpot “Create or Update” node handles duplicate contacts — but if a client submits the form twice, they’ll get two welcome emails and two Notion pages. Add an IF node after Typeform that checks whether the email already exists in HubSpot before proceeding. That’s a 10-minute addition once the base workflow is stable.
Form field changes in Typeform. If you reorder or add questions to your Typeform after setting this up, the answers[] index numbers shift. The workflow will break silently — mapping the wrong data into each field. Any time you edit the Typeform, re-test the trigger node and re-verify every field mapping downstream.
Error notifications. Right now if a node fails, n8n logs it but doesn’t tell you. Add an Error Workflow in n8n settings — a separate workflow that fires on any execution failure and sends you a Slack message or email. Takes 15 minutes to set up and saves you from discovering a broken onboarding flow three days later.
What to Build Next
This four-node workflow is the foundation. Once it’s stable, two useful additions:
Add a Slack notification after the Notion node — sends you a message every time a new client comes in, with their name and company. Takes one node and five minutes.
Add a delay + follow-up email — 24 hours after onboarding, n8n sends a second email asking if they have any questions. Use the Wait node between Gmail and a second Gmail node. Set the wait to 1 day.
Make.com can run this same workflow if you prefer a visual canvas with easier error recovery — especially useful if you’re sharing the workflow with a non-technical team member who needs to edit it.