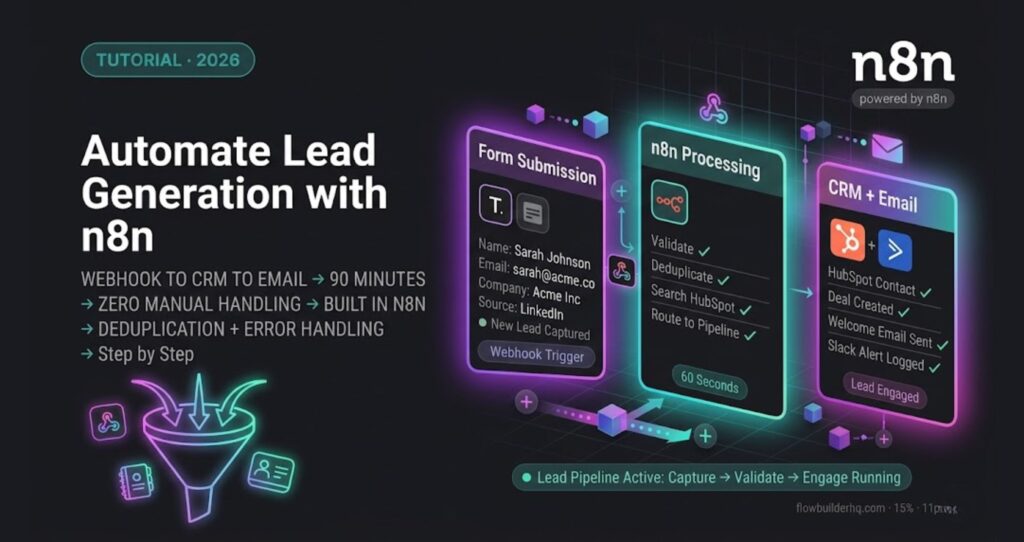
How to Automate Lead Generation with n8n: A Complete Lead Capture-to-CRM Workflow
What You’re Building (And Why It Works)
This tutorial shows you how to automate lead generation with n8n — from webhook trigger to CRM entry to follow-up email. No fluff, no toy examples. The same core workflow pattern that connects webhooks to a CRM and email tool, replacing hours of manual lead handling.
By the end, you’ll have a working flow that captures leads from any form or landing page, enriches and filters the data, pushes contacts into your CRM, and fires a personalized follow-up email — all without touching it manually.
If you’re still deciding whether n8n is the right tool for this, check the n8n Self-Hosted vs Cloud breakdown first. For this tutorial, we’re using n8n Cloud — it’s faster to set up and handles the webhook infrastructure for you.
What You Need Before Starting
- An active n8n Cloud account (free trial covers this)
- A HubSpot account (free tier works) or any CRM with an API
- An email tool — ActiveCampaign, Gmail, or similar
- A form tool — Typeform, Tally, or a custom HTML form
You don’t need to touch any code. Every step below happens inside n8n’s visual editor.
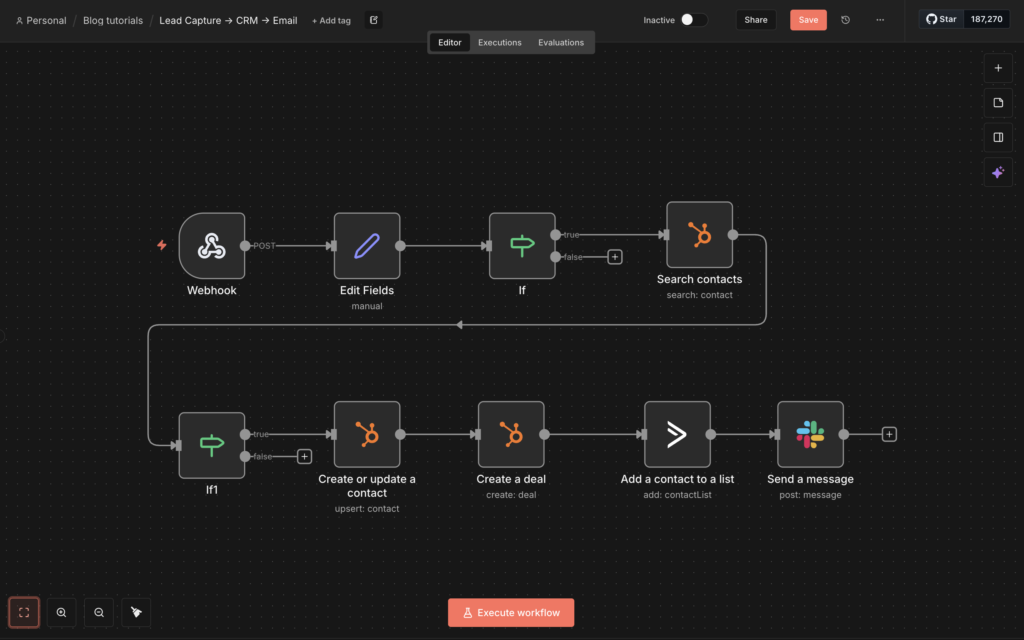
Step 1: Create a New Workflow and Add a Webhook Trigger
Open n8n Cloud and click New Workflow. Name it something like Lead Capture → CRM → Email so it’s obvious at a glance.
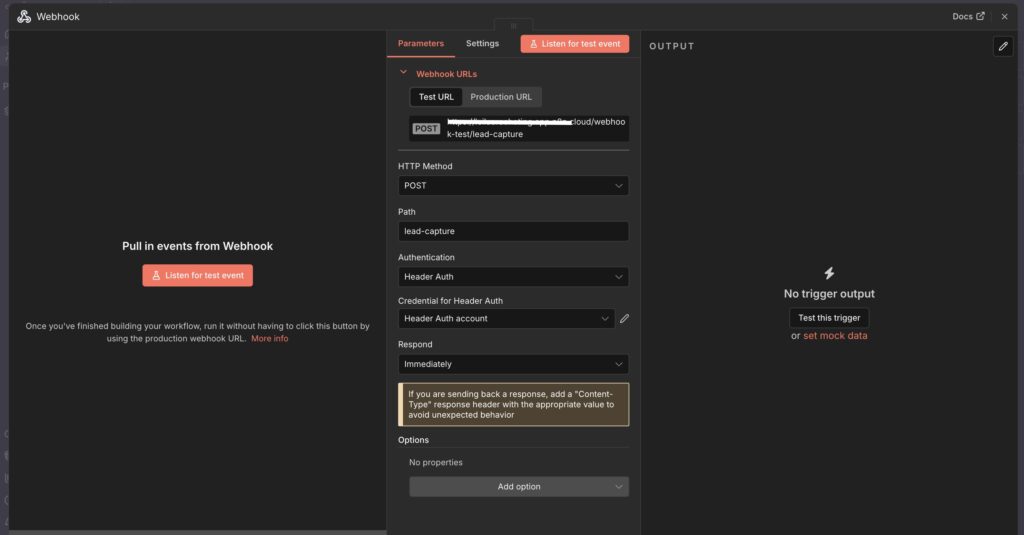
Add your first node: search for Webhook and select it. Configure it like this:
- HTTP Method: POST
- Path: lead-capture (or anything unique)
- Authentication: None for now (we’ll address this below)
- Response Mode: Last Node
Click Activate on the webhook node and copy the production URL. It looks like: https://your-instance.app.n8n.cloud/webhook/lead-capture
This URL is what your form will POST to. In Tally or Typeform, go to integrations, find the webhook option, and paste it in. For a custom HTML form, set the action attribute to this URL with method="POST".
Test it: Submit a test entry from your form. In n8n, click Execute Workflow and watch the webhook node light up with incoming data. You’ll see the raw payload on the right — usually something like email, name, company, source.
Step 2: Clean and Validate the Lead Data
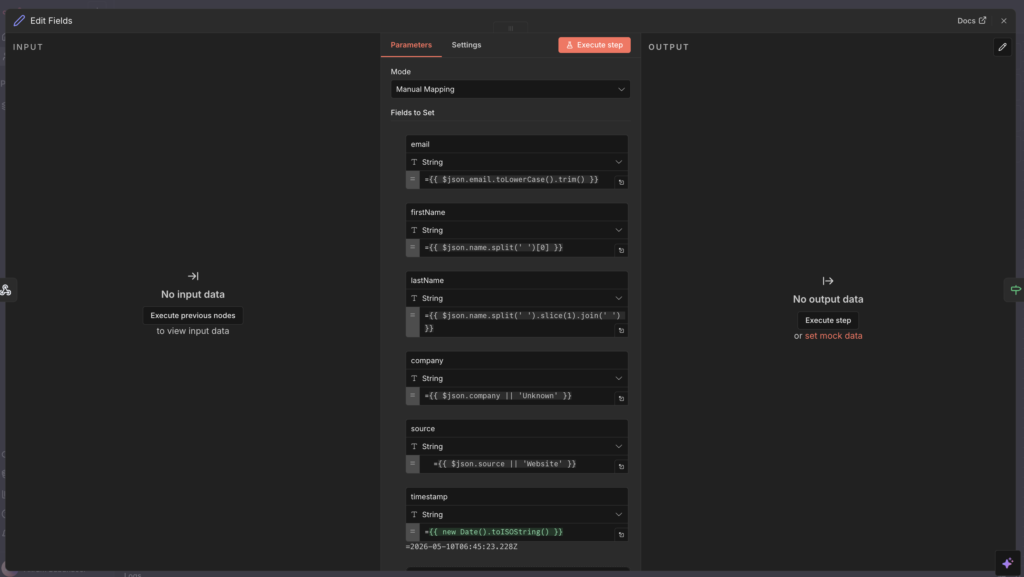
Raw form data is messy. Emails come in with trailing spaces, names arrive in all-caps, and sometimes fields are empty. Before anything hits your CRM, run it through a Set node to normalize it.
Add a Set node after the webhook. Configure these fields:
- email →
{{ $json.email.toLowerCase().trim() }} - firstName →
{{ $json.name.split(' ')[0] }} - lastName →
{{ $json.name.split(' ').slice(1).join(' ') }} - company →
{{ $json.company || 'Unknown' }} - source →
{{ $json.source || 'Website' }} - timestamp →
{{ new Date().toISOString() }}
Next, add an IF node to filter out invalid leads. Set the condition: {{ $json.email }} contains @. Any submission without a valid email format exits through the false branch — you can route those to a Slack alert or just let them die quietly.
Common error here: If your form sends data as form-data instead of JSON, n8n won’t parse the fields automatically. Fix: in your webhook node, set Binary Data to off and make sure your form tool sends application/json content type. In Tally, this is the default. In custom forms, add Content-Type: application/json to your fetch headers.
Step 3: Check for Duplicate Contacts in Your CRM
Pushing duplicates into a CRM creates a mess fast. Before creating a new contact, query HubSpot to see if the email already exists.
Add a HubSpot node. Set the operation to Search Contacts, filter by email equals {{ $json.email }}. Run it.
Now add another IF node: if the HubSpot search returns any results (i.e., {{ $json.total }} is greater than 0), the contact exists. Route the true branch to an Update Contact operation. Route the false branch to Create Contact.
This upsert pattern — update if exists, create if not — is what separates a production workflow from a demo. Your CRM stays clean without any manual deduplication.
Step 4: Create or Update the Contact in HubSpot
For the Create Contact branch, add a HubSpot node with these mapped fields:
- Email:
{{ $json.email }} - First Name:
{{ $json.firstName }} - Last Name:
{{ $json.lastName }} - Company:
{{ $json.company }} - Lead Source:
{{ $json.source }} - Lead Status: New
For the Update Contact branch, map the same fields but change Lead Status to Re-engaged so your sales process reflects that this person came back.
Error you will hit: HubSpot returns a 409 conflict error if you try to create a contact with an email that already exists, even if your search returned zero results. This happens with timing issues when leads submit in quick succession. Fix: wrap your Create node with n8n’s Error Trigger or use a Try/Catch pattern by routing the error output of the Create node into an Update node. This makes the workflow self-healing.
Step 5: Add a Deal or Pipeline Stage (Optional but Recommended)
Creating a contact is one thing. Putting them into a sales pipeline is what actually moves revenue. After the create/update nodes, add another HubSpot node set to Create Deal.
Map it like this:
- Deal Name:
{{ $json.firstName }} {{ $json.lastName }} — Inbound Lead - Pipeline: Your default pipeline ID
- Stage: Appointment Scheduled (or whatever your first stage is)
- Associated Contact:
{{ $node["Create Contact"].json.id }}
To get your pipeline and stage IDs, make a test API call in HubSpot’s API explorer or pull them directly inside n8n using an HTTP Request node hitting https://api.hubapi.com/crm/v3/pipelines/deals.
Step 6: Send a Personalized Follow-Up Email
After the CRM is updated, trigger an immediate follow-up email. Add an ActiveCampaign node (or Gmail if you’re keeping it simple) and configure it to send a contact-based email.
With ActiveCampaign, the cleanest approach is to add the contact to an automation rather than send a one-off email. Add the node, set operation to Contact: Add to Automation, and point it to your lead nurture sequence. Pass the email from {{ $json.email }}.
If you’re using Gmail for solo outreach, use the Gmail node, set To as {{ $json.email }}, and write a short plain-text email referencing their first name and company. Plain text outperforms HTML for cold first-touch emails every time.
Timing note: This email fires within seconds of form submission. That response speed alone improves conversion rates significantly compared to manual follow-up hours later.
Step 7: Add Error Handling and Notifications
A workflow with no error handling is a workflow that will silently fail on you at the worst moment. Add two more things before you call this done.
Error notification: Add an Error Trigger node as a separate workflow (or use the error output on each node). Route it to a Slack message or email that tells you: which node failed, what the input data was, and the error message. This takes 5 minutes and saves hours of debugging.
Execution log review: In n8n Cloud, go to Executions and check your first 10-20 real leads manually. Look for anything that hit the false branch of your email validation IF node or triggered the duplicate check. Adjust your field mappings based on what you see.
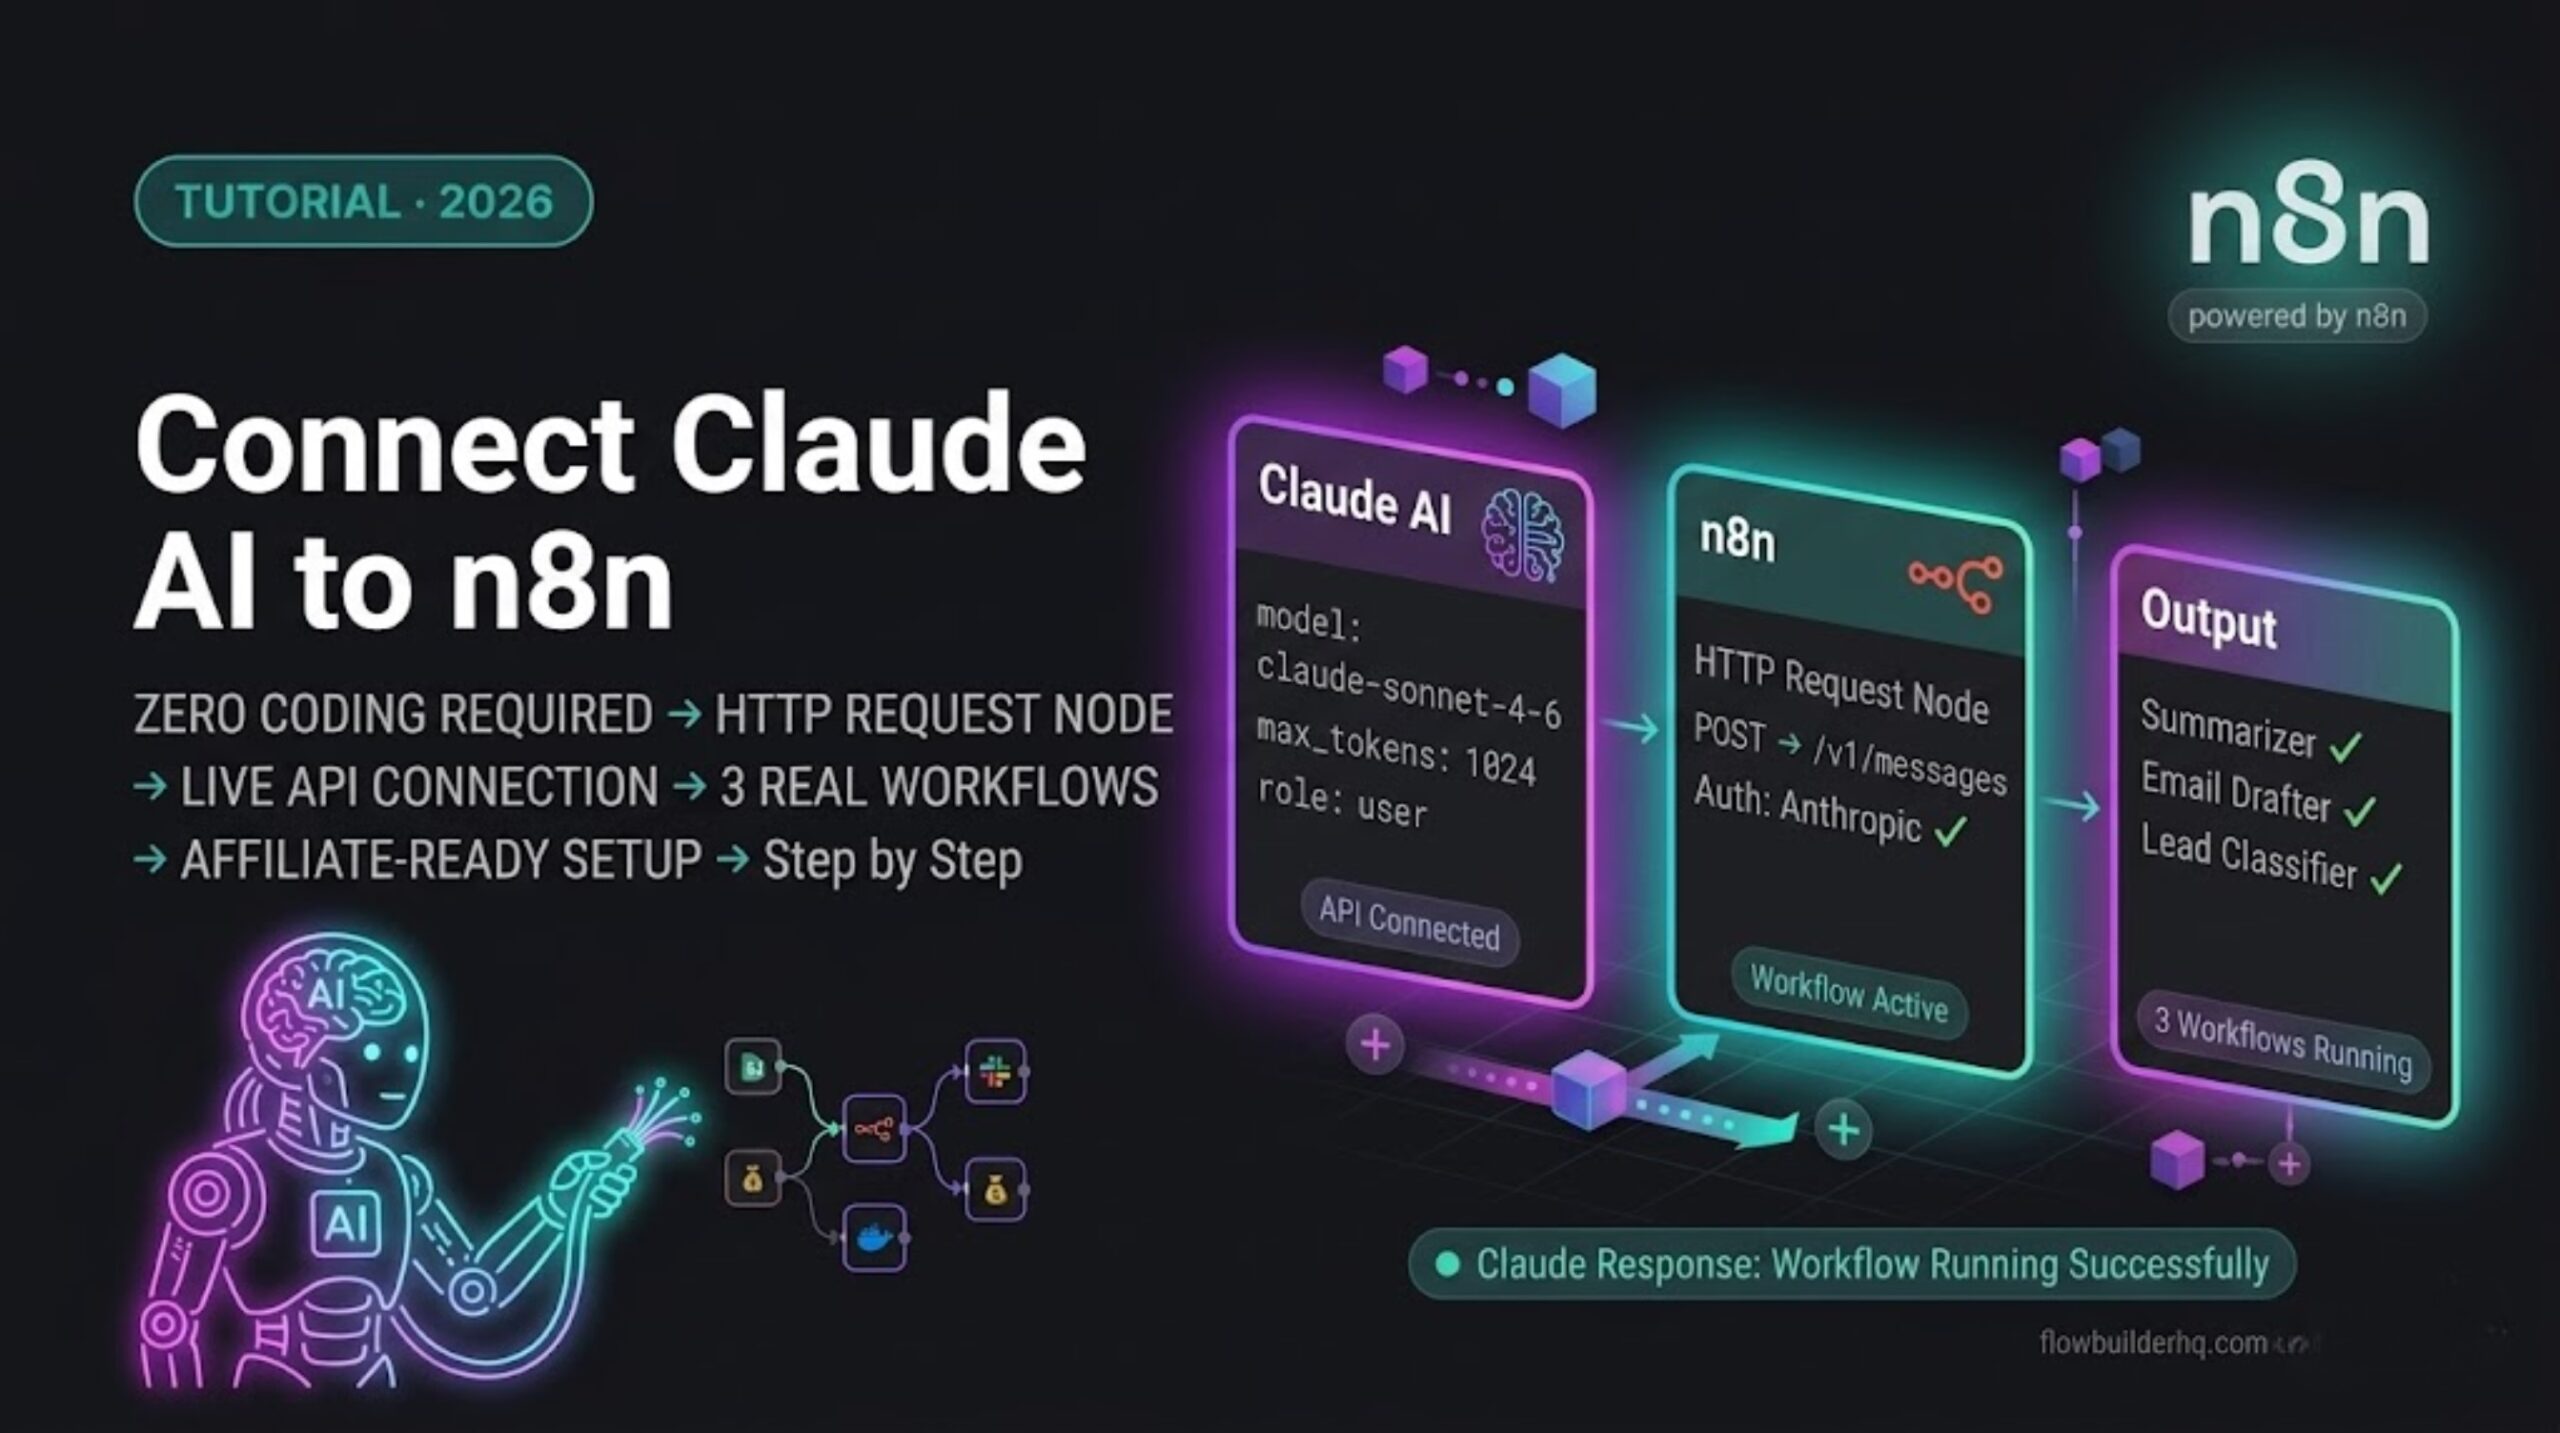
If you want to extend this workflow with AI-powered lead scoring or response generation, the Connect Claude AI to n8n tutorial shows exactly how to drop an AI node into this kind of pipeline.
Step 8: Activate Your Lead Generation Workflow
Before going live, run through this checklist:
- Submit 3 test leads with different data patterns (missing last name, long company name, re-submit same email)
- Verify each appears correctly in HubSpot with the right pipeline stage
- Confirm follow-up emails land in inbox (check spam)
- Check your error trigger fires when you deliberately break a node
- Toggle the workflow to Active in n8n
Once active, every form submission triggers the full sequence automatically. You’re out of the loop unless something breaks — and if it does, you’ll know immediately via your error notification.
Scaling This Workflow Further
This is a solid foundation, but lead generation automation doesn’t stop here. A few high-value extensions:
- Lead scoring: Add a HubSpot property update that increments a score based on company size, source, or page visited before form submission
- Slack notification for high-value leads: IF company is not ‘Unknown’ AND source is ‘Paid’, fire a Slack message to your sales channel immediately
- Multi-source intake: Duplicate the workflow and swap the webhook trigger for a LinkedIn Lead Gen form integration or Facebook Leads node — same logic, different entry point
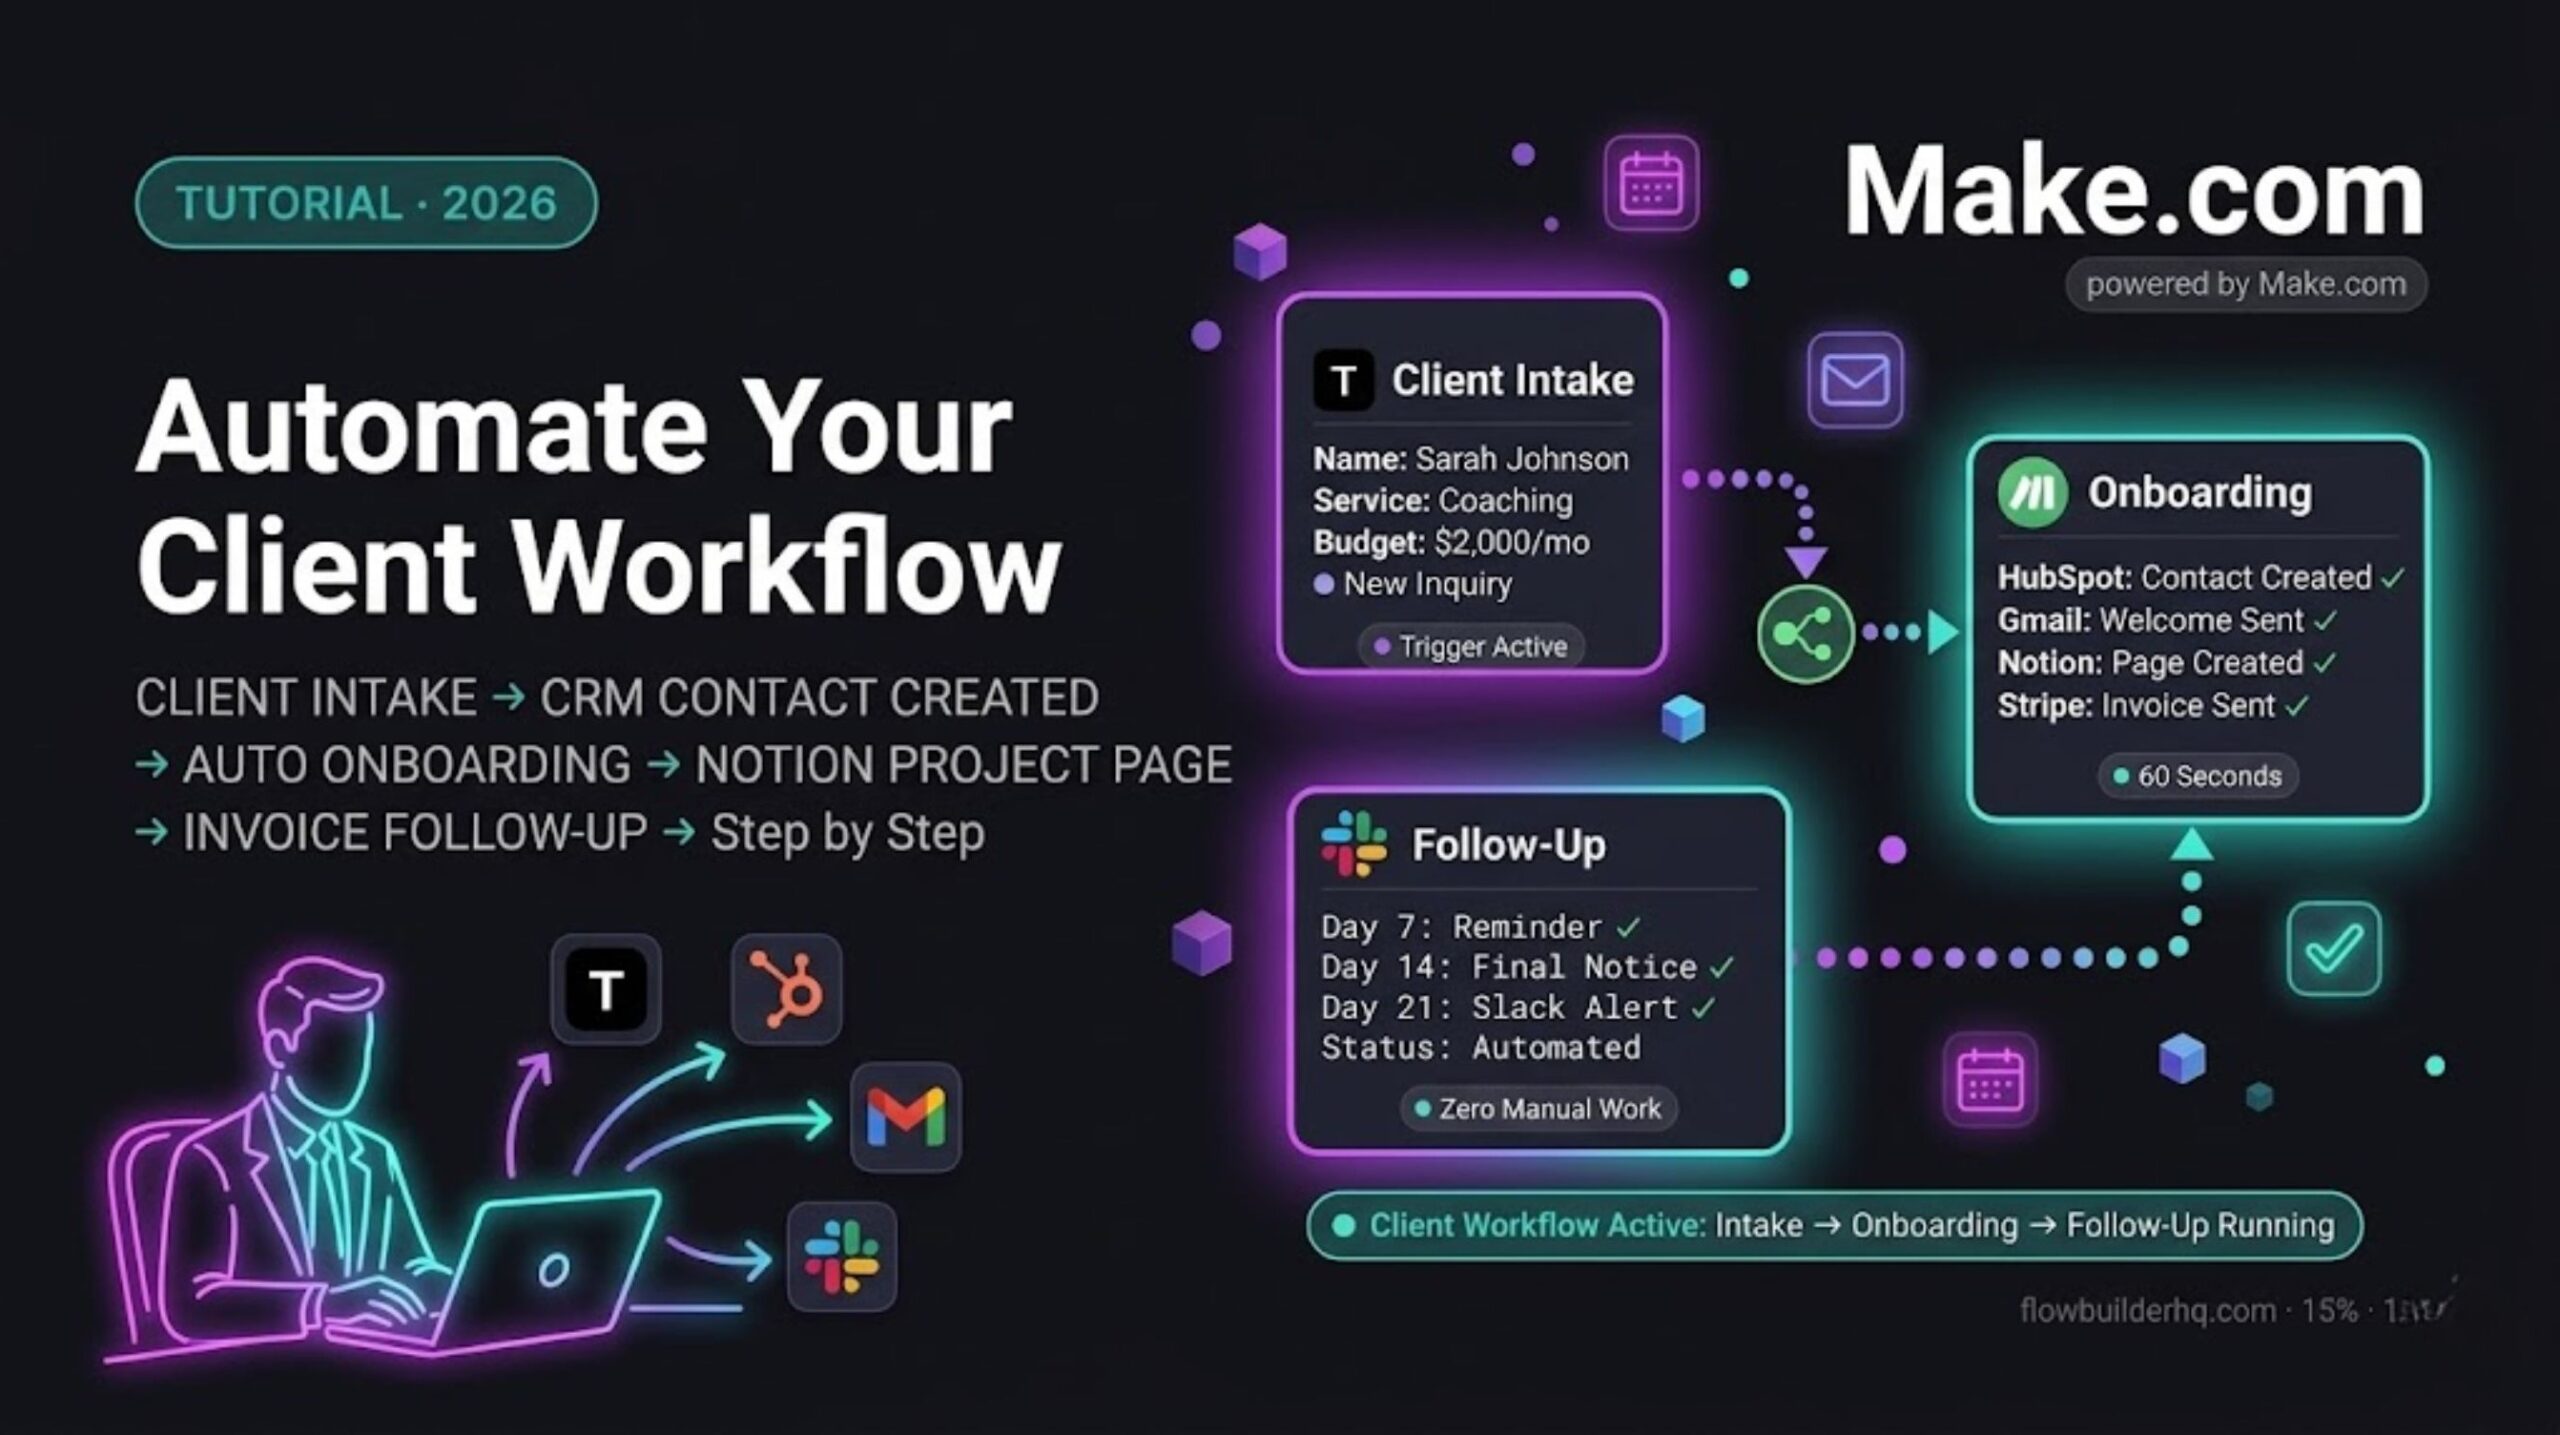
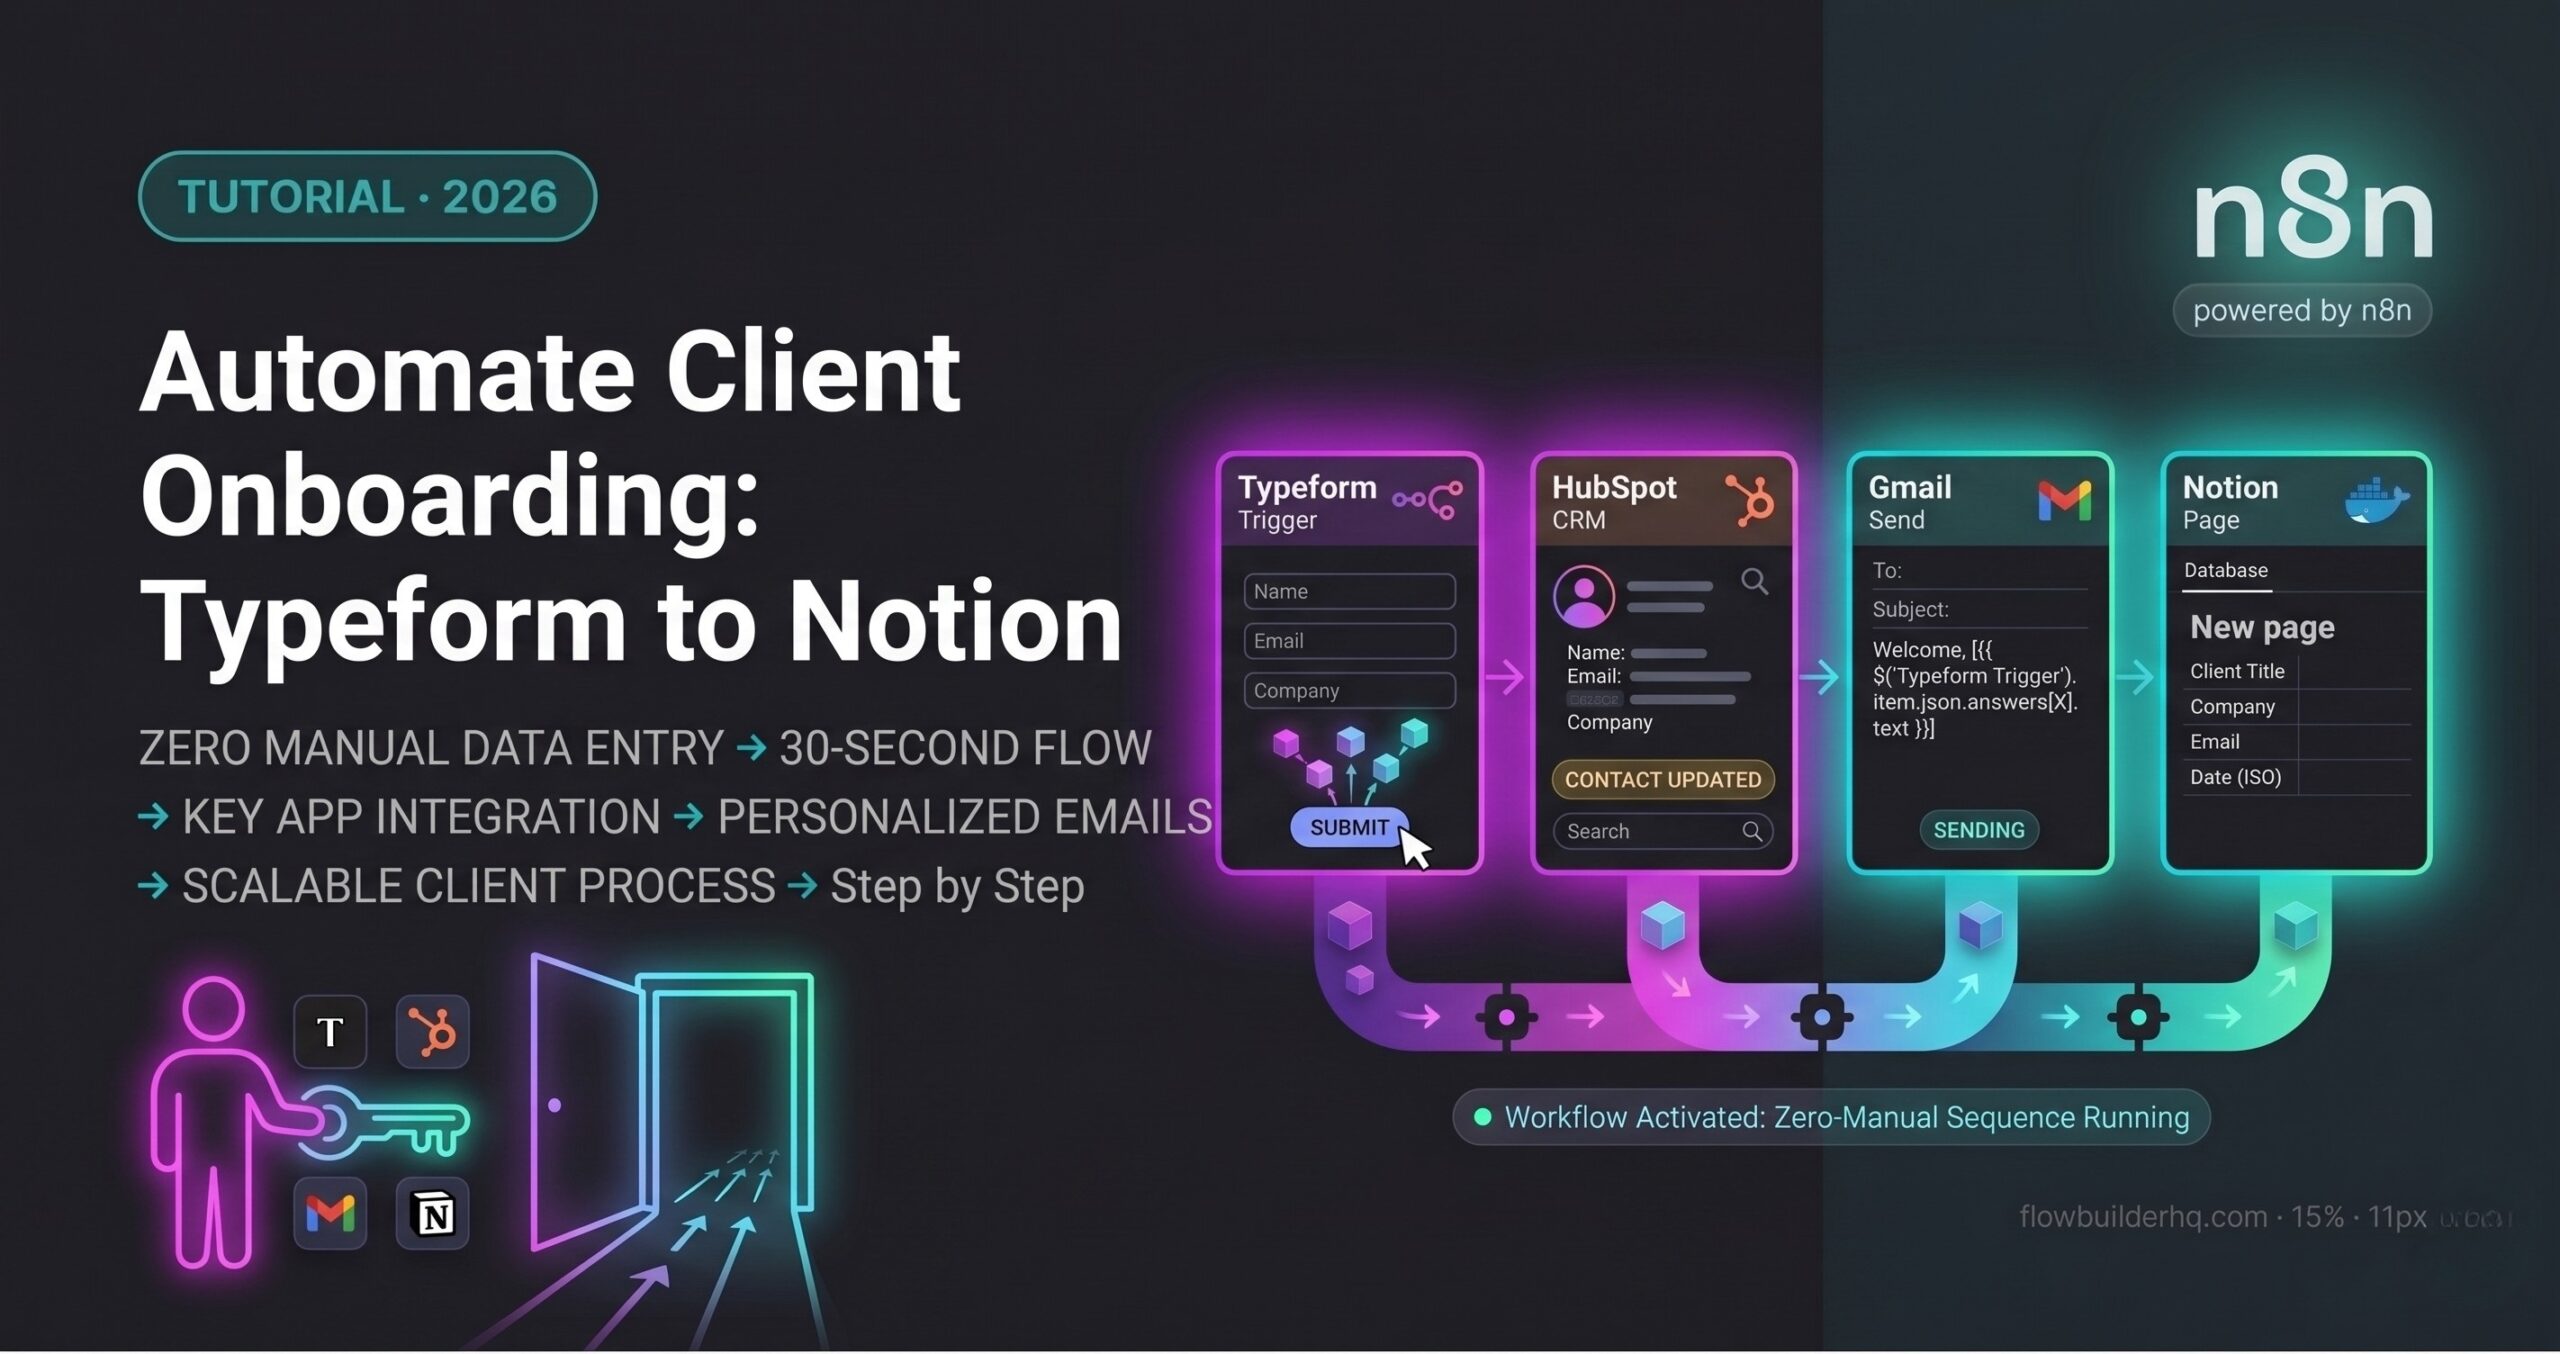
- CRM handoff to onboarding: When a lead converts to a client, trigger your onboarding workflow automatically. The Automate Client Onboarding with n8n tutorial picks up exactly where this one ends
If you’re evaluating whether n8n or Make.com is the better platform for this kind of workflow, the answer depends on how technical your team is and whether you need self-hosting. The full breakdown is in the n8n vs Make.com for Small Business comparison. That said, for webhook-heavy lead generation flows, n8n’s native webhook handling and execution logging give it an edge.
Total Build Time and What It Costs
Building this from scratch takes about 90 minutes the first time. Once you understand the pattern, cloning and adapting it for a second lead source takes under 20 minutes.
On n8n Cloud, the Starter plan at $8/month covers this workflow comfortably.. HubSpot’s free CRM handles everything described above. ActiveCampaign starts at $15/month for the email automation piece. Total stack cost: $23/month to run a fully automated lead pipeline that would otherwise require a part-time hire to manage manually.
That math is why solopreneurs build these workflows. Not because automation is interesting — because the alternative is worse.