How to Automate Your Solopreneur Invoice and Payment Tracking with Make.com
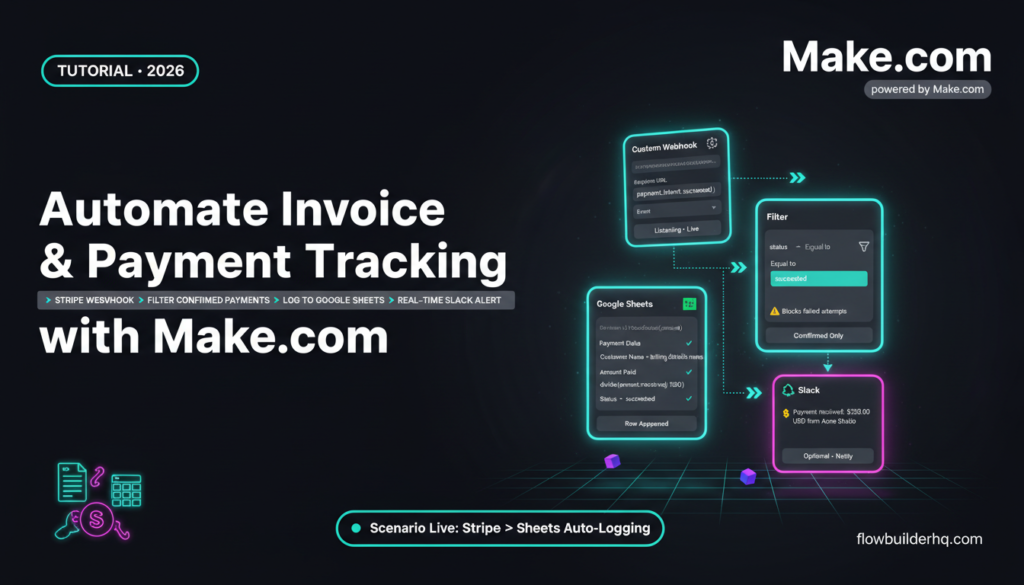
You’re probably not tracking which invoices actually got paid. You might have a list of what you sent — but “sent” and “paid” are two different numbers, and the gap between them is where cash flow problems hide.
This tutorial: automate your solopreneur invoice and payment tracking with make.combuilds a Make.com scenario that watches for Stripe payment events and logs confirmed payments directly to a Google Sheet. No manual reconciliation. No end-of-month panic. The whole setup takes about 20 minutes if you follow these steps exactly.
This is the tracking and reconciliation layer — not invoice generation. If you need to automate the sending side first, that’s a separate workflow. What we’re solving here is the visibility problem: knowing, in real time, which invoices are closed and which are still open.
Why Invoice Tracking Breaks Down for Solopreneurs
Most solopreneurs use Stripe, Wave, or a similar tool to send invoices. The invoicing platform records payment status — but that data stays locked inside the tool. It doesn’t automatically flow into wherever you actually manage your business: a spreadsheet, a Notion database, a CRM.
That disconnect creates real problems. You follow up on invoices that were already paid. You miss overdue invoices because you forgot to check. You can’t run a quick monthly reconciliation without logging into three different platforms.
If you’re already thinking about your broader what to automate first framework, payment tracking should be near the top. It’s high-impact, low-complexity, and the cost of not doing it is real money.
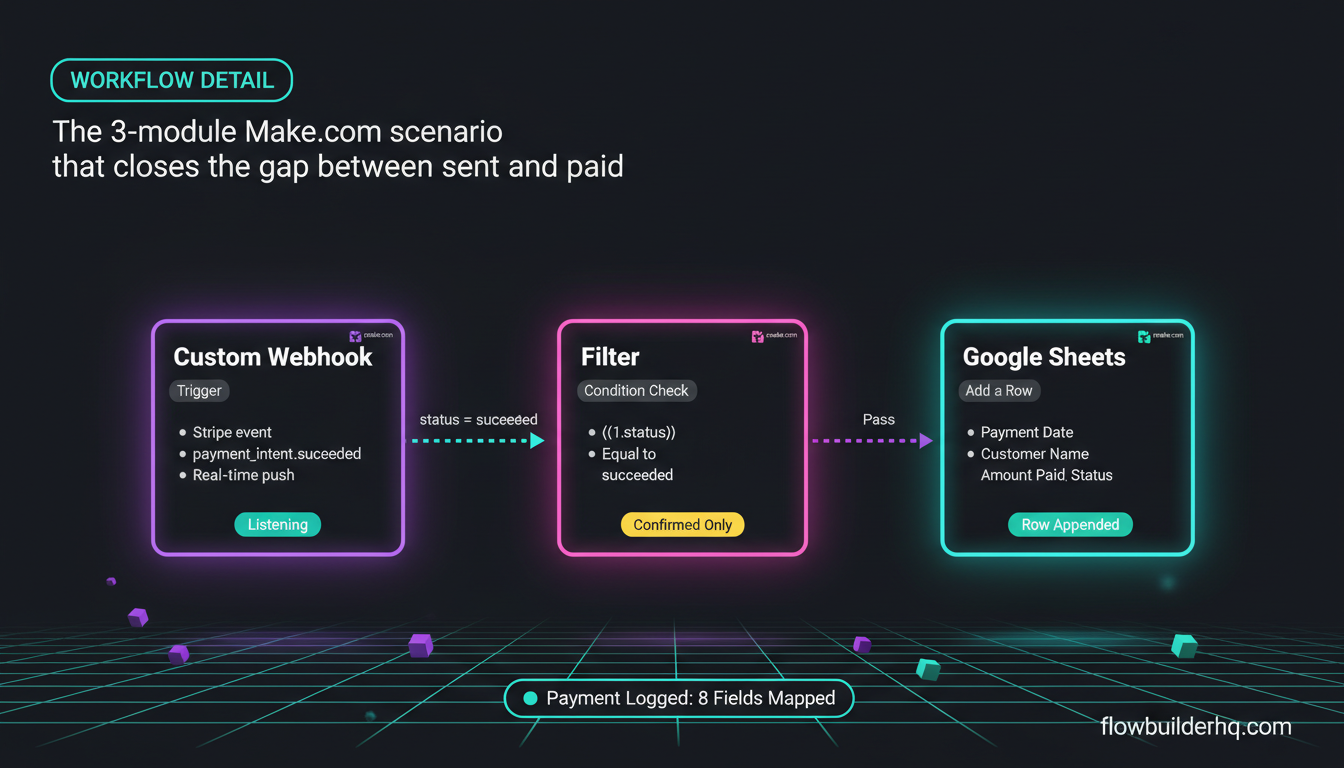
The fix is a Make.com scenario with three components: a Stripe webhook trigger, a filter that only passes confirmed payments, and a Google Sheets action that appends a new row. That’s it. Every time a client pays, a row appears in your tracker automatically.
What You’ll Need Before You Start
- A Make.com account (the free plan handles this fine — 1,000 ops/month)
- A Stripe account with at least one active invoice or payment link
- A Google Sheet set up with the column headers listed below
- About 20 minutes
No code required. No developer needed. If you’ve built at least one Make.com scenario before, this will feel familiar. If you haven’t, check out how to build a Make.com scenario from scratch first — come back when you’ve run your first test trigger.
Step 1: Set Up Your Google Sheet Tracker
Before building the scenario, create the destination. Open Google Sheets and create a new spreadsheet called something like Invoice Payment Tracker. Row 1 should have these exact headers in columns A through H:
Payment Date | Customer Name | Customer Email | Invoice ID | Amount Paid | Currency | Payment Method | StatusLeave row 1 as headers. Don’t put any data there. Make.com will append each new payment as a new row starting from row 2.
This sheet becomes your single source of truth for confirmed payments. You can build on top of it — add a tab for overdue invoices, use conditional formatting to flag amounts above a certain threshold, or connect it to a dashboard. But the raw data layer starts here.
If you want to use Airtable instead of Google Sheets, the same logic applies — the Make.com action module just changes. For Sheets-specific setup, the Make.com and Airtable integration post covers the differences clearly.
Step 2: Create a New Scenario in Make.com
Log into Make.com and click Create a new scenario. You’ll land on the visual editor with an empty canvas.
Click the large + button in the center and search for Webhooks. Select Custom webhook as your trigger module. This is how Stripe will push payment data to Make.com in real time — no polling, no delay.
Make.com will generate a unique webhook URL. Copy it. You’ll need it in the next step. Don’t close this tab yet.
Understanding how webhooks work in Make.com matters here. If you’re new to triggered workflows, the Make.com webhooks tutorial for beginners breaks down exactly what’s happening under the hood.
Step 3: Configure the Stripe Webhook
Open your Stripe dashboard and go to Developers → Webhooks → Add endpoint.
Paste the Make.com webhook URL into the Endpoint URL field.
For the event to listen to, select payment_intent.succeeded. This fires every time a payment is confirmed — whether it came from an invoice, a payment link, or a checkout session. If you exclusively use Stripe Invoices and want to filter more precisely, you can also add invoice.paid as a second event.
Click Add endpoint to save.
Now go back to Make.com and click Run once at the bottom of the screen. Make.com is now listening. Go to Stripe and use the Send test webhook option next to your new endpoint — select payment_intent.succeeded and fire it. Make.com should catch the test payload within a few seconds.
Once it does, click the webhook module on your canvas. You’ll see the full JSON structure of the Stripe payload. Make.com maps all those fields automatically — you’ll be able to reference them in later modules without writing a single line of code.
Step 4: Add a Filter for Confirmed Payments Only
Not every event you catch should go into your tracker. Stripe can fire events for payment attempts that fail, are disputed, or are refunded later. You want confirmed, successful payments only.
Click the small wrench icon between the webhook trigger and the next module to add a filter. Set the condition:
status = succeededThis maps to {{1.status}} in Make.com’s variable notation. Set the operator to Equal to and the value to succeeded.
If you’re working with invoice.paid instead, the field to check is {{1.status}} with the value paid. Either way, the filter prevents partial or failed attempts from cluttering your sheet.
Filters are one of the most underused features in Make.com. The multi-step workflow with filters and routers guide goes deeper on when to use each.
Step 5: Map the Stripe Data to Google Sheets
Click the + button after your filter to add the next module. Search for Google Sheets and select Add a Row.
Connect your Google account if you haven’t already, then select the spreadsheet and sheet you created in Step 1.
Now map each column to the corresponding Stripe webhook field. Here’s exactly what to put in each field:
| Sheet Column | Make.com Variable | Notes |
|---|---|---|
| Payment Date | {{formatDate(1.created; "DD/MM/YYYY")}} | Unix timestamp converted to readable date |
| Customer Name | {{1.charges.data[].billing_details.name}} | From the charge object |
| Customer Email | {{1.charges.data[].billing_details.email}} | From the charge object |
| Invoice ID | {{1.id}} | PaymentIntent ID — use invoice ID if using invoice.paid |
| Amount Paid | {{divide(1.amount_received; 100)}} | Stripe sends amounts in cents |
| Currency | {{toUpperCase(1.currency)}} | Stripe sends lowercase — USD becomes USD |
| Payment Method | {{1.charges.data[].payment_method_details.type}} | card, bank_transfer, etc. |
| Status | {{1.status}} | Should always be “succeeded” after the filter |
The amount field is the one that trips most people up. Stripe stores all amounts in the smallest currency unit — cents for USD, pence for GBP. Divide by 100 to get the actual dollar or pound amount. Make.com’s divide() function handles this inline.
For more on using Google Sheets as your data layer, the Make.com with Google Sheets as a lightweight database post covers the setup in detail.
Step 6: Test with a Real Stripe Payment
Don’t rely on the test webhook alone. Run an actual test payment through Stripe’s test mode.
In Stripe, switch to Test mode. Create a test payment using card number 4242 4242 4242 4242, any future expiry date, and any CVC. Process $1.00 (or any amount).
Watch your Make.com scenario. Within seconds, it should trigger, pass the filter, and append a new row to your Google Sheet. Open the sheet and confirm the data populated correctly in all eight columns.
If the scenario triggers but no row appears, check: (1) the Google Sheets module is connected to the correct spreadsheet and sheet tab, (2) the column mapping matches your actual header row exactly, (3) Make.com’s scenario is set to On (not just run-once mode).
If the filter is blocking everything, re-check the field name. For payment_intent.succeeded, the status field is at the root level of the payload. Click the webhook module after a test trigger to verify the exact path.
Common Error: “Cannot Read Property of Undefined”
This is the most common error in this specific workflow. It means Make.com is trying to map a field that doesn’t exist in the payload structure it received.
The usual culprit: the charges.data[] array. Stripe’s webhook payload for payment_intent.succeeded includes a nested charges object — but the exact path can vary depending on whether it’s a one-time payment, a subscription charge, or an invoice payment.
Fix: After your first real test trigger, click the webhook module and inspect the full JSON tree. Expand the charges → data object. The billing details (name, email) live inside the first item of that array. If you see them at a different path in your payload, update the mapping variables to match your actual data structure.
Make.com’s error handling options let you set the scenario to ignore or resume on errors so one bad payload doesn’t stop your whole tracker. The Make.com error handling tutorial covers the full options.
Step 7: Activate the Scenario and Set Scheduling
Once your test passes, switch the scenario toggle from Off to On. Because this is a webhook-triggered scenario, it doesn’t need a schedule — it fires every time Stripe sends a payment event. No polling interval to configure.
This is one of the advantages of webhook-based triggers over scheduled polling. Your sheet updates within seconds of a payment being confirmed, not at the next 15-minute or hourly check.
Keep the scenario set to Immediately as data arrives. Don’t set a time-based schedule — that would override the webhook behavior.
Optional Extension: Slack Notification on Payment
Add one more module after the Google Sheets action: a Slack message to yourself whenever a payment lands.
Add a Slack → Create a Message module. Connect your Slack workspace and pick a channel (your own DMs or a #payments channel work well). Set the message text to something like:
💰 Payment received: {{divide(1.amount_received; 100)}} {{toUpperCase(1.currency)}} from {{1.charges.data[].billing_details.name}}Now you get a real-time ping every time a payment clears. No checking the sheet. No checking Stripe. The notification comes to you.
For more on building Slack alerts into your Make.com workflows, the Slack notifications with Make.com tutorial covers triggers, filters, and message formatting in depth.
Optional Extension: Monthly Revenue Summary
Once your payment data is consistently flowing into Google Sheets, you can build a second Make.com scenario that runs on the first of each month, reads all rows from the previous month, sums the Amount Paid column, and emails you a plain-text revenue summary.
This pairs well with a broader automated reporting setup. The automated Google Sheets reporting with Make.com post walks through exactly this pattern — reading filtered rows, aggregating data, and sending a summary.
What This Scenario Costs to Run
Each time this scenario fires, it uses 2–3 Make.com operations: one for the webhook trigger, one for the filter check, one for the Google Sheets row append (plus one more if you add Slack).
On Make.com’s free plan (1,000 ops/month), this handles roughly 250–300 payments per month before you’d hit the limit. For most solopreneurs, that’s more than enough. If you’re processing more volume than that, the Core plan at $9/month gives you 10,000 ops — more than sufficient.
For a full breakdown of how Make.com ops stack up across plans and volume, the Make.com pricing breakdown has the exact numbers.

How to Automate Your Solopreneur Invoice and Payment Tracking: Final Scenario Structure
Here’s the complete scenario map for reference:
- Webhooks → Custom webhook — listens for Stripe
payment_intent.succeededevents - Filter — passes only payloads where
status = succeeded - Google Sheets → Add a Row — appends payment data to your tracker sheet
- (Optional) Slack → Create a Message — sends you a real-time payment notification
Four modules. Zero manual work after setup. Every confirmed payment lands in your sheet automatically.
This is the kind of workflow that makes your business feel less chaotic — not because it’s doing anything complex, but because it’s closing a gap that used to leak information. You built something that runs without you.
If you want to extend this into a full client management layer — tracking who owes what, when they last paid, and what their lifetime value is — the solopreneur client management without a CRM post covers how to build that layer on top of a Google Sheets foundation.
Ready to build it? Start your Make.com free account here — the free plan covers this entire workflow.
Building this yourself? Get the workflow pack.
5 ready-to-import n8n workflows — lead capture, invoicing, content repurposing, onboarding, social posting. Free.