How to Automate Appointment Scheduling with Make.com (Calendly + Gmail + Notion Workflow)
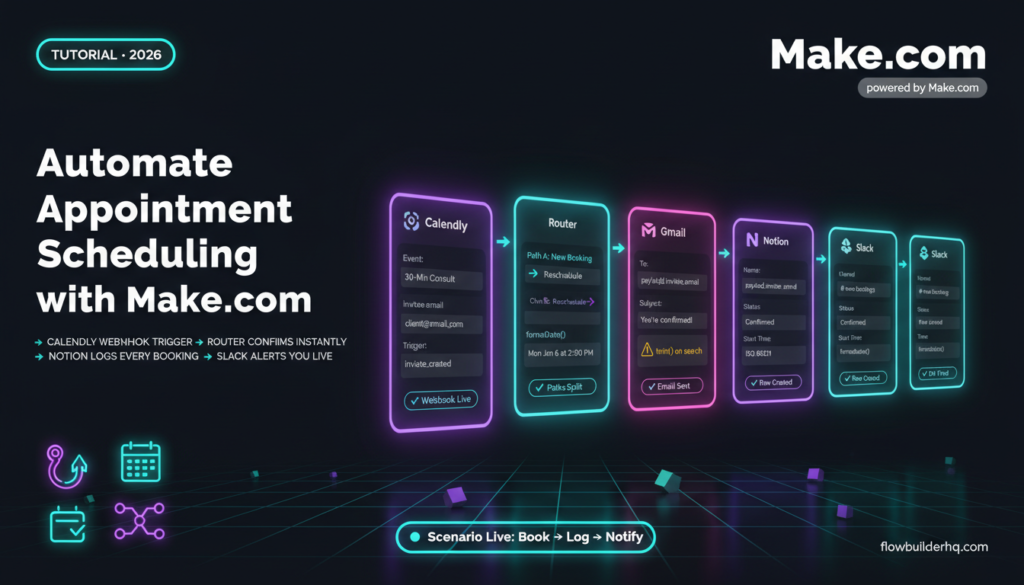
Manual scheduling follow-up is one of the most reliably wasteful tasks in a solopreneur’s day. A booking comes in, you copy details into a spreadsheet, fire off a welcome email, ping yourself on Slack, maybe update your CRM — all by hand, every single time. This tutorial shows you exactly how to automate appointment scheduling with Make.com so none of that happens manually again.
The stack covered here: Calendly or TidyCal as the trigger → Make.com as the automation layer → Gmail for client-facing email → Notion as your booking log. A Slack notification gets wired in as a bonus step. By the end you’ll have a single webhook-driven scenario that handles new bookings and reschedules differently, without touching Zapier’s premium tier — and without paying for a higher-tier plan.
If you’ve never built a scenario in Make.com before, start with this beginner walkthrough first — this tutorial assumes you know your way around the canvas.
Why Make.com for Appointment Scheduling Automation?
Zapier can technically do this workflow, but it gets expensive fast. A Calendly trigger + welcome email + CRM update + Slack notification is a 4-step Zap — that requires Zapier’s Professional plan at $69/month. Make.com’s Core plan at $9/month handles unlimited steps per scenario. The math isn’t subtle.
Make.com also has a native Router module, which lets you split logic inside a single scenario — new bookings get one path, reschedules get another. In Zapier you’d need a separate Zap for that. For the full pricing comparison, see the real cost breakdown between Make.com and Zapier.
Make.com’s free plan gives you 1,000 operations/month, which is plenty to test this build and run it at low volume. Core is $9/month, Pro is $16/month. Start a free Make.com account here — no credit card required for the free tier.
What You’ll Build: The Full Scheduling Automation Stack
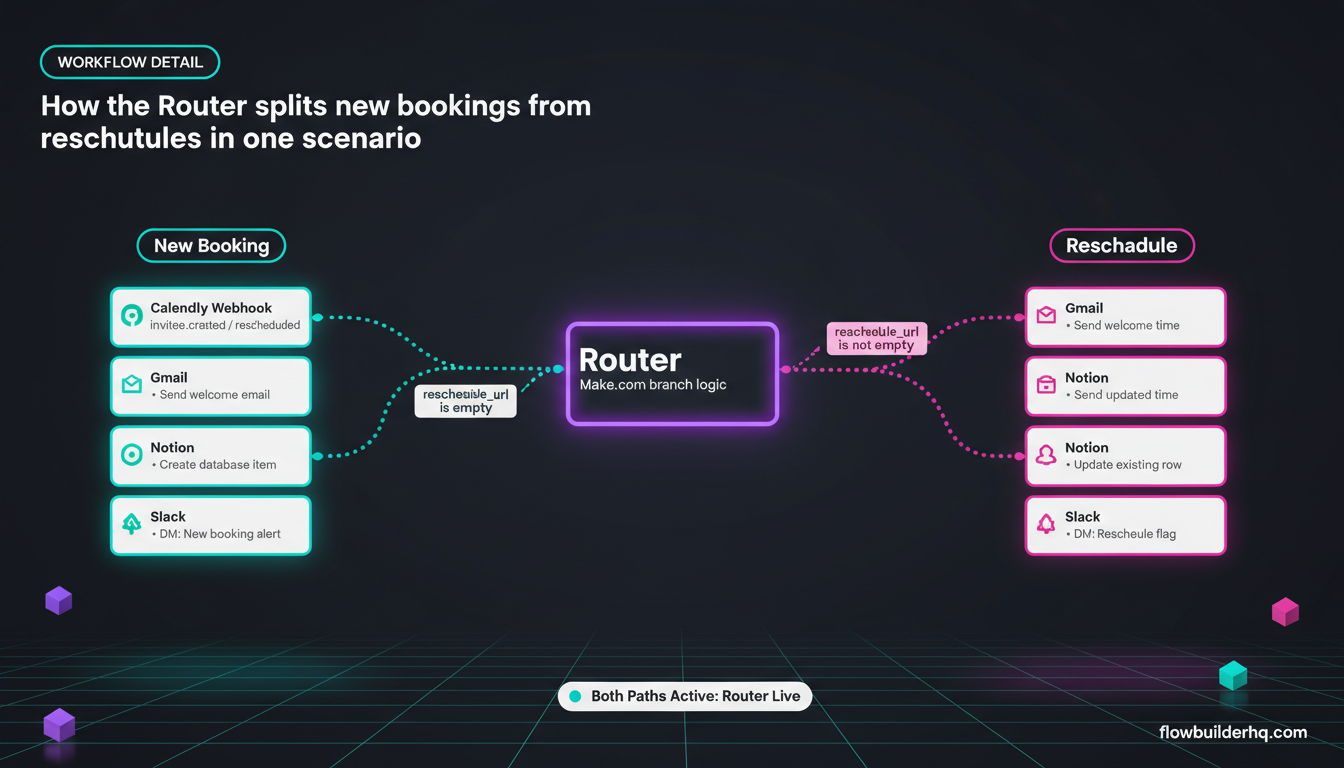
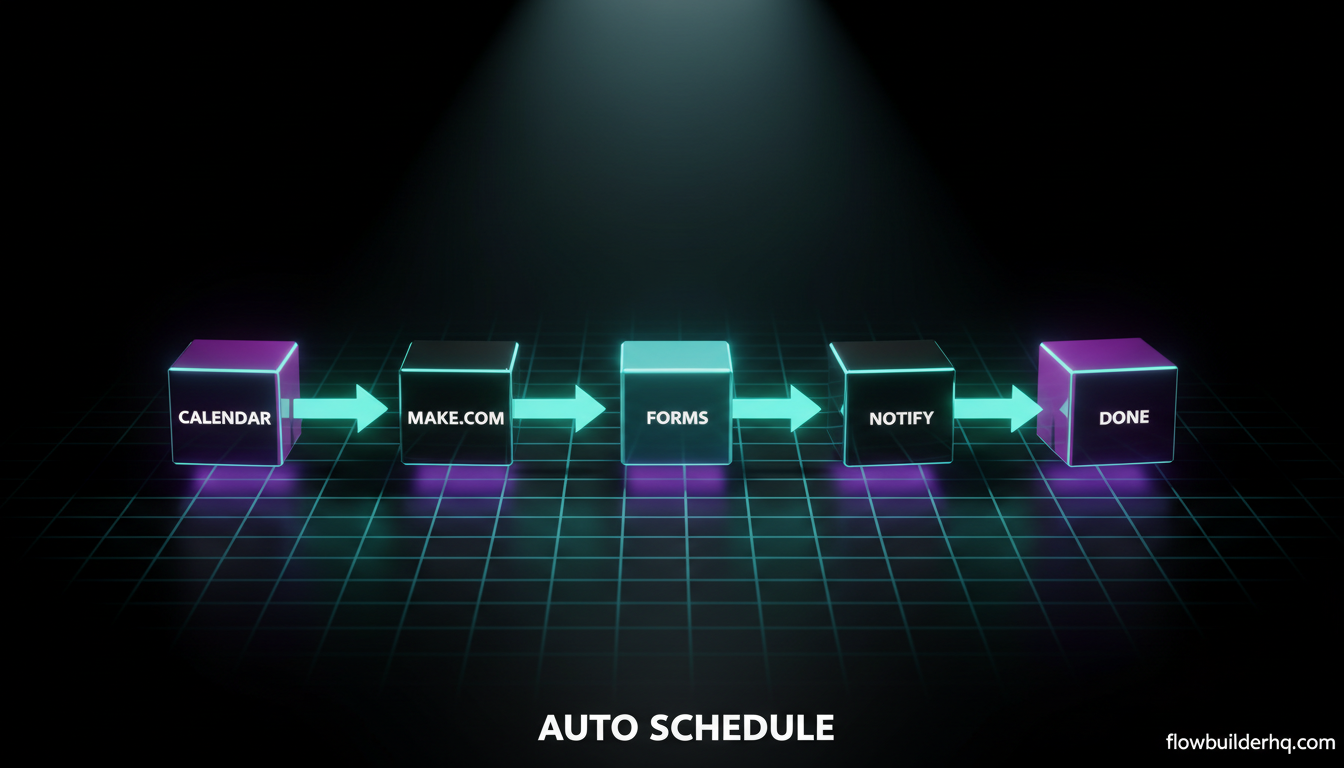
Here’s the complete flow before you touch a single module:
- Trigger: Calendly or TidyCal fires a webhook when a booking is created or rescheduled
- Router: Make.com checks whether the event type is a new booking or a reschedule
- Path A (New booking): Send a Gmail welcome email → Add a row to your Notion database → Send a Slack DM to yourself
- Path B (Reschedule): Send a confirmation email with updated time → Update the existing Notion row → Optional Slack note
This is the same routing logic used in production scheduling setups for coaches and consultants. If that’s your context, this overview of Make.com for coaches covers the broader client workflow picture.
Step 1: Set Up Your Webhook Trigger in Make.com
Open Make.com and create a new scenario. Add a Webhooks → Custom webhook module as your trigger. Click “Add” to generate a webhook URL — copy it immediately.
Now go to your booking tool:
- Calendly: Go to Integrations → Webhooks → Add new webhook. Paste your Make.com URL. Subscribe to
invitee.createdandinvitee_canceledevents. For reschedule detection, also subscribe toinvitee.canceledwith a rescheduled flag — Calendly sends a cancel + new booking pair when someone reschedules. - TidyCal: Go to Settings → Integrations → Webhooks. Add your Make.com URL. TidyCal fires a single
booking.createdevent and a separatebooking.rescheduledevent, which is cleaner to route.
Once your webhook is pasted, click “Run once” in Make.com, then make a test booking on your scheduling page. Make.com will catch the payload and map all available fields — invitee name, email, event time, event type name, and any form answers.
Common error here: Make.com shows “Waiting for data” indefinitely. The most common cause is a Calendly webhook pointing to an old URL you accidentally regenerated. Delete the webhook in Calendly, regenerate a fresh one in Make.com, and re-add it. See the Make.com error handling guide if you run into persistent webhook failures. Make.com’s error handling documentation is also useful here.
Step 2: Add the Router Module
After your webhook module, add a Router. This creates branching paths. You’ll define a filter condition on each path.
Path A filter (New booking):
Set the condition to check the event type. For Calendly: event_type does not contain rescheduled. Or more specifically, check whether the payload field payload.reschedule_url is empty — if it is, it’s a brand new booking with no prior appointment attached.
Path B filter (Reschedule):
Reverse the condition: payload.reschedule_url is not empty (for Calendly), or event type equals booking.rescheduled (for TidyCal).
For a deeper look at how routers and filters work across different scenario types, the scenario templates post has several routing patterns you can reference.
Step 3: Wire Up Gmail for the Welcome Email (Path A)
On Path A, add a Gmail → Send an Email module. Connect your Google account when prompted.
Fill in the fields using data mapped from your webhook payload:
- To:
{{payload.invitee.email}}(Calendly) or{{booking.customer_email}}(TidyCal) - Subject:
You're confirmed for {{payload.event_type.name}} on {{formatDate(payload.event.start_time, "dddd, MMMM D [at] h:mm A")}} - Body: Write your welcome message here. Map in the invitee’s first name, the meeting time, and any join link (Calendly includes a
location.join_urlfor video calls).
The formatDate() function is your friend here. Raw timestamps from webhooks come in ISO 8601 format — passing them straight into an email looks terrible. Always wrap event times in formatDate() with a human-readable pattern.
You can also build an automated follow-up sequence triggered after the appointment. The workflow in this email follow-up automation tutorial pairs well with what you’re building here.
Step 4: Log the Booking to Notion
After the Gmail module on Path A, add a Notion → Create a Database Item module. Connect your Notion account and select your bookings database (create one if you don’t have it — minimum fields: Name, Email, Meeting Type, Start Time, Status).
Map the fields:
- Name:
{{payload.invitee.name}} - Email:
{{payload.invitee.email}} - Meeting Type:
{{payload.event_type.name}} - Start Time:
{{payload.event.start_time}}— Notion accepts ISO 8601 directly for date fields - Status: Set a static value of
Confirmed
For Path B (reschedule), you’ll want to update an existing row instead of creating a new one. Use Notion → Search Objects first to find the existing page by email or a booking ID, then pipe that page ID into Notion → Update a Database Item to overwrite the Start Time and set Status to Rescheduled.
The Make.com + Notion integration guide covers database search and update patterns in detail if this step trips you up.
Step 5: Send a Slack Notification to Yourself
The last module on both paths is a Slack → Create a Message module. Set the channel to your DMs (use your own Slack user ID as the channel, formatted as @yourusername) or a private channel like #new-bookings.
A useful message template for new bookings:
📅 New booking: {{payload.invitee.name}} ({{payload.invitee.email}})
Meeting: {{payload.event_type.name}}
Time: {{formatDate(payload.event.start_time, "ddd MMM D [at] h:mm A")}}
For reschedules, adjust the message to flag the change clearly — something like “🔄 Reschedule:” at the top so it catches your eye differently in Slack.
Step 6: Test Every Path Before Going Live
Do not activate the scenario until you’ve tested both paths with real webhook data. Here’s how:
- With your scenario in “Run once” mode, make an actual test booking on your live scheduling page
- Check Make.com’s execution log — every module should show green. Click any module to inspect what it sent and received
- Verify the Notion row was created and the Gmail landed in your inbox
- Now reschedule that same test booking and watch Path B fire
- Check that the Notion row was updated, not duplicated
Common error on the Notion step: “Could not find a matching page” during the reschedule search. This usually means you’re searching by a field that isn’t set as a unique identifier in your database, or the email you’re searching by has inconsistent formatting (extra whitespace, different case). Wrap the search value in trim(toLowerCase(...)) to normalize it before matching.
If modules are failing silently rather than throwing visible errors, set up error handlers on each module. Make.com’s official error handling documentation explains the Ignore, Break, and Rollback directives — Break is almost always the right choice for webhook-driven scenarios so failures don’t swallow data.
Step 7: Activate and Monitor
Once both paths test clean, hit the toggle to turn the scenario on. Set scheduling to “Immediately” — webhook-triggered scenarios run instantly, not on a time interval, so this just means Make.com is always listening.
Check your scenario’s execution history after the first few real bookings. The default log retention on the free plan is 30 days. If you’re on Core or Pro, you get full execution history with replay capability — useful when a module fails on a real booking and you need to re-run it without asking the client to rebook.
For a broader view of how scheduling automation fits into a full client workflow — intake, onboarding, delivery — see this client onboarding automation workflow. It picks up where this tutorial leaves off.
Scaling This Scenario: What to Add Next
Once the core flow is stable, three additions make it significantly more useful:
1. Google Sheets backup log. Add a parallel branch off the Router that writes every booking to a Google Sheet regardless of path. Notion is great for working with data, but a Sheets log gives you an unformatted, exportable record. The Google Sheets automation tutorial covers the exact modules to use.
2. Pre-appointment reminder email. Use Make.com’s Tools → Set variable to calculate a reminder timestamp (24 hours before start_time), then use Make.com Scheduling to queue a reminder email for that specific time. This requires storing the scheduled run ID, but it’s doable on the Core plan.
3. No-show follow-up. Subscribe to Calendly’s invitee_canceled event and check whether the cancellation happened within 10 minutes of the scheduled start time — that’s likely a no-show. Route those to a separate email path. This single addition recovers more revenue than most people expect from an automation build.
If you’re running this for a coaching or consulting practice and want the full picture of how automation can replace admin hours, the Make.com for coaches workflow post is the logical next read. For service businesses more broadly, this breakdown of no-code automation for service businesses covers which workflows to prioritize once scheduling is handled.
Make.com Pricing for This Workflow
This entire scenario — webhook trigger + router + Gmail + Notion + Slack — uses between 5 and 7 operations per booking event depending on whether it’s a new booking or reschedule (the Notion search on reschedule costs an extra operation).
On the free plan (1,000 ops/month), you can process roughly 140–200 bookings before hitting the ceiling. Most solopreneurs won’t need more than that at start. Core at $9/month gives you 10,000 ops/month — that’s headroom for hundreds of bookings plus the scaled additions above.
For a complete breakdown of what operations actually cost at different volumes, the Make.com pricing guide for 2026 has the math worked out across all plan tiers.
Ready to build it? Create your free Make.com account and have the scenario running before your next booking comes in.
Make.com’s official Calendly integration page lists all available triggers and their exact payload structures — worth bookmarking while you build.
Building this yourself? Get the workflow pack.
5 ready-to-import n8n workflows — lead capture, invoicing, content repurposing, onboarding, social posting. Free.