How to Automate Typeform Responses with Make.com (Real Intake Form Workflow)
Stop manually checking your form submissions. If you have a Typeform intake form sitting there collecting leads, and you’re opening it every morning to see who filled it out, you’re doing the most expensive thing a solopreneur can do — spending attention on something a machine should handle.
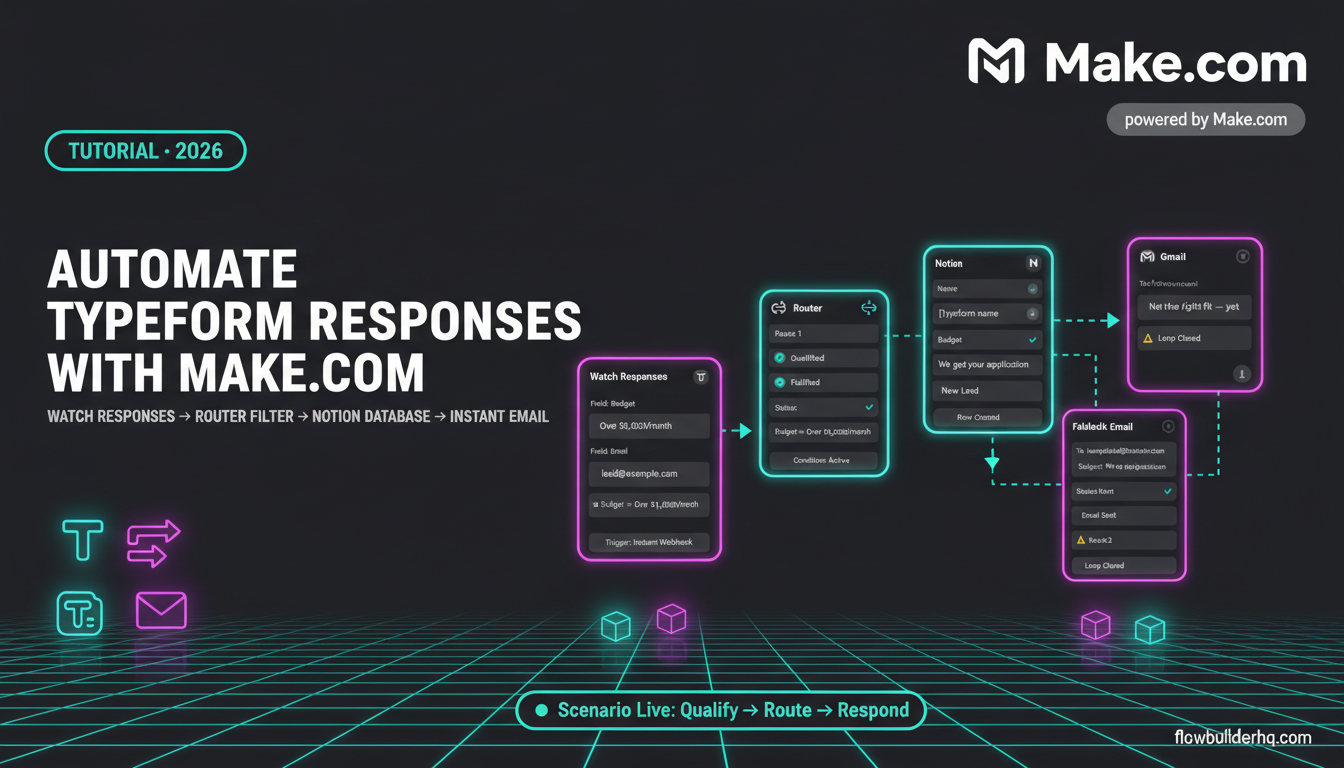
This tutorial: how to automate typeform responses with make.com walks through a real workflow: Typeform triggers a Make.com scenario, the scenario reads the responses, filters by a qualifying answer, and routes qualified leads down one path and unqualified ones down another. No dummy examples. No placeholders. By the end, you’ll have a working scenario you can adapt in under an hour.
If you’re new to Make.com’s interface, the Make.com review for 2026 covers the basics of how the platform works before you start building scenarios.
What You’re Building
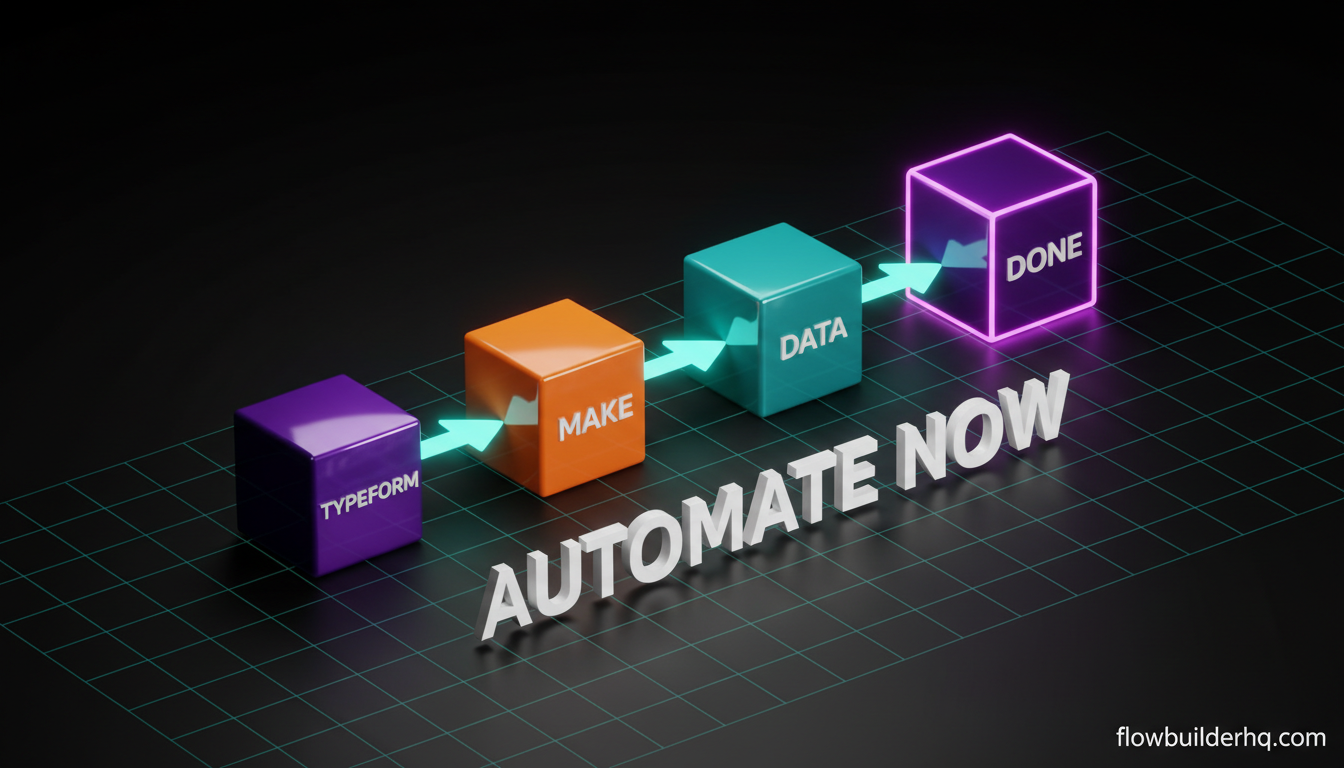
Here’s the workflow:
- Someone fills out your Typeform intake form
- Make.com detects the new response via the Watch Responses module
- A Filter or Router checks a specific answer (e.g., “What’s your monthly budget?”)
- Qualified leads get added to a Notion database and receive a custom email
- Unqualified leads get a polite “not right now” email — automatically
This is exactly the kind of conditional routing that trips up beginners. The Make.com visual canvas makes it look easy, but the filter logic has a specific structure you need to get right the first time.
What You Need Before You Start
- A live Typeform with at least one multiple-choice or dropdown question you want to filter on
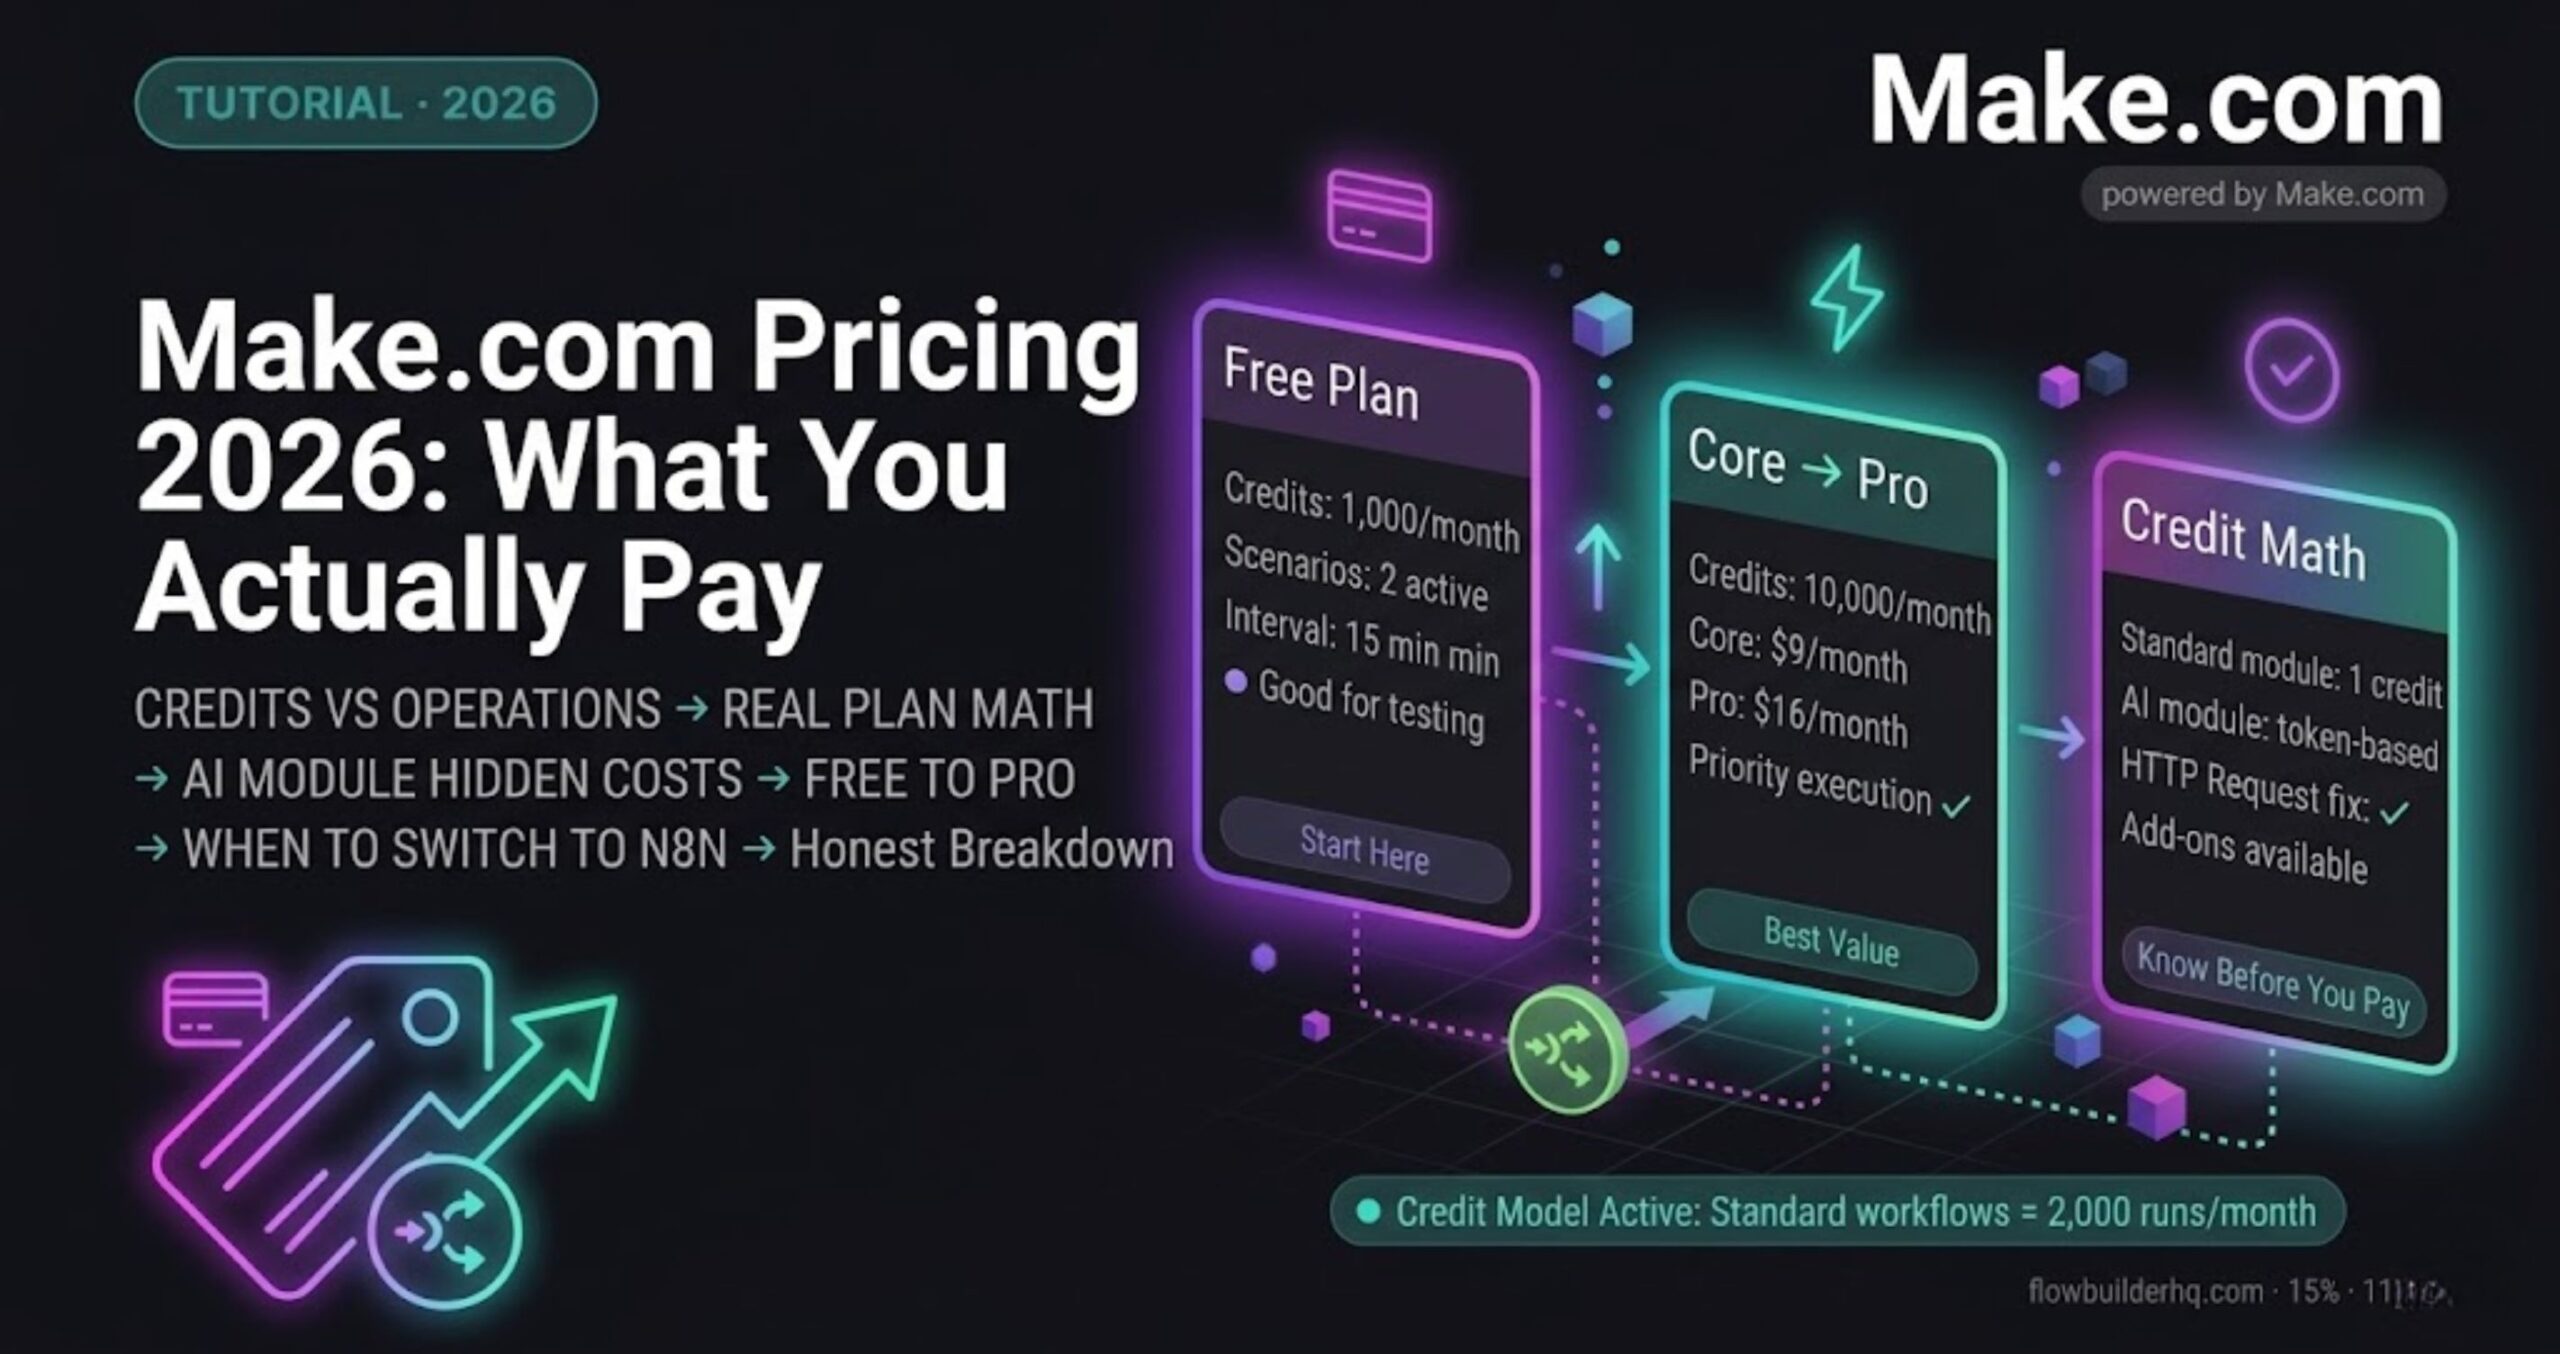
- A Make.com account (the Free plan at 1,000 ops/month is enough to test; Core at $9/mo handles production volume)
- A Notion database OR an email service — this tutorial uses both, but you can swap either out
- At least one test submission already in your Typeform (Make.com needs real data to map fields)
If you don’t have a Make.com account yet, sign up for Make.com here — the free tier is enough to follow this entire tutorial.
Step 1: Connect Typeform to Make.com
Open Make.com and create a new scenario. Search for the Typeform module and select Watch Responses. This is a trigger module — it polls Typeform for new submissions on your scenario’s schedule (or via instant webhook, which we’ll cover).
Click the module and authenticate with your Typeform account. Make.com uses OAuth here, so you’ll get redirected to Typeform’s login. Once authorized, select your form from the dropdown.
One decision to make right now: polling vs. instant. By default, Watch Responses polls on your scenario’s schedule (every 15 minutes on free, configurable on paid). If you want near-instant triggering, switch to Watch Responses (Instant) — this creates a webhook inside Typeform automatically. For a lead intake workflow, instant is worth it.
After selecting your form, click OK, then run the module once manually to pull in a test submission. This populates the output bundle with real field names — you need this for the filter step.
Step 2: Add a Router
This is where most tutorials skip the detail. Don’t add a Filter yet. Add a Router first.
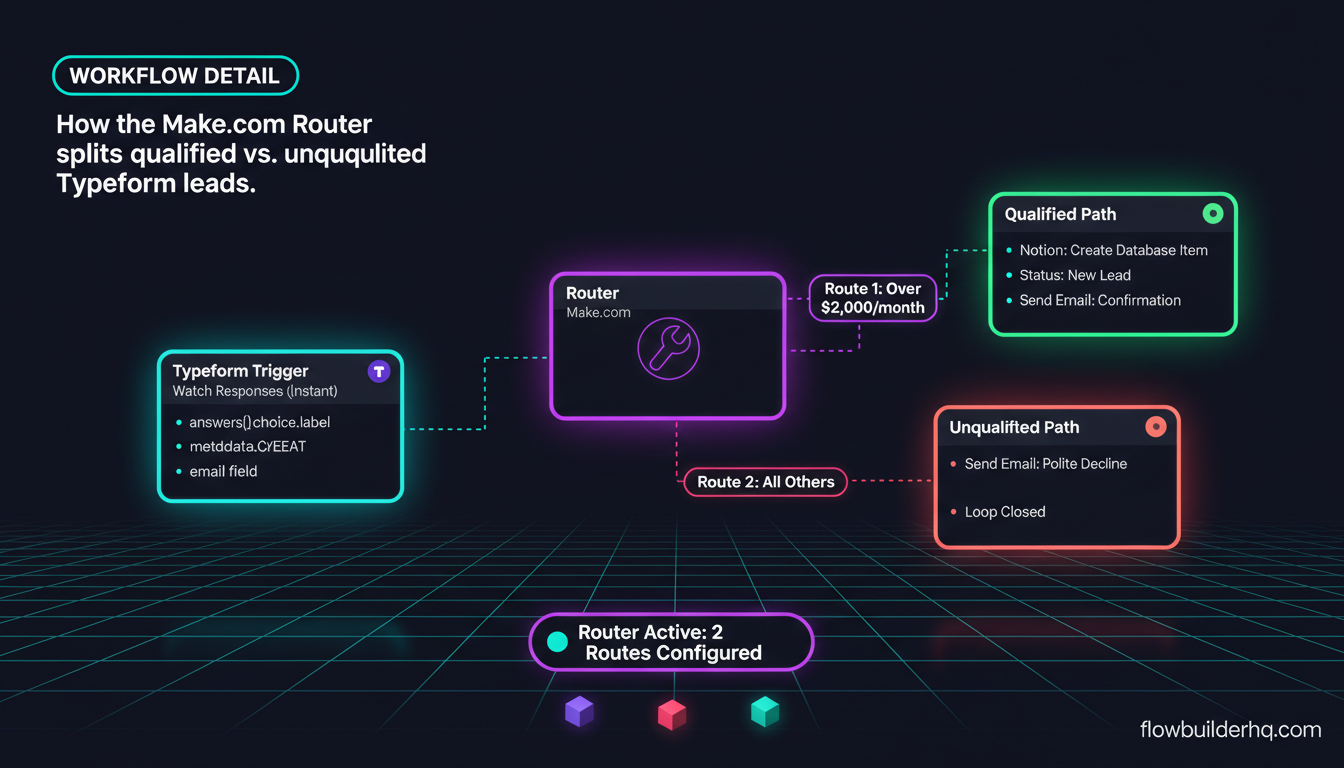
Click the + button after your Typeform trigger and search for Router. A Router creates multiple paths from a single trigger. Each path has its own filter condition. This is different from a Filter module, which simply stops execution if the condition isn’t met — meaning unqualified leads would just drop off silently with no action taken.
A Router gives you:
- Route 1: Qualified leads (condition must be true)
- Route 2: Everyone else (fallback — no condition needed, or a catch-all condition)
To set the condition on Route 1, click the wrench icon on that route’s connector line, then select Set up a filter.
For a budget question where the qualifying answer is “Over $2,000/month,” the filter looks like this:
Condition: [Budget field output] > Equal to (text) > "Over $2,000/month"Pull the budget field from the Typeform output bundle using Make.com’s variable picker. The field name will look something like answers[].choice.label — click through the bundle map until you see your actual answer options. Select the one that matches your qualifying question.
For a deeper look at how Make.com handles conditional logic across different workflow types, the post on automating proposal sending with Make.com shows another real-world example of branching logic in action.
Step 3: Route 1 — Qualified Lead Path
Now build out what happens when someone qualifies. Two actions: add them to Notion, then send an email.
3a. Add to Notion
After Route 1’s filter, click + and add the Notion > Create a Database Item module. Authenticate with Notion (you’ll need to share your specific database with the Make.com integration inside Notion’s settings — this catches people out the first time).
Map the fields:
- Name: Map to the Typeform field collecting the respondent’s name
- Email: Map to the email field
- Budget: Map to the budget answer field
- Status: Set a static value — “New Lead”
- Submitted At: Map to
metadata.createdAtfrom the Typeform bundle
Run the module with your test data and check your Notion database. If the row appears, you’re good. If you get a permissions error, go back into Notion’s integration settings and confirm the database is shared with the Make.com connection.
The HubSpot CRM vs Notion comparison is worth reading if you’re deciding whether Notion is the right place to store your leads long-term, or whether a dedicated CRM makes more sense for your volume.
3b. Send a Qualified Lead Email
After the Notion module, add an email action. Make.com has a built-in Email > Send an Email module if you just need basic SMTP. If you’re using Gmail, use Gmail > Send an Email. If you’re on MailerLite or ActiveCampaign, use their dedicated modules instead.
For the email itself:
- To: Map to the Typeform email field
- Subject: “We got your application — here’s what’s next”
- Body: Write something that feels human. Map the respondent’s first name into the greeting using the Typeform name field output.
This email goes out within seconds of form submission. No “we’ll be in touch in 3-5 business days” — you’re responding before your competitors even know the lead exists.
Step 4: Route 2 — The Unqualified Path
Route 2 is your fallback. Click the second route coming off the Router and leave the filter blank (Make.com treats a blank route as a catch-all — it processes everything that didn’t match Route 1).
Add a single action: Email > Send an Email with a polite, honest response. Something like:
“Thanks for reaching out. Based on your answers, we’re not the right fit right now — but here’s a resource that might help: [link]. Feel free to reapply when your situation changes.”
This does three things: it’s respectful of their time, it closes the loop so they’re not waiting, and it positions you as someone who actually responds. Most competitors don’t send anything to unqualified leads.
Don’t skip this route. Leaving unqualified respondents in silence is a reputation problem over time.
Step 5: The Error That Trips Everyone Up
Here’s the specific error you’ll hit during setup: “The value of field ‘answers’ doesn’t match the expected type.”
This happens when Make.com tries to map a Typeform field and the test submission has a different answer format than what you’ve set as the filter condition. The most common cause: your filter condition uses choice.label but the Typeform question is a ranking or open text question, which returns a different output structure.
Fix: Re-run the Watch Responses trigger with a fresh test submission that uses the exact answer option you’re filtering on. Then re-open the Router filter, delete the existing field mapping, and remap it from the new bundle output. The field path will now be correct for that answer type.
If you’re seeing this error with a multiple-choice question specifically, also check whether the question allows multiple selections. Multi-select answers return an array (choices.labels[]), not a single string. For arrays, change your filter operator from Equal to to Contains.
The Make.com webhooks tutorial covers how bundle mapping works more broadly — useful if you want to understand why the output structure differs between question types.
Step 6: Activate and Test the Full Scenario
Before turning the scenario on, run a full end-to-end test:
- Submit a qualifying response on your actual Typeform (use a real email you can check)
- In Make.com, click Run once
- Watch the execution flow in the canvas — green bubbles mean the module ran, grey means it was skipped by a filter
- Check Notion for the new database row
- Check your inbox for the qualified lead email
- Submit a non-qualifying response, run again, and verify Route 2 fires instead
Once both paths work, flip the scenario’s toggle to ON. It will now run automatically on your chosen schedule (or instantly, if you set up the webhook trigger in Step 1).
For production use, set the scenario schedule to every 5 or 15 minutes. The free plan runs on a minimum 15-minute interval — Core at $9/mo drops this to 1 minute, which is worth it if response time is part of your offer.
See how Make.com’s operation and scheduling limits break down across plans before committing to a tier.
Extending the Workflow
Once the base scenario works, a few extensions worth adding:
Score leads automatically: Add a Set Variable module before the Router. Use Make.com’s text aggregator or a simple formula to assign a numeric score based on multiple answers (budget + urgency + company size). Then filter by score instead of a single field. This is more resilient than single-question filtering.
Add Slack or SMS notification: On Route 1, add a Slack message or SMS (via Twilio) so you get a real-time ping when a qualified lead comes in. One module, two minutes to set up, and you’re never the last to know about a hot lead.
Push to HubSpot: If you’re managing a sales pipeline, add a HubSpot Create Contact module on Route 1 after the Notion step. Qualified leads land in your CRM automatically. The post on connecting Make.com to HubSpot walks through the authentication and field mapping in full detail.
Tag by answer segment: Add a second Router after the first to split qualified leads further — by industry, budget tier, or service type. Each sub-route gets its own Notion tag or HubSpot deal stage. This turns your intake form into a segmentation engine.
If you want a pre-built starting point, the Make.com scenario templates for small business post includes several intake and routing templates you can import directly.
How to Automate Typeform Responses: Common Questions
Does this work with Typeform’s free plan?
Yes. The Make.com Typeform integration works on all Typeform plans. The only limitation on Typeform’s free plan is 10 responses per month — which is fine for testing but not for production. Typeform’s paid plans remove that cap.
Can I use this with other form tools?
Make.com has native modules for Jotform, Google Forms (via Google Sheets trigger), Gravity Forms, and Tally. The Router and filter logic is identical — you’re just swapping the trigger module. The field mapping will differ because each tool structures its output bundle differently.
What happens if Make.com is down when someone submits?
If you’re using polling (not the instant webhook), the response sits in Typeform until the next poll cycle. Nothing is lost. If you’re using the instant webhook, Make.com queues incoming webhook calls during downtime and processes them when the service recovers. Either way, responses don’t drop.
How many operations does this workflow use?
Each scenario run uses one operation per module that executes. For a two-route scenario (trigger + router + two modules on the active route), that’s roughly 4 operations per submission. At 1,000 ops/month free, you’d handle 250 submissions before hitting the limit — more than enough for most intake forms. Core at $9/mo gives you 10,000 ops.
For a broader look at what Make.com can do once you’re comfortable with routing, the Make.com for coaches and consultants guide covers intake, onboarding, and follow-up workflows end-to-end.
What to Build Next
The intake form workflow is usually the first automation solopreneurs build — and the one that immediately frees up the most time. Once it’s running, the natural next step is automating what happens after a lead says yes: the proposal, the contract, the onboarding sequence.
The tutorial on client onboarding automation for solopreneurs picks up exactly where this one leaves off — from qualified lead to onboarded client, entirely in Make.com.
You can also explore automating email follow-up sequences with Make.com to build time-delayed nurture flows for leads who aren’t ready to buy yet — Route 2 is the perfect trigger point for that.
Ready to build? Create your free Make.com account and have this scenario live before end of day. The free plan handles everything in this tutorial.
For reference, Make.com’s official Typeform integration page lists all available modules and any recent changes to the connector — worth bookmarking if you build on this further.
And if you want to understand how Make.com’s trigger scheduling works at the platform level, the Make.com scheduling documentation explains polling intervals, minimum frequencies per plan, and how instant triggers differ technically from scheduled ones.